How to stream your gameplay for the first time comes down to three things: a free account on a streaming platform, the free OBS Studio on your PC, and about an hour with the game closed. Pick a platform, install OBS, add your game as a source, check the audio, run a private test broadcast, then go live. Everything else is polish you can add later.
I have watched a lot of people freeze at the Start Streaming button. The fear is almost never about the software. It is about sounding stupid in front of a viewer counter that reads zero. So this guide treats your first broadcast as a rehearsal: private, short, and nobody invited.
The menu paths below are written for the current desktop versions of OBS Studio on Windows and Mac, plus the current Twitch creator dashboard. Menus move between releases, so if a label reads slightly differently on your screen, look for the nearest equivalent rather than assuming the guide is wrong.
Table of Contents
- 1What You Need
- 2How to Stream Your Gameplay for the First Time: Step-by-Step
- 3How to stream your gameplay for the first time in OBS Studio
- 4Choose a streaming platform and protect your privacy
- 5Connect the stream key and check your settings
- 6Test the broadcast before inviting viewers
- 7Go live and manage your first stream
- 8Common Mistakes
- 9Frequently Asked Questions
- 10Do I need a webcam or microphone to stream?
- 11What kind of PC do I need to start streaming?
- 12Can I stream console or phone gameplay without a PC?
- 13Is OBS Studio really free, and is it safe to download?
- 14How old do I have to be to stream on Twitch?
- 15How many viewers do I need to make money streaming?
- 16Conclusion
What You Need
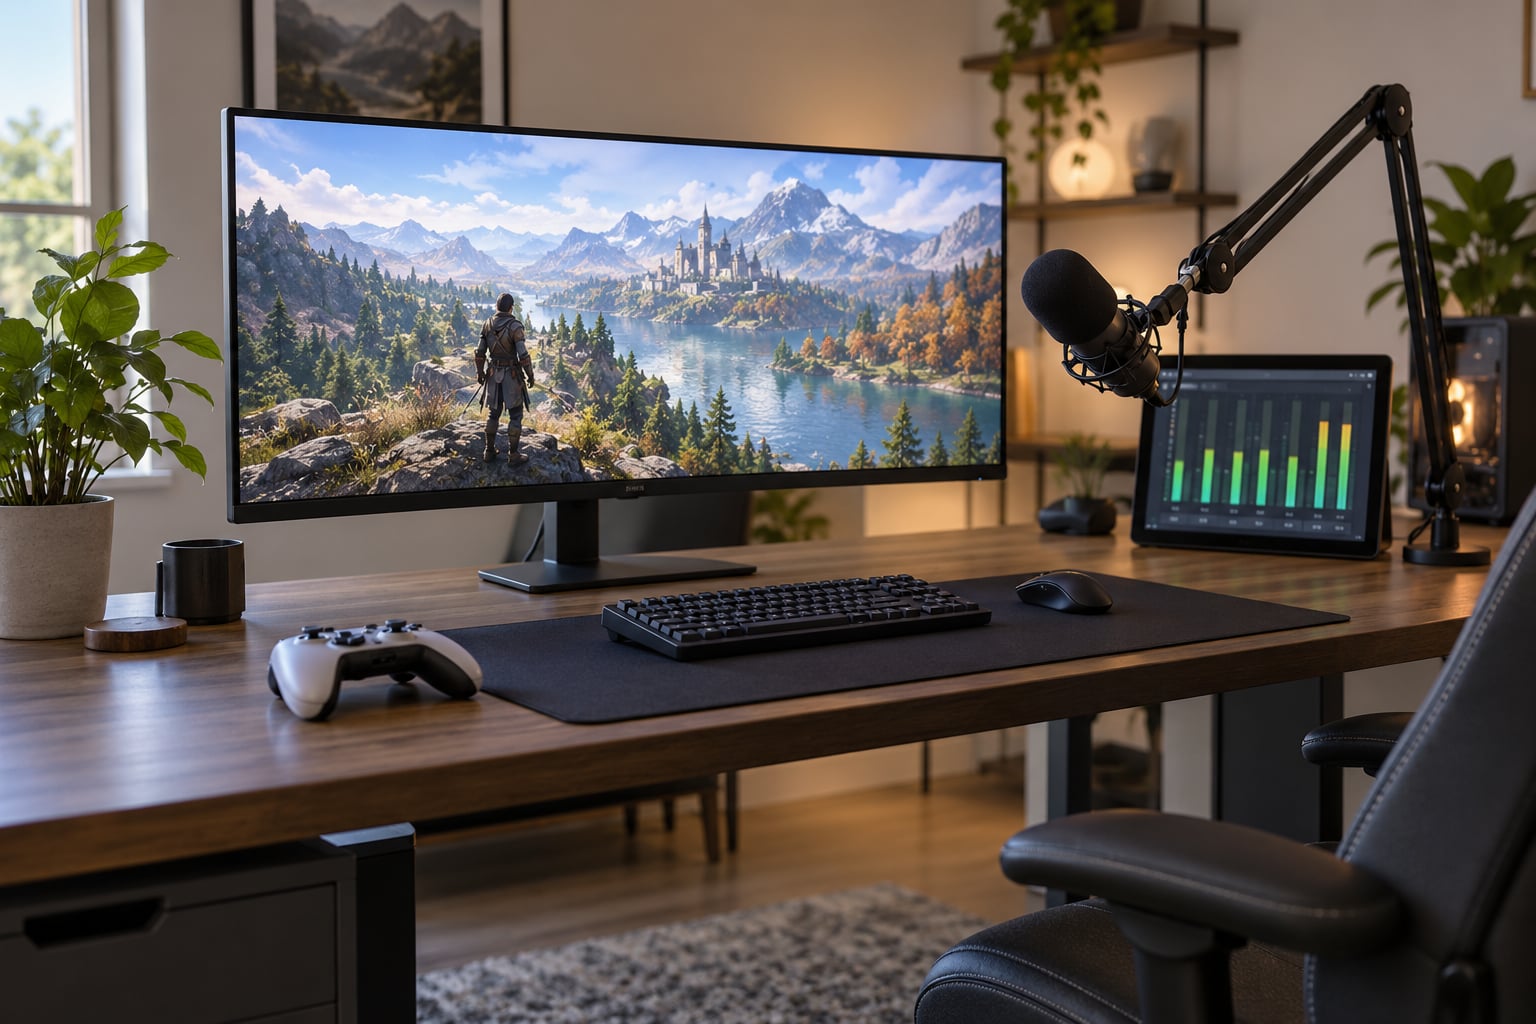
Here is the short version. You need a gaming PC or laptop, OBS Studio, an account on the platform you want to stream on, and an upload speed of at least 5 Mbps. Everything else on this list is nice to have, and most beginners start without it.
- A gaming PC or laptop that can run the game and OBS at the same time. A reasonable floor is a 5th-generation i5 or Ryzen 5, 16 GB of RAM, and a GTX 1660 or RX 580 class card, but a mid-range laptop often manages 720p at 30 FPS.
- Upload speed of at least 5 Mbps. Run a speed test on the connection you actually use, not the one your phone is on. Upload speed is what matters for a broadcast, not download speed.
- OBS Studio, downloaded from obsproject.com. It is free, open source, and runs on Windows, macOS and Linux.
- A platform account on Twitch, YouTube, Kick or TikTok Live. Signing up takes a couple of minutes and an email confirmation.
- A headset or microphone if you plan to talk. Voice chat in the game works in a pinch, but a dedicated microphone sounds much better.
- A webcam only if you want people to see you. Many first streams are gameplay only, and that is completely normal.
- A second monitor if you have one. It is genuinely useful for reading chat without alt-tabbing out of the game, but a single screen works for a first broadcast.
What you can safely skip for stream one: a webcam, a stream deck, custom overlays, alert packages, a capture card, a dedicated streaming PC, and a second monitor. Every one of those is a later upgrade, and buying them before you know what you like tends to leave unused gear on a desk. Start with what you own.
How to Stream Your Gameplay for the First Time: Step-by-Step
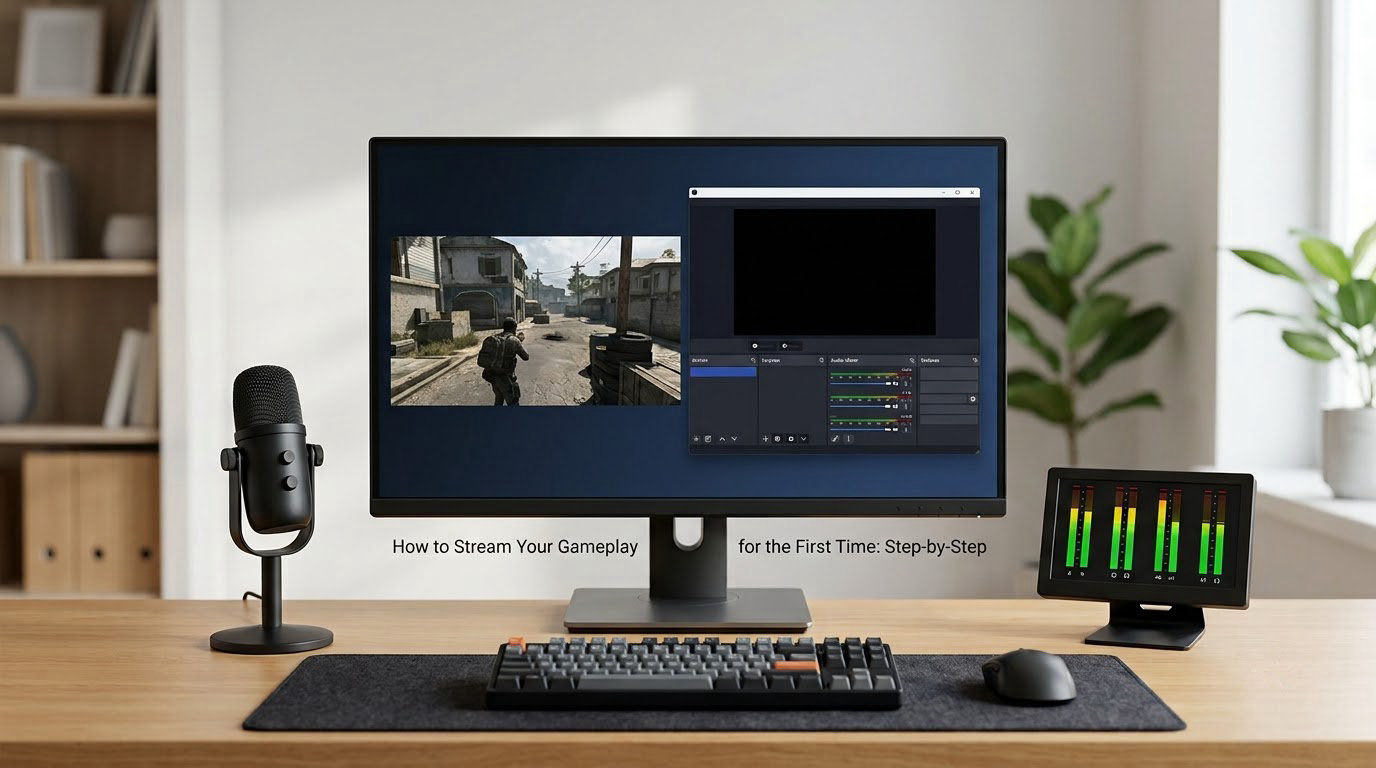
The workflow below is nine steps and roughly an hour. Do them in order. Each one assumes the previous step is finished, and each has a simple way to tell whether it worked before you move on.
How to stream your gameplay for the first time in OBS Studio
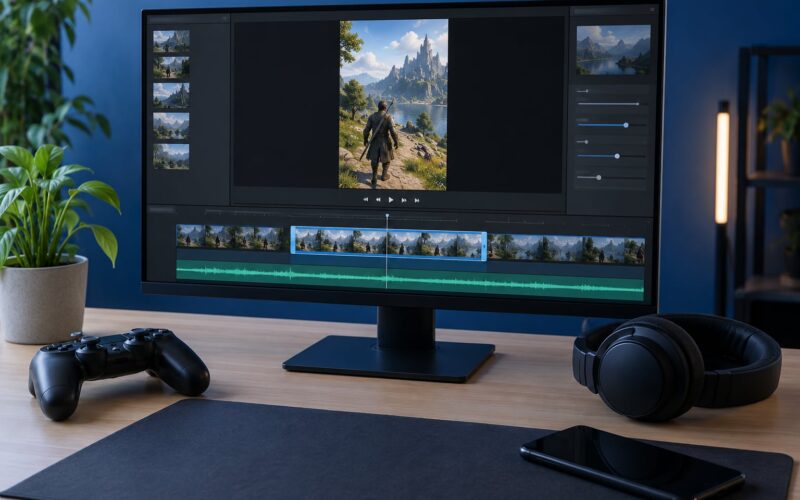
Open OBS Studio. On first launch it offers the Auto-Configuration Wizard, which asks whether you want to optimise for recording or for streaming, then sets a base canvas and frame rate. Pick streaming, choose 1920×1080 as the base canvas, and pick 30 FPS if you are not certain your PC can hold 60. You can change any of it later.
If the wizard does not appear, open Tools > Auto-Configuration Wizard. If OBS opens on a black canvas with no game, that is expected. It needs a source.
To add the game, click the + button at the bottom of the Sources panel and choose Game Capture. Leave the default mode set to capture any fullscreen application, and click OK. Launch your game and the preview in OBS should fill with the game picture. That is the single clearest confirmation that your capture works.
If the preview stays black, switch the same source to Display Capture, which grabs the whole screen instead of one window. Display capture always works and costs a little more processing power, so it is a good fallback and a fine choice for a first stream.
One beginner detail worth knowing: a scene holds your sources, and a source is the individual thing inside it. The scene is the empty room, the Game Capture is the game window in it, and a webcam is another source in the same room. Adding a source when you meant to add a scene is the most common confusion at this stage.
Before you go live, check audio. Open Settings > Audio and confirm Desktop Audio is set to your default output device. Then watch the meters at the bottom of the OBS window while the game runs. Green is safe, yellow is loud, red means you are clipping and losing audio quality. You want to see the meter move and never touch red.
Choose a streaming platform and protect your privacy
Here is how the main platforms differ for a first-time streamer.
| Platform | Best for | Notes for beginners |
|---|---|---|
| Twitch | Live-first audiences and a strong gaming community | The clearest path to a small chat. Most beginner walkthroughs, including this one, assume Twitch. |
| YouTube Live | People who find your videos through search | Streams are archived automatically, so your first broadcast can keep working for months. |
| Kick | Smaller channels and categories with lighter competition | Fewer small channels competing for the same viewers in many categories. |
| TikTok Live | Short, casual streams and mobile gameplay | Vertical formats and quick clips work well. Read age settings carefully. |
Create the account first, verify your email, then set a display name and a short bio. You can change all of it later, and nobody is judging the profile of a brand-new channel.
Before you stream, decide what you are comfortable with. On Twitch that means checking your channel settings for age restrictions, and deciding whether you want a mature-content label on the category you pick. Keep your game categories clean unless the game itself is rated for it.
Two privacy habits are worth building now. Close anything with personal information before you broadcast, including private messages, a second monitor showing your desktop, and any screen with account details. And do not run your game alongside a voice app you have not muted. Most first-stream surprises are somebody reading your message notifications aloud to four people.
Connect the stream key and check your settings
OBS needs permission to broadcast to your channel, and that permission comes from a stream key. A stream key is a long password-like string. Anyone who has it can broadcast to your channel.
There are two routes. The easy route is Settings > Stream in OBS, where the service dropdown offers Connect Account. You log in on a Twitch page, approve the connection, and OBS handles the key for you. This is the least error-prone option and the one I would use.
The manual route is the Twitch Creator Dashboard. Sign in at twitch.tv, open Creator Dashboard > Settings > Stream, and use the Primary Stream Key field. Copy that value, go back to OBS, open Settings > Stream, keep Twitch selected, and paste it into the stream key box. You can reveal the key again from the same dashboard page if you ever need to replace it.
Treat that key like a password. Do not post it, do not paste it into a screenshot, do not send it to anyone offering to help, and do not put it in a public Discord. Regenerate it from the Creator Dashboard if it leaks.
While you are in Settings > Stream, copy these starting values. They are deliberately conservative so your first stream is not a buffering test.
| Setting | Starting value | Why it matters |
|---|---|---|
| Streaming service | Twitch (or your chosen platform) | Sets the server and the destination of your broadcast. |
| Server | Default for your platform | Twitch uses RTMPS. Do not change it. |
| Video bitrate | 4500 Kbps for 1080p, 2500 to 3500 Kbps for 720p | Quality ceiling. Pushing it past your upload speed causes buffering for viewers. |
| Audio bitrate | 160 Kbps | Standard for Twitch and fine for every platform. |
| Encoder | NVIDIA NVENC, AMD AMF, Apple VT H264, or x264 | A hardware encoder leaves your CPU free for the game and avoids frame drops. |
| Base canvas | 1920×1080 | The size of the canvas your sources are laid out in. |
| Output resolution | 1920×1080 or 1280×720 | What viewers actually receive. Match it to your upload speed. |
| FPS | 30, or 60 if your PC holds it | More frames look smoother but cost more bandwidth and processing power. |
| Upload speed | At least 5 Mbps for 720p, 8 Mbps or more for 1080p | Low upload speed is the usual reason a stream buffers or drops quality. |
If your PC struggles with the game after you enable OBS, the cause is almost always software encoding. x264 uses your CPU, which your game is also using. Switching the encoder to the hardware option for your graphics card moves that work onto the GPU and usually restores your frame rate.
Test the broadcast before inviting viewers
This is the step most guides skip and the one that saves the most stress. Run a private test broadcast before you stream publicly.
On Twitch, a private test is simplest through an unlisted broadcast: set the stream visibility in your broadcast settings to unlisted, or use a separate test channel. On YouTube, set the stream to Unlisted. Either way, the broadcast runs normally but does not appear in discovery.
Run the test for three to five minutes while you play. Look at five specific things:
- Game visibility is the whole window, with no desktop, taskbar or private tabs showing.
- Video clarity is acceptable at the resolution you chose. If it is soft or blocky, your bitrate is higher than your upload speed supports.
- Frame rate in the game feels the same as when OBS is closed.
- Audio levels sit around green and yellow. Your voice should be louder than the game but not shouting over it.
- The platform recognises the stream and shows your title and category on the broadcast page.
If the picture is fine in OBS but soft on the platform page, it is a bitrate or upload problem. If OBS itself is soft, it is your output resolution. If audio is missing entirely, check the Desktop Audio device in Settings > Audio first.
To check picture and sound without going live at all, click Settings > Output > Recording, add an output folder, and hit Start Recording. That is also the easiest way to grab a clip for your channel page later.
Go live and manage your first stream
When the test looks right, go public. Here is the launch checklist.
- Close private tabs and personal windows. Check the second screen if you have one.
- Set your stream title and category in the Stream Information dock in OBS, which pushes them to the platform.
- Set your broadcast visibility back to public on the platform.
- Play your game in borderless windowed mode so the picture is stable.
- Click Start Streaming at the bottom right of OBS.
- Watch the OBS status bar change from Connecting to Streaming. That transition taking several seconds is normal.
While streaming, watch three things. The status bar tells you whether the connection is healthy. The audio meters tell you whether you are clipping. The frame rate indicator in the stats window tells you whether your PC is keeping up. Ignore all three if they look fine, because a streamer who watches their own stats instead of playing tends to have a miserable first stream.
Keep your first broadcast to an hour or two. Long enough to get past the panic, short enough that you always want to go back.
If nobody shows up, that is the normal first stream. A viewer count of zero does not mean the stream is broken, and streamers in the r/Twitch community regularly point this out to newcomers who assume the worst. If you want company, drop into another small channel and chat for a few minutes before you start.
Talking is harder than it should be. Commentate to yourself during the test, out loud, even with nobody listening. On camera, place the webcam off to one side rather than dead centre; a lot of first-week streamers report that a corner frame feels far more natural than staring straight down the lens.
To end cleanly, click Stop Streaming in OBS, confirm on the platform, then close the game. Ending the broadcast properly is what marks it finished and processes the recording, so do not just shut the game and walk away.
One legal note while you are here. Do not stream commercial music as background audio. Automated copyright systems match songs against the broadcast and a first stream is exactly the kind of thing that gets muted. Game music and in-game voice lines are fine.
Common Mistakes
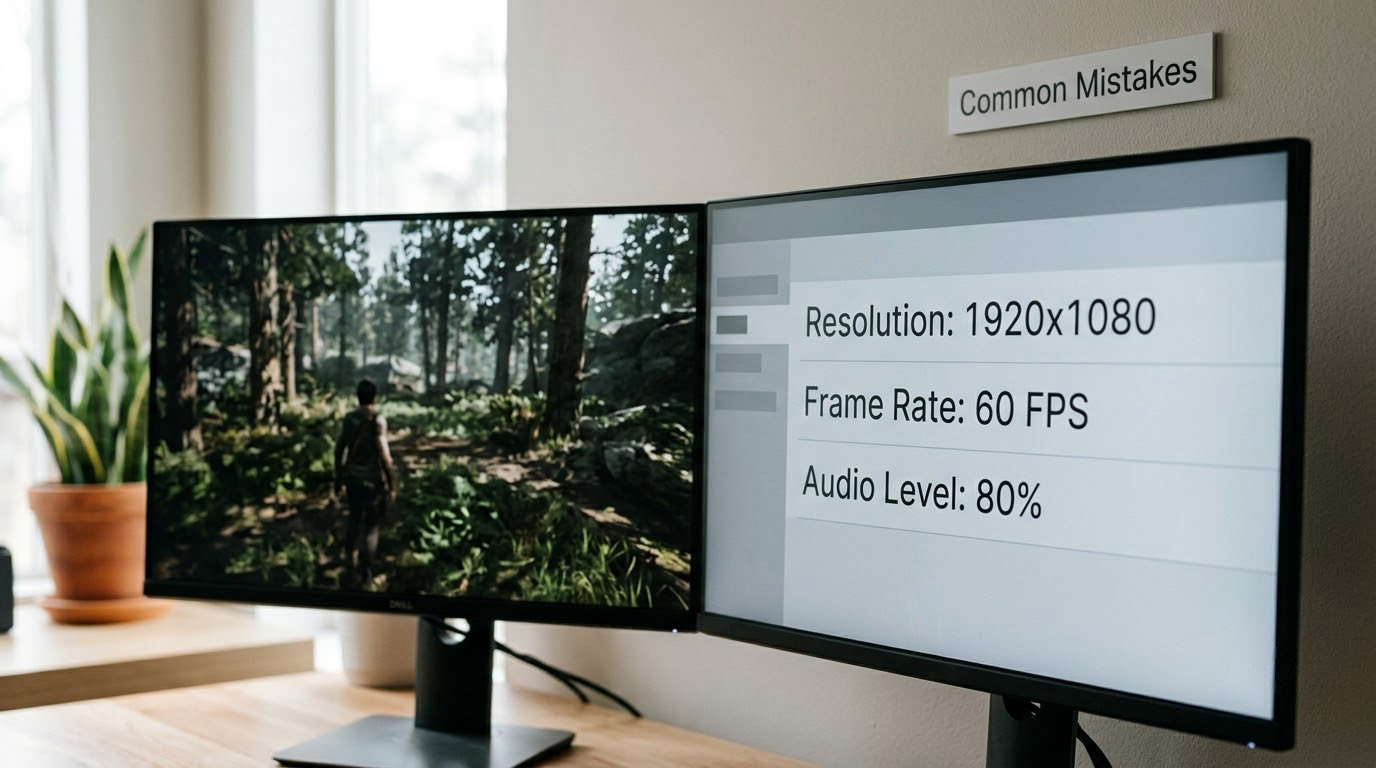
Nearly every first-stream problem falls into one of these categories, and all of them have a quick fix.
| Problem | Likely cause | Fix |
|---|---|---|
| Black screen in the OBS preview | Game Capture cannot attach, often because the game runs on a different GPU or blocks the capture method | Switch that source to Display Capture in the Sources panel, or restart the game after OBS is open. |
| Stream shows your desktop, not the game | Display Capture is capturing the whole monitor | Add a Game Capture source instead, or use Window Capture and pick the game window. |
| No game audio in the stream | Desktop Audio is muted or set to the wrong device | Open Settings > Audio and set Desktop Audio to your default output device, then check the mixer slider is not muted. |
| Voice too quiet, too loud or echoing | Mic gain and room acoustics | Adjust Mic/Aux in the Audio Mixer until you hit green, and move the microphone closer to your mouth. |
| Viewers report buffering | Bitrate higher than your upload speed can carry | Drop the video bitrate or switch output resolution to 720p, then test again. |
| Stream shows offline on the platform | Stream key mistyped, or the account lost its connection | Reconnect the account in Settings > Stream, or paste the key again from Creator Dashboard > Settings > Stream. |
| Game frame rate drops while streaming | Software encoding on x264 competing with the game for CPU | Switch the encoder to your hardware option in Settings > Output > Streaming. |
| Audio clipped or distorted | Meter hitting red and clipping | Lower mic gain and game volume until the meters stay in green and light yellow. |
| Chat not visible in stream | Chat window minimised or on another screen | Bring the chat window back, or use a second monitor if you have one. |
| Copyright claim or muted audio | Commercial music detected in the broadcast | Use game music or a licence-free source, and check your VOD for the same audio. |
The one to watch before you go public is the audio. Viewers leave over bad sound far more often than they leave over an ordinary game, and a mic that is too quiet is the single most common complaint in first-stream threads. Spend the extra five minutes on your levels.
The second is exposure. Check your taskbar and any second monitor before the broadcast, and pause the first ten minutes of a public stream on a Starting Soon scene if it helps you settle in. That scene is just another OBS scene with text on it, and it buys you thirty seconds without a black screen.
Frequently Asked Questions
Do I need a webcam or microphone to stream?
No. Plenty of first streams are gameplay only with no face and no commentary at all, and it is a completely normal way to start. A microphone helps if you plan to talk, because viewers drop off quickly when a stream is silent, but your game headset works fine for a first broadcast. Add a webcam later only if you want one; the pressure of being on camera is a common reason people put off streaming.
What kind of PC do I need to start streaming?
You do not need a dedicated streaming PC. A mid-range laptop can usually manage 720p at 30 FPS alongside a game. A sensible floor is a 5th-generation i5 or Ryzen 5, 16 GB of RAM, and a graphics card around a GTX 1660 or RX 580 in class. The real limit is your upload speed, so check that first at 5 Mbps or better for 720p.
Can I stream console or phone gameplay without a PC?
Yes. Most current consoles have a built-in broadcast button that sends the picture straight to a platform account, so you can skip OBS entirely. Phones can stream through the platform app or a mobile broadcasting app, usually from a mobile data connection rather than home Wi-Fi. The tradeoff is less control over overlays and audio, but for a first broadcast the simpler path is often the better one.
Is OBS Studio really free, and is it safe to download?
OBS Studio is free and open source, published by the OBS Project. Download it only from obsproject.com, which sends you to the official build for your operating system. Avoid third-party download sites, which is the usual source of bundled junk. If the Auto-Configuration Wizard does not appear on first launch, open Tools and run it from there.
How old do I have to be to stream on Twitch?
Twitch requires account holders to be 13 or older, or 16 and over in some regions, and a parent or guardian must agree to the terms if you are younger. Rules around streaming mature games apply as well, which is another reason to check your channel settings before going live. If you are under the minimum age, do not work around it; wait or ask a guardian about a family arrangement.
How many viewers do I need to make money streaming?
The honest answer is that a great many. Twitch Affiliate status requires 1000 followers and 500 minutes of broadcast in a 30-day window, and even past that, income depends entirely on donations, subscriptions and sponsorships that viewers choose to give. Most new channels spend months streaming to very small audiences, so treat the first stream as practice rather than a business decision.
Afterwards, watch your own VOD back if the platform recorded one. Fix one thing at a time, and keep the bits you like. That review is faster than any guide at telling you which habit to change next.
Conclusion
Start with the smallest version of the job. Create your platform account, install OBS Studio from obsproject.com, add your game as a Game Capture source, and check that your audio meters move.
Then run a private, unlisted test broadcast for five minutes and confirm the picture, sound and platform status all look right. Once that test is clean, change the visibility to public, click Start Streaming, and play your game for an hour while you talk to whoever turns up. Zero viewers on that first broadcast is normal, and every channel you admire started there.