To set up a private server for friends, install the game’s official dedicated server software on a machine that stays switched on, restrict access to a whitelist, forward only the ports that game documents, and test the connection from outside your own network before anyone else tries. On a spare desktop PC this takes most of an evening the first time and about ten minutes for any server after that.
One clarification before we start, because search results for this phrase get messy. On Roblox, a “private server” is a locked lobby you buy from the game’s page, and you do not host it yourself. This guide is about the other meaning: a game server you run yourself that only your friends can join.
A quick note on cost, since it comes up first. If you already own a PC and a decent connection, self-hosting costs you little beyond electricity. If you are behind a network that blocks inbound traffic, or you do not want the noise and power draw of a machine running around the clock, renting a small virtual server is the sensible trade.
Table of Contents
- 1What You Need
- 2Step-by-Step: How to Set Up a Private Server for Friends
- 3Choose the Right Hosting Option
- 4Install the Game’s Supported Server Software
- 5Configure Rules, Admins, and a Friend Whitelist
- 6Open and Forward the Required Network Ports
- 7Start the Server and Verify It Works
- 8Back Up, Secure, and Maintain the Server
- 9Common Mistakes and Quick Fixes
- 10Common Mistakes Worth Knowing About
- 11Frequently Asked Questions
- 12Is it legal to run a private game server for friends?
- 13Do I need a powerful PC to host a private server?
- 14Can I use a cloud server or VPS instead of my home PC?
- 15Should I make my private server public or use a whitelist?
- 16How do I stop friends who are not invited from joining?
- 17Conclusion
What You Need
There are really only three hosting models, and picking the wrong one is why a lot of people give up halfway through.
- LAN only. Everyone plays on your house wifi. No router changes, no security exposure, and it works even on an awkward network. Useless the moment someone is at a friend’s place.
- Your own PC, reachable from the internet. The server runs at home and you forward ports on your router. Full control, no monthly fee, and it is the model this guide covers in detail.
- A rented virtual server. A small VPS you control from a browser panel, running somewhere in a data centre. Costs a monthly rental fee and needs zero home hardware, but you manage it remotely.
Before you commit to the middle option, check what the game actually ships. Plenty of games publish a dedicated server build you download and run yourself, and their documentation lists the exact ports, memory needs and save-file locations. If a game has no official server software, no amount of router work will help you host it, so read the studio’s documentation first. The same pages tell you whether how to set up a private server for friends is realistic for that title at all, or whether you would be reverse-engineering a game that never wanted to be hosted.
You will need a machine that can stay on for long stretches. A modern desktop with a decent processor, 16 GB of RAM for a handful of players, and an SSD rather than a spinning disk is plenty. A Raspberry Pi or a small mini PC handles lighter titles, though heavily modded survival games will pull it hard.
You also need administrator access on the machine itself, a stable wired connection rather than wifi, and a clear answer on ports from the game’s official documentation. Write those port numbers down before you start. Guessing them is the most common reason a working server stays invisible to friends.
Finally, and this trips up most beginners: find out whether your internet connection can accept an inbound connection at all. Compare the WAN or internet IP address shown in your router’s admin panel with the address an IP lookup site gives you. If the two differ, your provider is sharing one public address across many customers, and port forwarding will never work. That setup is called CGNAT. Check it before installing anything, not after three failed attempts.
Step-by-Step: How to Set Up a Private Server for Friends
Choose the Right Hosting Option
Decide first, then install. Home hosting suits a friend group on a connection without CGNAT, gives you the machine you already own, and keeps everything under your control. The tradeoffs are real though: your upload speed becomes everyone’s ping, your home IP is the address you publish, and a Windows machine left running 24/7 develops a fan noise you will notice.
A rented server removes all three problems and costs a monthly fee that rises quickly if you pick something larger than a small group needs. It also means remote management only, so a mistake is fixed through a web panel rather than with hands on a keyboard.
Tunneling services sit between the two. They make an outbound connection from your PC to a relay and hand your friends a public address, which sidesteps CGNAT entirely because no inbound rule is needed. The catch people complain about most is latency: a relayed connection adds tens of milliseconds, which is obvious in shooters and mostly irrelevant in a survival game. Community threads on game-specific admin forums cover the frustration well enough to be worth reading before you commit.
Success check: you can state in one sentence which path you chose and why. If you cannot, the rest of the process will drift.
Install the Game’s Supported Server Software
Download the server build from the publisher’s site or from the game’s own launcher, not from a random download mirror. Accept the licence file the first launch asks you to acknowledge, which the server requires before it will continue. For games distributed through Steam, the command-line tool SteamCMD pulls the files and can update them on a schedule, which makes scheduled restarts painless.
Keep server files in their own folder. Mixing them into your normal game install is how half-finished updates and corrupted saves happen.
Launch the server once with no players. Read the console output rather than skipping it: a missing dependency, a wrong Java version or a JavaScript runtime error all show up there, and the message names the fix. Games built on certain engines refuse to start unless a specific runtime version is installed, which is why copying a friend’s folder rarely works.
Success check: the console reaches a listening state and reports which port it opened, and it stays up for ten minutes without crashing.
Configure Rules, Admins, and a Friend Whitelist
Open the configuration file the game provides. Most titles ship something like a properties file or a JSON file in the server folder, and the documentation lists every field. Set the server name to something your friends will recognise, set a difficulty or mode that suits your group, and write down the port the server just reported so you match it exactly in the router later.
Turn on the whitelist or allowlist option before you invite anyone. This is the single most important security step, and the field name changes between games. In several popular titles a whitelist of account IDs is also the server password, since only listed accounts can connect at all.
Set two lists: the admin list, so you have your own permissions back after a botched setting change, and the invited friends list. Most panels keep both in the same screen as the whitelist toggle, and some keep the admin list in a separate command file that only takes effect after a restart.
Give the admin account a long, unique password. It is the same account your friends will try to guess if the whitelist ever fails, and shared passwords are how servers get ruined.
Set a save interval and a backup destination from the start. Anything you cannot restore was never really saved.
Success check: restart the server and confirm it rejects an account that is not on the list. A whitelist you have not tested is only a guess.
Open and Forward the Required Network Ports
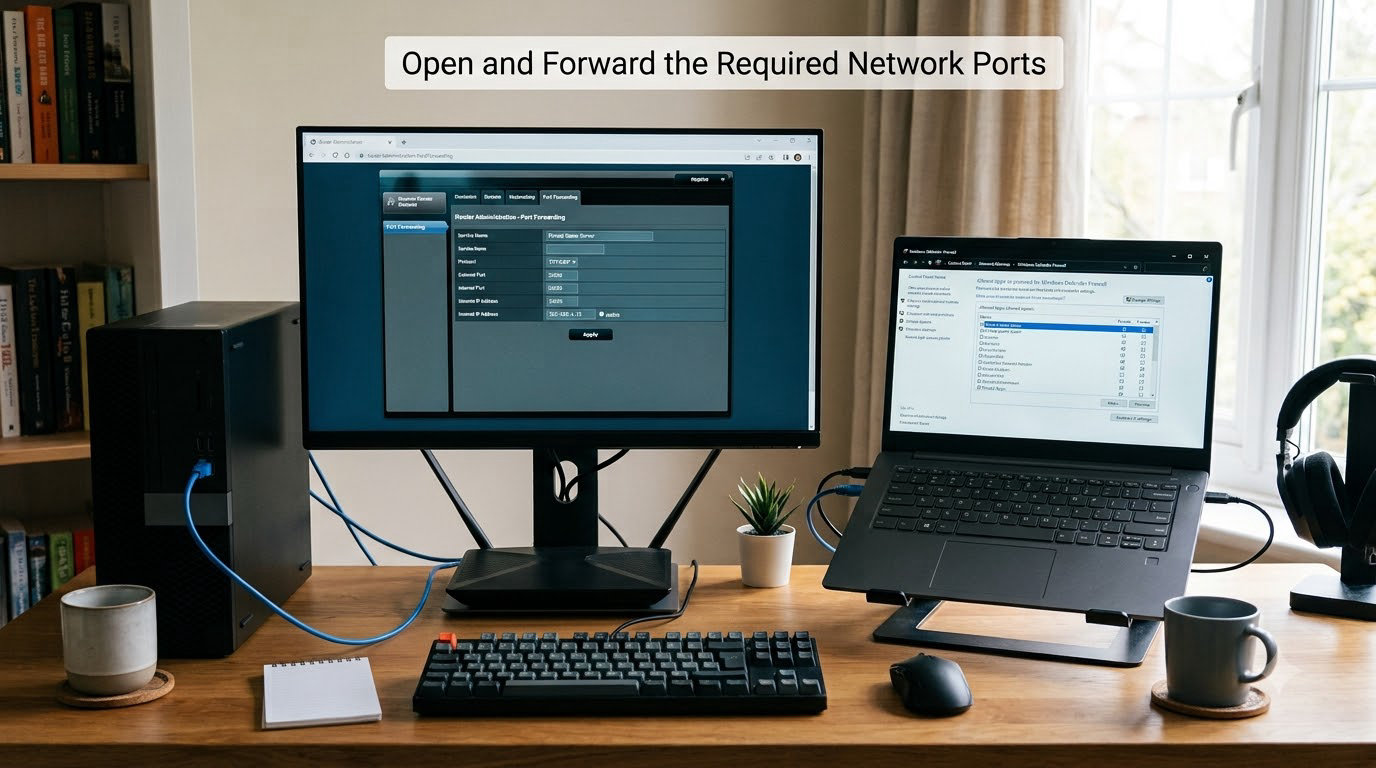
Two separate gates sit between your server and a friend’s client: the firewall on the machine, and the network address translation on your router. Open the first one, then the second, in that order.
On Windows 11, open Windows Security, choose Firewall and network protection, then Allow an app through firewall. Add the server executable under both private and public network profiles, and check the boxes for the protocol the game actually uses, usually UDP for gameplay and TCP for some connection handshakes. Some games open a second port for server browser discovery, so the documentation may list two numbers rather than one. Forward each one that the game documents, and nothing else.
On the router, sign in to its admin page, usually on a local address such as 192.168.0.1 or 192.168.1.1, find the port forwarding section under advanced settings, and add a rule for each port pointing at your server’s local IP address. Reserve that local address in the router’s DHCP settings so it never changes after a reboot. Then give the server a dynamic DNS name through a provider such as No-IP or DuckDNS, so your friends have one address to remember instead of a number that changes every time your router reconnects.
If you are behind CGNAT, none of this will work, and no amount of router configuration fixes it. Ask your provider whether they can give you a public address, or switch to a tunneling service or a rented server. Renters and shared office networks have another problem: you do not control the router at all, so this step is not available to you.
Never disable the firewall to make a connection work, and never forward a range of ports hoping to cover it. Forwarding more than you need exposes services you did not intend to publish.
Success check: the router shows the rule as active and your server’s local address matches the one in the rule.
Start the Server and Verify It Works
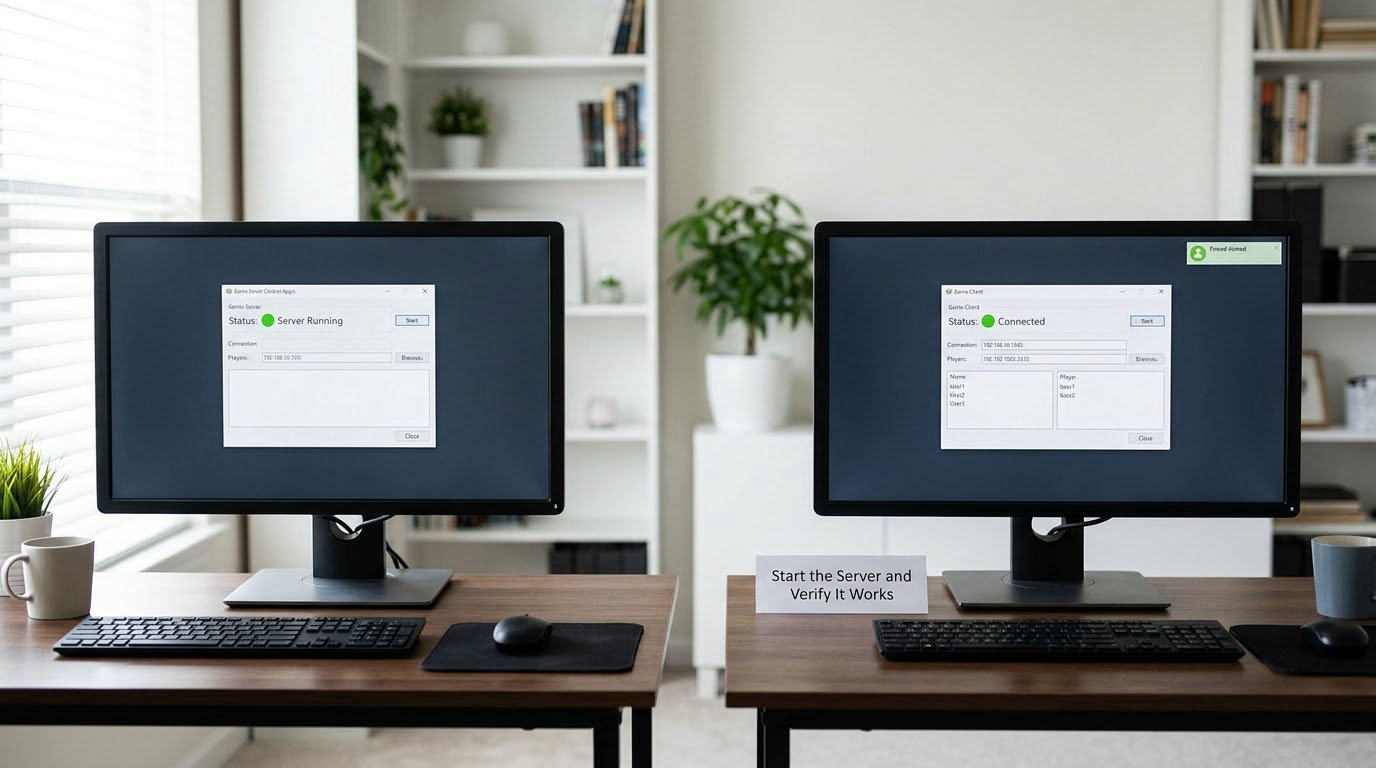
Start the server properly, through the supported executable or panel rather than by double-clicking a loose file. Watch the console during startup. A clean start prints the listening port and a line confirming the save directory, and you want to see both.
Join from your own machine first using the local address. That proves the game and the server agree with each other. Next, test from a device on a different network entirely, which means a phone on mobile data rather than the wifi two rooms away. This is the step that separates a server that runs from a server that is actually reachable, and skipping it is how people discover their router rule was wrong only after five friends have already given up.
Confirm the whitelist blocks an account you did not add, then confirm it allows one you did. Write down the exact address you want players to use, hostname and port or the relay address, and send that with one instruction: add the server address, join, and tell me if it fails to connect.
Success check: a player on mobile data joins in under a minute and stays connected for ten minutes without desync.
Back Up, Secure, and Maintain the Server
Schedule backups before you need them. Save the world folder and the configuration on a schedule, keep a rotating set rather than one copy that overwrites itself, and test a restore once so you know the backup is real.
Restrict remote admin access to yourself. If the game offers a separate administrative port or console protocol, bind it to your local network and never publish it. That port bypasses in-game permissions entirely, and it is the most valuable target on a small server.
Update through official releases only, and update when your group is offline. A version mismatch between server and client is a common cause of a server that refuses to start after a patch.
Plan for reboots. After a power cut, three separate things have to come back: the server process, any tunneling client, and the connection the tunnel itself needs. A scheduled startup task or a small service manager handles the first one. If you are not automating it, write the restart steps on paper and pin them above the machine.
Watch memory and disk. Save files grow quietly, and a full disk looks exactly like a crash.
Common Mistakes and Quick Fixes
Friends cannot connect at all is nearly always a port, firewall or CGNAT problem, in that order. It works for me locally but not remotely is always the second gate, the router, because local connections never touch port forwarding. Different query and gameplay ports cause a server that appears in the browser but will not accept a direct connection, or the reverse.
Server files that differ from the client’s cause a crash or a rejection right after connecting. Missing dependencies and wrong runtime versions cause an immediate exit with an error name in the console. In-game lag usually traces back to upload speed, tick rate settings or too many mods rather than to the server itself. World corruption after a crash almost always traces back to an unclean shutdown, so stop the server properly instead of killing the process.
Players who were not invited getting in means the whitelist is off, or you enabled it after the server had already started, so restart and retest.
Success check: keep a short note of every change you make. The second failure is always easier to fix than the first because the answer is written down.
Common Mistakes Worth Knowing About
Most of these are quick checks that take two minutes and save an evening.
- Connection refused for everyone. Confirm the router rule exists, confirm the firewall rule covers the right protocol, and confirm your public IP matches the router’s WAN IP.
- Behind CGNAT with no option to change. Use a tunneling relay or a rented server. No router setting fixes a second NAT layer you do not own.
- Works on wifi at home, fails everywhere else. That is the expected result of a local-only test. Test from mobile data before you call it finished.
- Server starts, then dies after a patch. Update client and server to matching versions and check the console for a runtime or dependency error.
- Everyone is banned after a restart. The whitelist file was probably overwritten or never saved. Restart the server and check it with a test account.
- Severe lag for friends but not for you. Your upload speed is the limit, and tick rate settings on a modest machine make it worse.
- Empty world after a crash. Restore the most recent backup and stop the server through its shutdown command next time.
- Server stopped after a reboot. Three things restart independently: the server, the tunnel client and the tunnel. Check each one.
Two habits cover most of these. Back up before every update, and keep a spare local address reserved in the router. Everything else is curiosity.
Frequently Asked Questions
Is it legal to run a private game server for friends?
Yes, for games that publish official dedicated server software and when everyone plays with legitimately owned copies. You are running the same software the developer ships. The grey area is bypassing official matchmaking, authentication or anti-cheat, which can breach the publisher’s terms even for friends. Check the game’s user agreement before you start, and never redistribute the server files or charge people to join.
Do I need a powerful PC to host a private server?
No. A small group of roughly two to ten players is a light load. A modern desktop with a decent processor, 16 GB of RAM and an SSD handles most games comfortably, and a mini PC works for lighter titles. Heavy mod packs and large survival games are the exceptions. Benchmark on your own hardware rather than trusting generic player-count charts.
Can I use a cloud server or VPS instead of my home PC?
Yes, and it solves several problems at once: no inbound port forwarding, no home IP exposed, no noise or power draw in your house, and usually a steadier connection for your friends. The trade is a monthly rental fee and remote-only management. Pick the smallest plan your group needs, because the cost scales quickly with the size of the plan.
Should I make my private server public or use a whitelist?
Use a whitelist. A public server is discoverable by scanners within minutes of opening a port, and small home-hosted servers are an easy target. A whitelist keeps access limited to accounts you add by ID, which is also the simplest gate you can put in front of a server. Only consider public access if you intend to moderate strangers and can accept the admin workload.
How do I stop friends who are not invited from joining?
Enable the whitelist or allowlist option in the server configuration and restart it, then add each friend’s account ID. In several games the whitelist doubles as the server password, so unlisted accounts cannot connect at all. Test with an account you did not add to confirm the block works, and remove an ID from the list the same way you added it.
Conclusion
Setting up a private server for friends is mostly a sequence of four decisions made in the right order. Install the official server files, enable the whitelist and forward only the ports the game’s documentation lists, test from a network that is not your own, and only then hand the address to your friends.
Everything after that is maintenance: scheduled backups, official updates during quiet hours, and an admin port that stays on your local network. Keep your firewall on, and check your public IP against your router’s WAN address once a year, because providers quietly change their network setup.