Record gameplay on a hardware encoder — NVENC, Intel QuickSync or AMD AMF — and your frame rate barely moves, because compression happens on a dedicated block inside the graphics chip instead of on the CPU cores your game is using. On NVIDIA cards, ShadowPlay instant replay does this automatically for a cost of roughly 3 to 5 percent of GPU power. Here is how to set it up so the recording stays cheap and the game stays smooth.
That matters more than it sounds. Frame drops hit you twice: the game feels worse while you play, and on a recorded clip the missing frames are baked in forever. Ten minutes of a stuttering recording is worth less than the same ten minutes shot at a slightly lower bitrate with clean 60 fps.
The setup below takes about 20 minutes for the first run and five minutes for every session after that. The tricky part is not clicking buttons — it’s knowing which of three bottlenecks is actually costing you frames, which is why the diagnosis step comes first.
Table of Contents
- 1What You Need
- 2Step-by-Step: How to Record Gameplay Without Hurting Performance
- 3Choose the Right Recording Method
- 4Set the Encoder for Smooth Gameplay
- 5Match Recording Resolution and Frame Rate
- 6Configure Audio, Overlays, and Hotkeys
- 7Test, Record, and Export
- 8Common Mistakes
- 9Reduce Performance Impact for Your Setup
- 10Frequently Asked Questions
- 11Does recording gameplay always reduce FPS?
- 12Should I record at 60 FPS or 144 FPS?
- 13Is OBS good for recording without hurting performance?
- 14Should I use game capture or display capture?
- 15How much storage does a gameplay recording need?
- 16Can I record gameplay on a laptop without lag?
What You Need
You need three things: a capture tool, a working hardware encoder, and somewhere fast to write the file. Everything else is detail.
- Capture software. For zero-configuration capture, use NVIDIA ShadowPlay (NVIDIA App) on RTX and GTX cards, Xbox Game Bar on any Windows 10 or 11 machine, or Steam’s built-in recording with Shift+Tab. For scenes, mixing, and editing, use OBS Studio, which is free and open source.
- A hardware encoder. NVENC on NVIDIA, Intel QuickSync on Intel, AMD AMF on AMD. Without one you fall back to x264 software encoding, which shares CPU cores with the game and is the single biggest cause of recording lag on laptops.
- Fast storage with headroom. A SATA SSD works; an NVMe drive is comfortable. Keep at least 15 to 20 percent of the drive free, because a full disk will produce a stuttering file even when the game itself is flawless.
- Audio. Desktop audio plus a microphone is the minimum. A USB microphone on its own device avoids the ground-loop hum you get from cheap onboard inputs.
Most of the cost sits in the first two items. A decent capture card or a second PC is not needed for a smooth recording — save that for the last resort, when a single machine simply cannot do both jobs.
Step-by-Step: How to Record Gameplay Without Hurting Performance
Choose the Right Recording Method
Game Capture is the cheapest capture method, Display Capture is the most expensive, and a dedicated capture card on a second PC is the only option that costs your game nothing at all. Pick based on what the game allows.
Game Capture hooks into the game’s own render output, so OBS only receives the frames it needs. This works in borderless windowed and in fullscreen on most modern titles. In OBS, add a Game Capture source, set Capture Method to Automatic, and leave it there unless the preview stays black — then try the hotkey option.
Display Capture grabs the whole desktop, which means OBS redraws everything it sees every frame: your desktop wallpaper animation, the taskbar, any browser window behind the game. It is the most expensive source you can add and it is only really necessary for capturing desktop elements, multiple monitors, or games with exclusive fullscreen that Game Capture cannot hook.
Hardware capture — an Elgato-style card fed from a second PC or a console — moves the entire encoding load off your gaming machine. The recording never touches the CPU or GPU playing the game, so performance impact is effectively zero. It costs a capture card and a second machine, or a console with its own share button.
| Method | Performance cost | Setup | Best for |
|---|---|---|---|
| NVIDIA ShadowPlay instant replay | Very low, roughly 3-5% GPU power | Two minutes, no configuration | NVIDIA card owners, highlights |
| Xbox Game Bar / Game DVR | Low | Already built into Windows | Quick clips, console-free Windows users |
| OBS with Game Capture | Low with hardware encoding | About 20 minutes | Long-form content, audio control |
| OBS with Display Capture | Moderate to high | About 20 minutes | Unusual sources, multi-monitor |
| Capture card, second PC | None on the gaming PC | Hardware, cables, a second system | Zero-compromise recording |
Set the Encoder for Smooth Gameplay
Switch OBS to a hardware encoder first, then tune it: NVENC with the Quality preset, Look-ahead off, B-frames set to 2, and a 2-second keyframe interval is the configuration most people land on.
In OBS, open Settings > Output > Recording tab > Video Encoder. Pick NVENC H.264, Intel QuickSync H.264, or AMD HW H.264 depending on your GPU. If your CPU has no QuickSync block, an AMD GPU has no AMF support, or you are on an older laptop, x264 is the only option left — use veryfast and accept the small quality loss.
For rate control, choose constant quality: CQP on NVENC and AMD AMF, CRF on QuickSync and x264. CBR with a bitrate ceiling is a streaming setting, and most guides that tell you to raise it to 30,000 Kbps are answering a question you don’t have.
- NVENC: Rate Control CQP, CQP value 18 for near-lossless quality, 20 as the balanced default, 23 when disk space matters. Preset Quality (not Max Quality), Look-ahead off, Psycho Visual Tuning off, B-frames 2, Keyframe Interval 2.
- QuickSync: Rate Control CRF, CRF 18-20, preset faster or veryfast, Keyframe Interval 2. This is the fallback that keeps laptops with no dedicated GPU recording at all.
- AMD AMF: Rate Control CQP, CQP 18-23, Preset Quality, Pre-Pass Balanced, Look-ahead off, Keyframe Interval 2.
- x264: CRF 18, preset veryfast, tune none. Do not use preset slow — it will steal cores from the game.
Those four lines matter. Max Quality, Look-ahead and Psycho Visual Tuning all add quality on paper at the cost of encoding time, and encoding time that runs out shows up as an “Encoding overloaded” message and dropped frames in your file.
Match Recording Resolution and Frame Rate
Set your Canvas (Base) resolution to your monitor’s actual resolution and your Output (Scaled) resolution to what you want in the file, both in the Video tab. Matching them means no rescaling work at all, which is the cheapest possible configuration.
Recording at the same resolution you play at looks the best and costs the most. If you run a 1440p or 4K screen and want 1080p files, downscale in OBS with the Bilinear or Bicubic filter rather than Lanczos. Lanczos gives a slightly cleaner edge and noticeably more GPU time per frame, which is exactly the budget you are trying to protect.
Match Output FPS to a frame rate the game can actually hit. Recording 60 fps from a 144 fps game is fine; recording 120 fps on hardware that cannot encode 120 fps is not. Record 60 fps unless you are publishing 120 fps footage on purpose.
Then give the GPU some room. Leave V-Sync off, cap in-game FPS roughly 3 to 15 frames below your refresh rate, and use an in-game frame limiter rather than an external one. Capping an uncapped game is often the whole fix: a machine rendering 600 fps spends GPU time on frames nobody ever sees, and trimming that back can be worth more than any encoder setting.
Configure Audio, Overlays, and Hotkeys
Set up audio once so it never needs attention mid-session: one audio source for desktop game sound, one for your microphone, and hotkeys that start, stop, and pause without alt-tabbing.
Add Audio Output Capture for desktop sound and an Audio Input Capture for the mic. Under Settings > Audio, set the sample rate to 48 kHz and the buffer size to 480 if your interface offers it; larger buffers cut the risk of audio crackle but add latency, and 480 is the common compromise. Bind Start Recording, Pause Recording, and a screenshot key in Settings > Hotkeys.
Overlays are the quiet frame stealer. Disable the Discord, Steam, GeForce Experience and Xbox Game Bar overlays, and remove any browser source in your scene — a browser source with hardware acceleration running is a whole extra rendering workload. In Settings > Advanced, set Process Priority to Above Normal and turn on Turn off source when not visible.
Test, Record, and Export
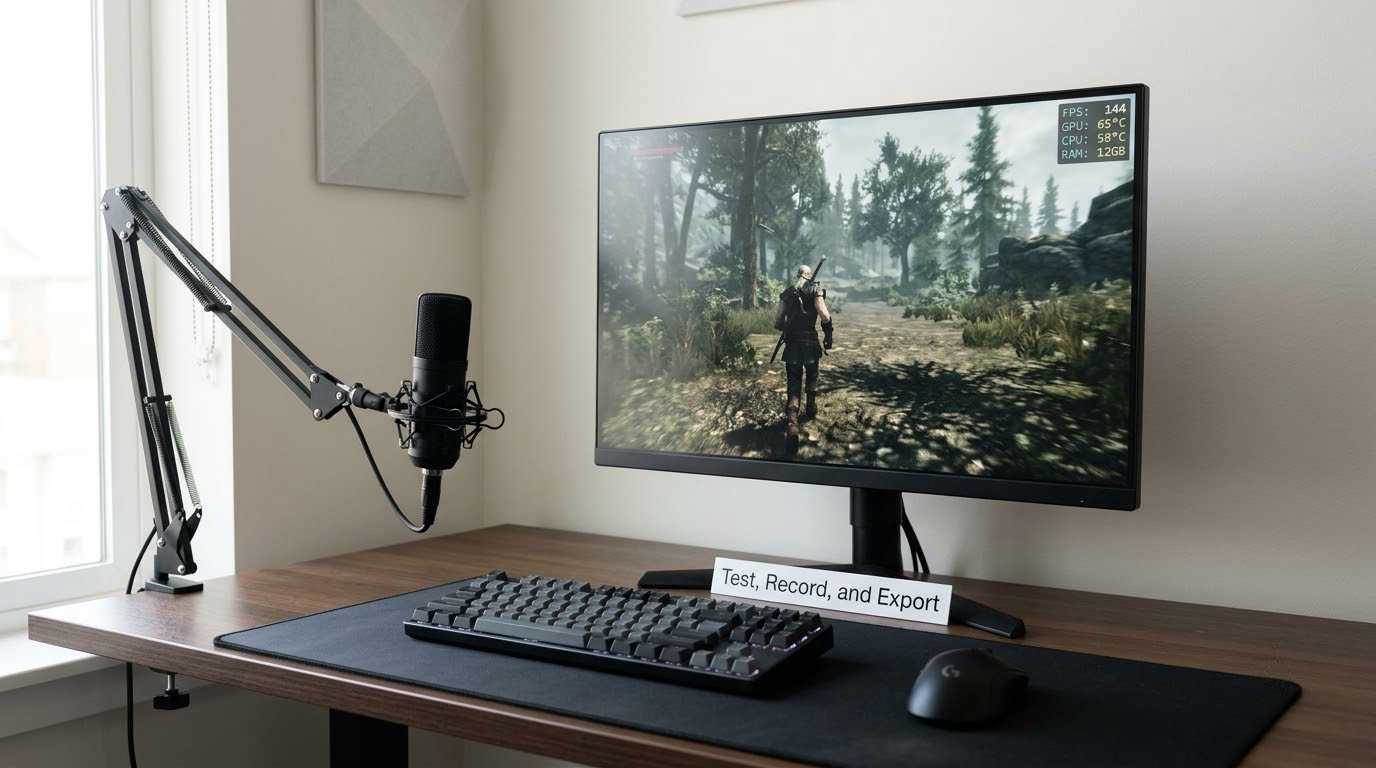
Record ninety seconds before you record anything real, and read the numbers while the game runs. In OBS, open View > Statistics and watch four lines: CPU usage, GPU usage, Dropped Frames (Rendering), and Skipped Frames (Encoding).
Rendering drops mean OBS could not draw its own preview in time — turn off filters, close extra scenes, or switch from Display Capture to Game Capture. Encoding skips mean the encoder fell behind, which is the Look-ahead and Max Quality problem from the previous section. If both counters stay near zero and the game still stutters, the recording problem is not in OBS.
Watch for audio desync too: talk into the mic, clap once on your desk, and check that the spike in the waveform lines up with the visual in the timeline. Then export from your editing tool at a sensible intermediate bitrate and archive the original master separately, because re-encoding a CQP 18 file twice loses more detail than any setting you changed here.
Common Mistakes
Almost every recording problem is one of six things, and the symptom tells you which. Match what you see to the row below before you change anything.
| What you see | Likely cause | Fix |
|---|---|---|
| In-game frame drops while recording | x264 software encoding eating CPU | Switch to NVENC, QuickSync, or AMF |
| Game is smooth, recorded file stutters | Slow disk, antivirus scanning the file, or a background audio device | Move output to an SSD, exclude the folder from antivirus, close unused audio apps |
| Encoding overloaded warning | Frame rate or resolution past the encoder’s limit | Drop Output FPS to 60 or reduce resolution |
| Recording is choppy, not the game | Bitrate set far too low, or Lanczos downscaling | Use CQP 18-20 and Bilinear or Bicubic |
| Laptop gets worse after 20 minutes | Thermal throttling on a U-series CPU | Clean vents, raise the laptop, cap FPS lower, prefer QuickSync |
| Lossless Scaling or DLSS Frame Generation output missing | OBS cannot capture generated frames | Capture without frame generation, or add the generated frames in post |
Two more worth knowing. On a laptop with Optimus and no MUX switch, you cannot disable the integrated GPU without losing your display output, so accept it and stop chasing that setting. And a “stutter” that only appears on a second monitor is often the recorder’s own preview window sitting on the same GPU as the game.
Reduce Performance Impact for Your Setup
Once the encoder is hardware-based, the remaining wins come from matching your settings to the machine you actually own rather than the one in a YouTube thumbnail.
Low-end laptops and older GPUs. Cap in-game FPS at 60, record at 1080p60, use QuickSync if your CPU has it and x264 veryfast if it doesn’t, and keep the recording resolution equal to your display resolution. Expect the file to run to roughly 25 to 45 GB per hour at high quality, so check free space before a long session.
Mid-range desktops. Record at native resolution with CQP 20, cap FPS 3 frames under refresh, and expect 30 to 45 GB per hour at 1080p60. Filtering out every other source and turning off the preview window while you play buys back a surprising amount of GPU time.
High-end and streaming setups. Recording and streaming together is fine on a hardware encoder because both paths use the same silicon. Two NVENC sessions — one for streaming, one for recording — are supported on current NVIDIA cards. Give the stream a CBR bitrate ceiling near 6,000 Kbps for 1080p60 and keep the recording on CQP, since they want opposite things.
Console players. The PS5 Create button and the Xbox Series X share button record with a built-in encoder, so nothing on your console setup changes your frame rate. Xbox cloud gaming saves the video automatically; the PS5 captures locally and lets you trim clips from the control center afterwards.
Finally, verify the work instead of assuming it. CapFrameX or the MSI Afterburner overlay gives you frametime and 1% low figures; record the same benchmark scene before and after your settings change. If the numbers match, you have a recording setup that costs you nothing.
Frequently Asked Questions
Does recording gameplay always reduce FPS?
No. With a hardware encoder doing the compression, the cost is usually 3 to 5 percent of GPU power, which is invisible in most games. With x264 software encoding the picture changes completely, because the encoder competes with the game for the same CPU cores and can cost you a third of your frame rate on a laptop. If you see frame drops while recording, check which encoder is selected first.
Should I record at 60 FPS or 144 FPS?
Record at 60 FPS unless you are specifically publishing 120 or 144 FPS footage. Recording at a frame rate your hardware cannot encode is a reliable way to see the Encoding overloaded warning and dropped frames in the file. Match the output frame rate to what the game actually delivers, and give the GPU 3 to 15 frames of headroom below your monitor refresh rate.
Is OBS good for recording without hurting performance?
Yes, as long as you switch the video encoder to a hardware option. In OBS, Settings, Output, Recording tab, then Video Encoder should read NVENC H.264, Intel QuickSync H.264 or AMD HW H.264 rather than x264. Add a Game Capture source instead of Display Capture, use CQP rather than CBR, and OBS becomes very cheap. OBS is heavier on CPU than GPU when it is software encoding and GPU-bound when it is rendering a heavy preview.
Should I use game capture or display capture?
Game capture, wherever the game allows it. It hooks the game’s own render output, so OBS only processes the frames it needs. Display capture records the entire desktop, forcing OBS to redraw your wallpaper, taskbar and any open browser window every frame, which is the most expensive source in the app. Use display capture only for multi-monitor setups, desktop guides, or games running true exclusive fullscreen.
How much storage does a gameplay recording need?
Budget roughly 25 to 45 GB per hour for a 1080p60 recording at CQP 18 to 20, and about twice that at 1440p or 4K. Keep at least 15 to 20 percent of the drive free, because a nearly full disk is a common cause of a stuttering file on an otherwise smooth game. Record to an SSD with sustained write speed rather than a hard drive or an external spinning disk.
Can I record gameplay on a laptop without lag?
Usually, but laptops need more care than desktops. Use QuickSync or NVENC rather than x264, cap in-game FPS at 60, and expect thermal throttling to cut your clocks after twenty minutes of load, which is why performance drops partway through a session. Clean the vents, keep the machine off a soft surface, and prefer a native resolution recording so OBS does no scaling work.
Start with a ninety-second test recording and the Statistics window open. Whichever counter moves tells you whether your problem is rendering, encoding, or the disk — and that one number decides everything you change next.