The honest answer to how to host your own game server is one fork: run a dedicated server on hardware you already own, or rent one from a game hosting provider. Either way, a game server is a machine that holds the world, decides what is real in it, and stays up so your group can connect whenever you want. Most beginners who get stuck are not stuck on the game at all. They are stuck on networking, specifically whether their connection can accept incoming traffic in the first place. So we check that before anything else, then walk the full path from empty hard drive to friends joining.
This guide covers the whole route, whichever branch you take. It is written for Windows and Linux hosts, updated for 2026, and it names the exact tools the setup actually needs: SteamCMD, Pterodactyl, AMP Management Panel, playit.gg and DuckDNS. If you only read one section, read step 5. Port forwarding is where most first-time hosts lose an evening.
Table of Contents
- 1What You Need
- 2How to check if you are behind CGNAT in about 30 seconds
- 3How to Host Your Own Game Server Step by Step
- 41. Check the Game’s Server Requirements
- 52. Decide How to Host Your Own Game Server: Home or Rented
- 63. Install the Server Files
- 74. Configure the Server Settings
- 85. Open the Required Network Ports
- 96. Start and Test the Server
- 107. Secure, Back Up, and Invite Players
- 11When Port Forwarding Is Not an Option
- 12Common Mistakes
- 13Frequently Asked Questions
- 14Can I host a game server on my home computer?
- 15How much internet speed does a game server need?
- 16Should I self-host or rent a game server?
- 17Why can my friends see the server locally but not online?
- 18Do I need to forward ports for a rented game server?
- 19Conclusion
What You Need
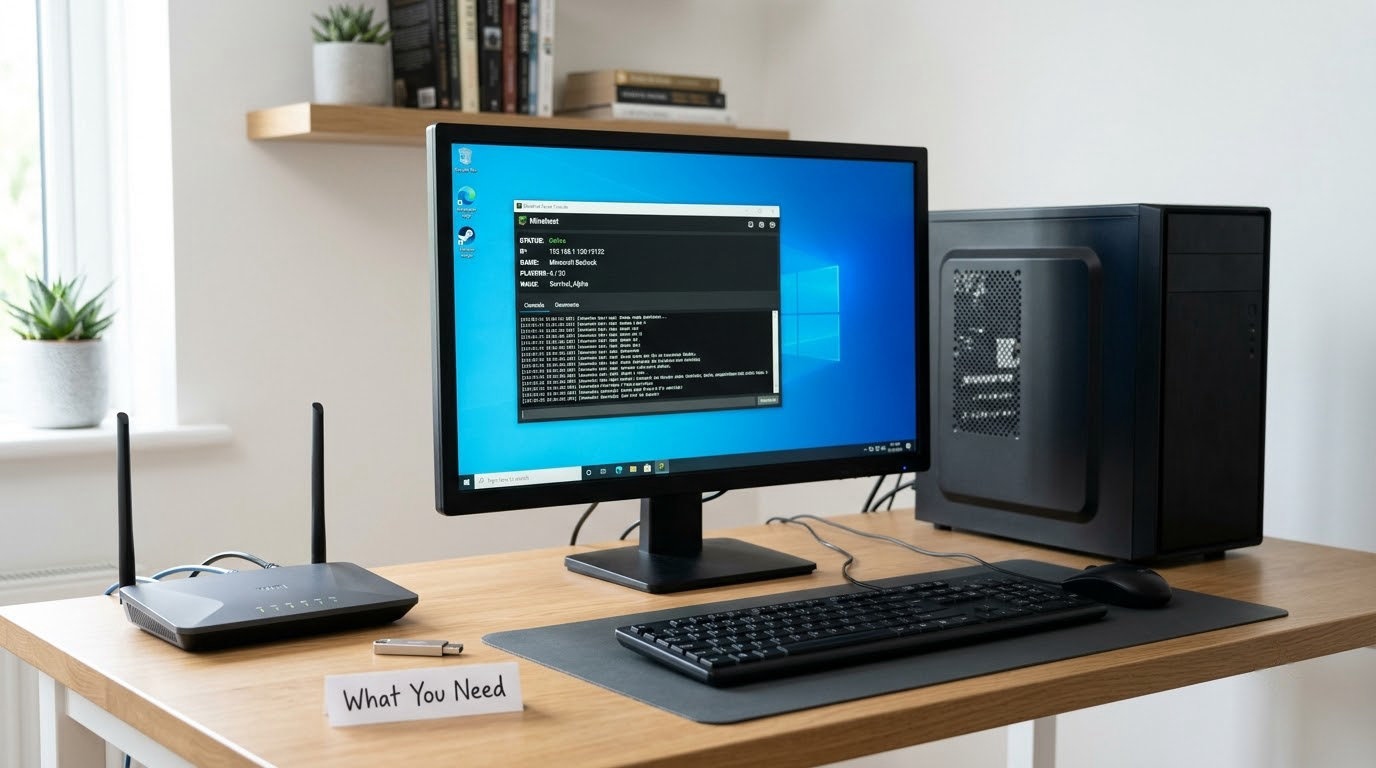
There are two ways to get a running server, and both end at the same place.
- Self-host. A spare desktop, a mini PC or an old laptop runs the dedicated server software. Your router forwards one or more ports to that machine. Cheap or free, full control, and you own the hardware.
- Rent. A hosting provider runs the machine in a data centre. You get a panel, a fixed address and guaranteed uptime, and you pay monthly for it.
Whichever route you take, the prerequisites are the same list.
- The game’s dedicated server software, downloaded from the developer or the official Steam depot.
- Administrator access to your router, plus administrator rights on the host machine for firewall rules.
- A wired connection on the host machine. Wi-Fi adds jitter and drops sessions when other devices pull bandwidth.
- The required ports, which you read from the game’s official documentation rather than guessing.
- Enough RAM for the player count, and an upload speed that is a share of your whole line rather than a share of nothing.
Before any of that, run the CGNAT check. Carrier-grade NAT is a layer of network address translation applied by your provider, and it means your router has no public IPv4 address of its own. On a CGNAT connection, port forwarding does nothing at all, no matter how many hours you spend on router settings.
How to check if you are behind CGNAT in about 30 seconds
Find your router’s WAN IP address in the router admin page, then look up what your public IP appears to be on any IP lookup site. If those two numbers differ, you are behind CGNAT and inbound connections cannot reach you. Both are common in the mobile broadband and satellite connections people use for second homes. If the numbers match, you have a public address and you can move on to step 5.
Two other checks worth doing now. Confirm your public IP is not on a blocklist used by hosting providers, because a clean address makes the rented path painless later. And confirm the machine you plan to use can stay awake, since a sleeping host is an offline world.
How to Host Your Own Game Server Step by Step
1. Check the Game’s Server Requirements
Start with the developer’s documentation, not a forum guess. You want the operating system, the CPU and RAM for your intended player count, the storage type, and whether an official dedicated server build exists at all. Plenty of multiplayer games ship with no server software, which ends the project before it starts.
As a rough sizing guide for survival and sandbox games:
| Players | CPU | RAM | Upload speed to aim for | Storage |
|---|---|---|---|---|
| 2 to 4 | Recent 4-core | 4 GB | 10 Mbps up | SSD, 20 GB |
| 6 to 10 | 6-core | 8 GB | 25 Mbps up | SSD, 50 GB |
| 12 to 20 | 8-core or better | 16 GB | 50 Mbps up plus | SSD, 100 GB |
| Competitive shooters | High single-core clock | 16 GB and up | 50 Mbps up plus | SSD, tickrate matters more than cores |
It worked when I stopped reading benchmarks and counted players instead. A ten-player survival server on a four-core machine ran fine; a twenty-player one crawled, and no amount of RAM fixed it. Competitive shooters behave differently again, because tickrate and single-core speed dominate rather than raw capacity.
2. Decide How to Host Your Own Game Server: Home or Rented
Here is the comparison, including the free options that are genuinely enough for small groups.
| Approach | Ongoing cost | Effort | Uptime | Best for |
|---|---|---|---|---|
| Self-host on a spare PC | Electricity only | Medium | Depends on your power and sleep settings | Groups of 3 to 15 on wired broadband |
| Self-host on a VPS or cloud VM | Low monthly fee | High | Very high | Small groups that need 24/7 access |
| Rent a managed game server | Monthly, scales with slots and RAM | Low | Very high | Public communities, 15+ players, low ping |
| Peer-to-peer host mode | Free | Very low | Only while the host is online | Two or three players at the same time |
| LAN play on a switch or router | Free | Lowest | Local only | Same house, same network |
| Developer-hosted service | Monthly subscription | Lowest | Very high | No admin work at all |
The honest rule is this. Rent if you need the world up when your machine is off, if your connection cannot accept inbound traffic, or if your players sit in different countries and ping matters more than ownership. Self-host if the group is small, the connection is wired, and stopping a recurring bill is worth an evening of setup.
On the choice of host operating system, the community consensus is fairly consistent: Linux is preferred for game servers, with bare Ubuntu Server for people who want nothing but a shell, and Xubuntu for people who want a desktop to click around in. Windows is fine when a game only ships a Windows server build. Proxmox and Open Media Vault sit one level up as hypervisors, which is how you run several machines from one box. None of that changes the basics of hosting a server yourself, which are a clean install, a documented port and an address players can type.
Skip a hypervisor on your first attempt. Install the server directly, get friends connecting, then containerise once you outgrow one server at a time. Almost every abandoned home-server project I have seen collapsed at the stage where the person was managing virtualisation and Docker before a single player had joined.
3. Install the Server Files
Download server files only from the developer, the official Steam client, or a repository you would trust with your own computer. Random download sites repack server files, and a corrupted or modified build fails in confusing ways hours later.
On Steam-based games, install SteamCMD, the command-line Steam client, authenticate with a free Steam account, and use it to pull the dedicated server app for your game. It is a text tool: you tell it which app ID to install and where, and it downloads the files. Games sold outside Steam, including Minecraft Java Edition, ship their own server jar instead, and you run that with a Java runtime matching the version the game documents.
Create a folder with a clear name first, something like servers/myserver01, rather than dropping files into your Downloads folder. You will want to point backups, a container mount and a panel at that path, and doing it now saves editing three configs later.
On Linux, give the server its own non-root user and own that folder. On Windows, create a dedicated local account for the server so a compromised game process is not running as you.
4. Configure the Server Settings
Nearly every dedicated server is driven by a configuration file or an environment file. Field names vary by game, so take them from your own build rather than copying a template blind. The settings you will touch first are almost always the same set.
- Server name. What players see in the browser. Plain text, and your community name if you have one.
- Maximum players. Set this deliberately low at first. Filling a server past what the host can handle turns a full lobby into lag for everyone.
- Game mode and difficulty. Survival versus PvP, and the settings that change how the world behaves.
- Map or world rotation. Which maps load, in what order, and how long each one runs.
- Admin slots and permissions. Which accounts have operator rights. Never share these.
- Whitelist or password. The single most effective way to keep an unwanted player out of a public server.
Read the settings file that ships with the build, and only change keys it documents. Anything the game does not list, leave alone. Restart the server after each edit, because most of these files are read at startup only.
5. Open the Required Network Ports
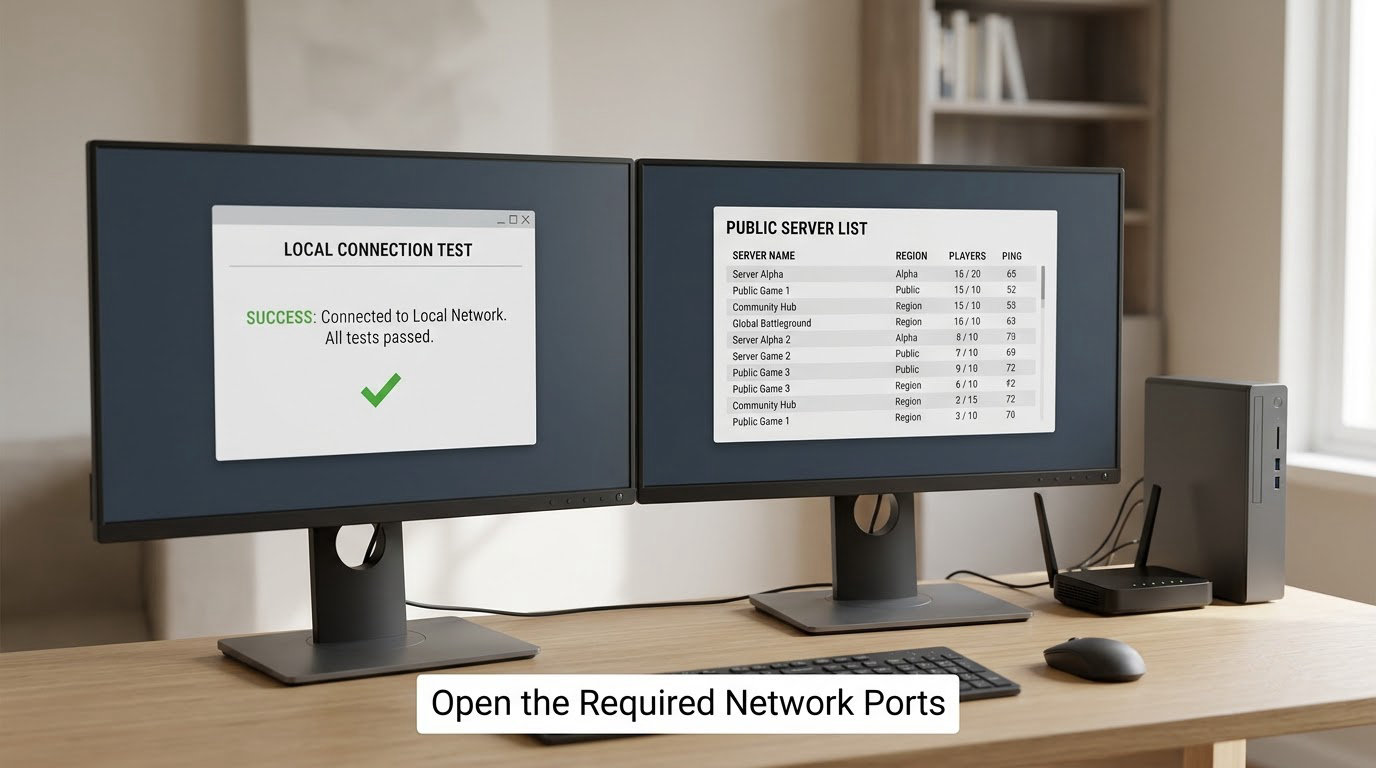
Port forwarding is what lets a player’s connection reach your machine instead of dying at the router. In plain terms: your router owns one public address for your whole home, so when a packet arrives for the game, the rule you create tells the router which machine inside the network to hand it to. Without that rule, the router has no way to know, and drops it.
Most games use UDP, because game traffic is a stream of small updates where a late packet is worse than a missing one. Some, particularly query and browser traffic, use TCP. The official documentation for your game lists both, and that list changes between versions.
| Game | Common port | Protocol | Note |
|---|---|---|---|
| Minecraft Java Edition | 25565 | TCP | Query is 25565 UDP in some versions |
| Counter-Strike 2 | 27015 | UDP | Also 27020 for Steam queries |
| Terraria | 7777 | TCP | Server ports are configurable in game |
| ARK: Survival Ascended | 7777 | UDP | Plus RCON 25575 |
| Valheim | 2456 | UDP | Plus 2457 and 2458 |
| Palworld | 8211 | UDP | Confirm against current patch notes |
Treat that table as a starting point, not as fact. Ports change with updates and with your own configuration, and the game’s own documentation is the only authority worth trusting.
To forward a port, open your router’s admin page, find the port forwarding or virtual server section, create a rule with the external port, the internal port, the protocol and the host machine’s local IP address, then save and reboot the router so the rule loads. Reserve that local IP in your router’s DHCP settings so it does not change after a reboot, which is a classic cause of a server that worked last week and does not now.
Then add a matching rule to the host machine’s firewall: Windows Defender Firewall with Advanced Properties, or ufw on Linux. If a rule exists for the program but the port is still closed, the protocol usually does not match, so check that first. I once spent an evening on this before noticing I had created a TCP rule for a UDP-only game.
Turn UPnP off while you are there. It lets any application on your network open ports on its own, which is convenient and also how a stray program ends up reachable from the internet. Manual rules are the sysadmin recommendation and they are the right one.
Test from outside your own network. A phone on mobile data joining your server is the honest test, because a device on your home Wi-Fi can reach the host machine through the local network even when the forward is broken entirely.
6. Start and Test the Server
Run the server from its console and read the output as it starts. You are looking for a clean line reporting the port it bound to and the number of player slots, with no errors about missing libraries, world files or permissions. An error at startup here is almost always the same error you would have seen later, just earlier and clearer.
Connect from the same machine first, then from another device on your network, then from outside. Each step removes one variable. If the local connection works and the LAN connection works but the external one does not, the problem is the router, the firewall or CGNAT, not the server.
Use the game’s own browser or diagnostic tool. Most servers expose a query port that reports player count and map name, and the community tools that read it are a fast way to confirm the server is publicly visible.
7. Secure, Back Up, and Invite Players
Apply updates on a schedule you will actually keep. Game server builds often track the game version, and a server left on an old build gets quietly kicked by clients on the current one.
Use long, unique administrator credentials, and never open the management panel to the internet with the default login. Pterodactyl and AMP Management Panel both ship with default credentials; if the panel is reachable from outside, change them before anything else. If you use a panel, keep it behind a VPN mesh or a tunnel rather than a public port.
Set up backups before you touch anything risky. Scheduled copies of the world folder and the config files, stored on a different drive than the server, plus one restore you have actually performed. An untested backup is a hope, not a backup.
Share a hostname rather than a raw IP address. DuckDNS gives you a free subdomain that follows your home IP automatically, which solves the other problem with raw addresses: your IP changes, and every player who has your old one gets a connection failure. Point the DuckDNS record at your host machine, use that name in your server list and in your group chat, and nobody ever sees a numeric address.
Once the connection and security checks pass, invite your players. Add their accounts to the whitelist if you set one, and tell them the exact address plus the port, in case the game needs both.
When Port Forwarding Is Not an Option
If you are working out how to host your own game server without touching your router at all, this is the section that matters. If you sit behind CGNAT, or you would simply rather not fiddle with port rules, these are the alternatives worth knowing. Each one moves the relay out of your home network and onto someone else’s.
| Method | How it works | Added latency | Player install |
|---|---|---|---|
| playit.gg | Relays traffic through a public agent | Low to moderate | Usually none |
| Tailscale or Headscale | Mesh VPN, everyone joins your network first | Low | Yes, one client each |
| Cloudflare Tunnel | Outbound tunnel to Cloudflare edge | Low | None |
| ngrok | Tunnels a local port to a public URL | Variable | None |
| Ask your provider | A public IPv4 for a static block | None | None |
Tailscale is the option the self-hosting community recommends most often, with the honest cost that every player has to install the client. playit.gg is the fastest to set up and the least configuration. For a group of friends on mobile broadband where CGNAT is unavoidable, a mesh VPN is the tidiest answer.
Common Mistakes
Nearly every connection problem is one of these, and they are worth checking in this order because it runs from most to least likely.
- CGNAT on the line. Symptom: friends see the server locally, never from outside. Fix: compare the router WAN IP with your public IP. Verification: a mobile data connection still cannot join. No router change fixes this one.
- No port forward, or the wrong port. Symptom: timeout on connect. Fix: create the rule from the game’s official documentation. Verification: test from a device outside your network.
- Firewall blocking it. Symptom: local works, external times out. Fix: allow the executable or the port on the host firewall, matching protocol. Verification: retest externally.
- The local IP changed. Symptom: it worked, then broke after a reboot. Fix: reserve the IP in the router’s DHCP settings. Verification: check the forward still points at the right address.
- Not enough RAM for the player count. Symptom: stutter, lag spikes, server crashes at full load. Fix: lower the slot count or add memory. Verification: watch the console and system memory during a full session.
- Corrupted or mixed server files. Symptom: crash on start, world fails to load. Fix: delete and re-download the server files, then restore the world from a backup. Verification: a clean start in the console.
- Mod or map version mismatch. Symptom: players crash on join, missing content. Fix: confirm client and server versions match and every mod is on both sides. Verification: join with a vanilla client.
- Sleep and power saving. Symptom: server goes offline overnight. Fix: disable sleep and hibernation, and set a fixed stop time for hard drives. Verification: leave it idle a night and check it responds.
- Version conflict between client and server. Symptom: connection rejected after a game update. Fix: update the server build to match. Verification: console log shows the build you expect.
- Server is full. Symptom: cannot join, but no error. Fix: check the slot count against the player list. Verification: raise slots only after confirming the host has headroom.
A few operating habits keep servers alive. Restart on a schedule so leaked memory does not accumulate over weeks. Keep one spare slot in reserve and monitor CPU, memory and disk in whatever your panel shows you. Pin the game version for a server your community depends on, and read release notes before patching. And when a new game launches, do not assume the old server build still speaks the same protocol.
One last point worth stating plainly, because it worries a lot of newcomers: are private servers legal? Hosting a dedicated server for a game you own is fine in almost every case, and the developers of most multiplayer games support it because it keeps players playing. What is not fine is impersonating the official service, selling access to a modified client, or building a monetised server on a game whose terms forbid it. Read the terms for the specific game before you open yours to strangers.
Frequently Asked Questions
Can I host a game server on my home computer?
Yes, and most small groups do exactly that. You need the game’s dedicated server software, administrator rights on the host machine, a wired connection, and inbound access through port forwarding. A modern desktop with 8 GB of RAM comfortably handles a survival or sandbox server for around ten players. The catch is uptime: when the machine sleeps or shuts down, the world stops. Disable sleep, or rent somewhere else if you need the server running around the clock.
How much internet speed does a game server need?
Upload speed is the number that matters, not download. Each player needs roughly 1 to 2 Mbps of upload to send their inputs and receive world updates, so ten players realistically want 25 Mbps of upload headroom. Your own browsing and streaming come out of that same pool. Run a speed test while nobody else is using the line, and subtract what the rest of your household needs before you commit to a player count.
Should I self-host or rent a game server?
Self-host if your group is small, you have a spare wired machine and you want to stop paying a monthly rental. Rent if you need 24/7 uptime, your connection sits behind CGNAT, your players are spread across countries and ping matters, or you do not want to own the maintenance. Renting is also the faster route to a first attempt, so a sensible test is to rent for a month, learn the game-specific settings, then decide whether to move it home.
Why can my friends see the server locally but not online?
That exact symptom almost always means one of three things. Your connection is behind CGNAT, so your router has no public IPv4 address and no forward can work. Your host firewall is blocking the port even though the router rule is correct. Or the local IP of the host machine changed after a reboot and the forward points at the old address. Compare your router’s WAN IP with your public IP first, since a mismatch explains the problem in a single check.
Do I need to forward ports for a rented game server?
No. The machine sits in the provider’s data centre and they handle all inbound traffic, so there is no router of yours involved and nothing to forward. That is the main practical reason people rent instead of self-hosting: the networking problem simply disappears. You still may want an external tool for administration, such as a VPN mesh, so the management panel is not exposed to the open internet with default credentials.
Conclusion
Here is the shortest path that actually works. Check the game’s dedicated server requirements and confirm the game has one at all. Run the CGNAT check, because that single comparison decides whether self-hosting is even possible on your line. Choose hardware or a rental based on uptime and ping, not on cost alone. Download server files from the official source, configure the slots, the world and the whitelist, then open the documented ports on the router and the host firewall. Test from outside your own network, back up the world, change the default panel credentials, and only then send your players an address. A hostname through DuckDNS keeps that address from breaking when your IP changes. Learning how to host your own game server is mostly this ordered list, executed once, carefully.
Updated for 2026. Settings and ports change between game versions, so treat the game’s current documentation as the authority.