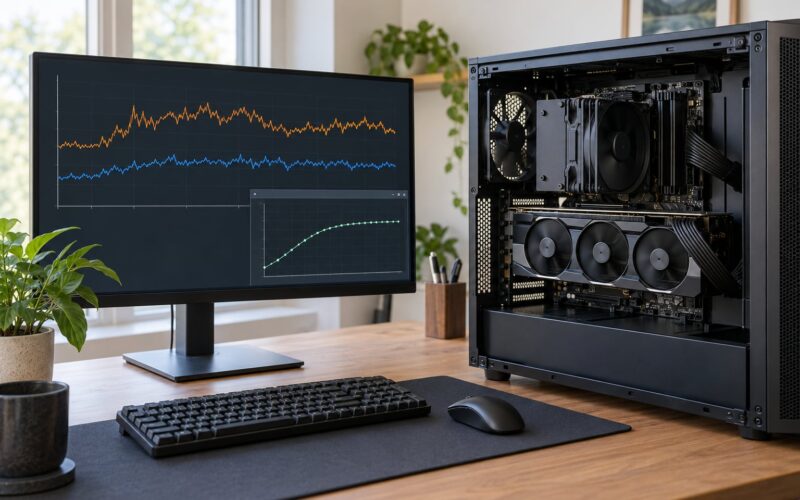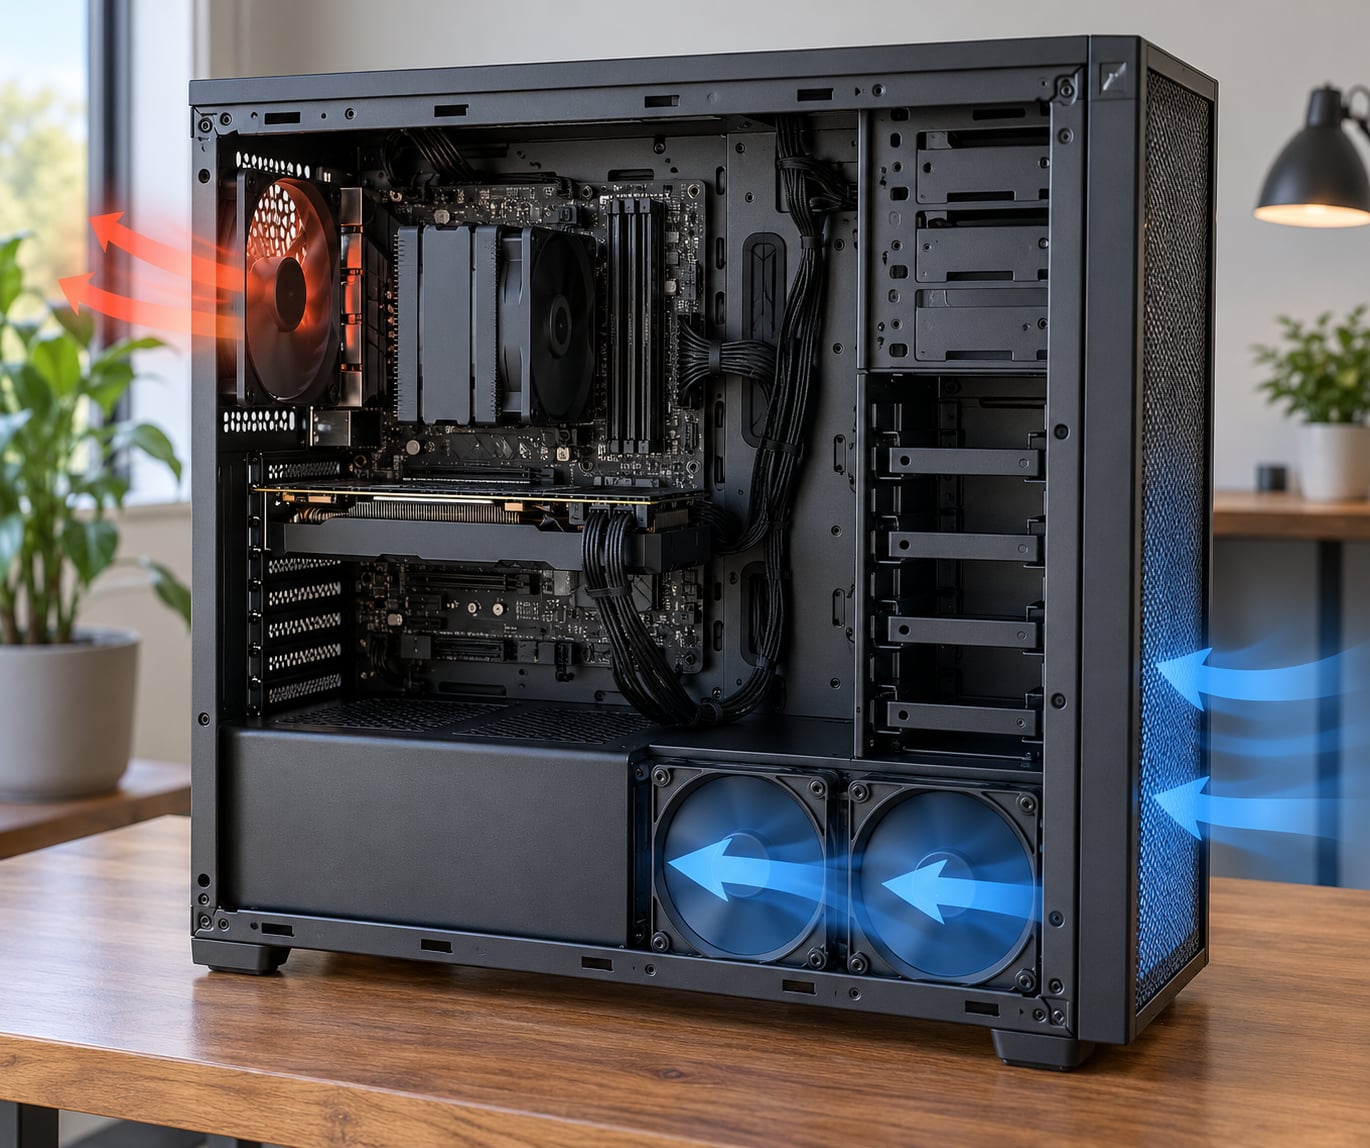
Most PC cases ship with fans that run in whatever direction the factory chose, and that direction is rarely what your hardware needs. The short answer to how to improve airflow in a PC case: move cool air in at the front and bottom, push hot air out at the rear and top, and aim for slightly more intake capacity than exhaust capacity. Most of the work is cleaning and rearranging, not buying parts.
None of the six fixes below take longer than a coffee break on a first attempt. You need basic tools, about an hour with the case open, and the habit of checking temperatures after each change rather than at the end.
Table of Contents
- 1What You Need
- 2Step-by-Step
- 31. Clean Dust from Fans, Filters, and Vents
- 42. Remove Blocked Intake and Exhaust Paths
- 53. Manage Cables Behind the Motherboard Tray
- 64. Check Front and Rear Fan Orientation
- 75. Reduce Internal Obstacles and Improve Component Clearance
- 86. Add or Adjust Cooling Equipment
- 9Common Mistakes
- 10Frequently Asked Questions
- 11Do more fans always improve airflow in a PC case?
- 12Should the front and rear fans in a PC case be the same size?
- 13How often should I clean PC dust filters and fan vents?
- 14Is opening the PC side panel a good temporary cooling solution?
- 15How can I tell if my PC case has an airflow problem?
- 16Should all case fans be set to exhaust?
- 17Conclusion
What You Need
Before you open anything, shut the system down, switch off the power supply, and unplug the wall cable. Hold the power button for ten seconds to drain residual charge, then let the machine sit for a few minutes.
The tool list is short:
- A Phillips screwdriver, usually a small PH2
- A can of compressed air or an electric air duster
- A soft brush, an old toothbrush works fine
- A flashlight for checking behind the motherboard tray
- Cable ties or a reusable Velcro strap
- The case manual and the manual for your CPU cooler or AIO
- Monitoring software so you can record numbers before and after
Record baseline temperatures first while the system is closed. Ten minutes of your normal workload, then note the CPU and GPU figures. Without a before number, an improvement is just a feeling, and you will not know which change actually did something.
Step-by-Step
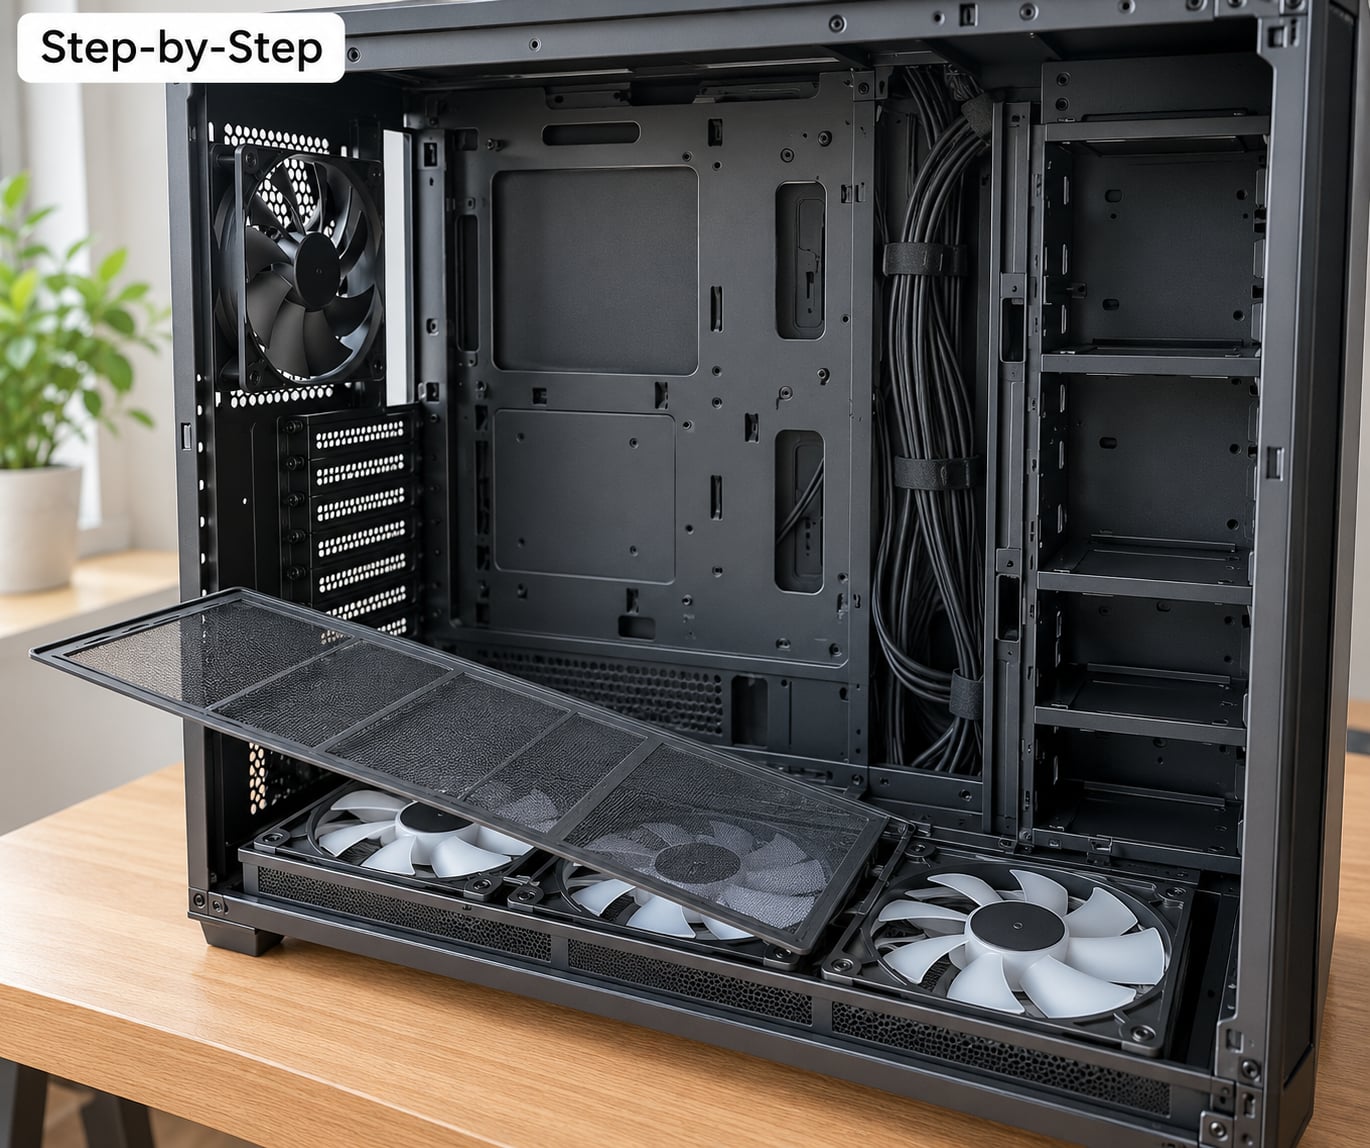
Work through these in order. Steps one and two are the ones that produce the biggest change on machines that have never been opened, and the later steps matter most if you have already cleaned recently.
1. Clean Dust from Fans, Filters, and Vents
Dust is the most common cause of a case that used to be quiet and now screams. A clogged filter or a furred fan blade cuts airflow without changing anything else about the build.
Hold the fan blades still with a finger and blow dust off in short bursts from the centre outwards. Never let a fan spin while you use compressed air on it. Generators back spin the rotor, and that can push bearing grease past the seals and shorten the fan’s life from years to months.
Filters are the exception, since they are designed to be removed. Slide out the bottom or front filter, tap the caked dust off into a bin, then wash it under cool water with mild dish soap if the manufacturer allows it. Let it dry completely before it goes back in. A damp filter blocks more air than a dusty one ever did.
To check whether it worked, look for airflow at the intake with a tissue held a centimetre or two from the vent. If the tissue barely moves, the path is still restricted. Compare your monitoring numbers against the baseline you recorded before starting.
2. Remove Blocked Intake and Exhaust Paths
Intake fans pull air through the front or bottom panel, and any obstacle in that path cancels out a good share of what the fan is doing. Look at every fan and ask whether air can actually reach the blades.
Common culprits are the PC sitting directly on carpet with the feet pressed into the pile, a cable draped across a bottom intake, a drive cage or hard drive holder mounted where the front fans want to draw from, and internal drive cables pressed flat against a fan frame. Pet hair does the same job as dust but mats down faster.
Move the case onto a hard floor with the rear feet slightly raised, relocate anything sitting under the intake, and remove any drive holders you are not using. Then re-run the same ten-minute workload and compare the readings.
3. Manage Cables Behind the Motherboard Tray
Loose cables behind the motherboard tray get sucked into the case fan area, and a dense block of them behaves like a wall across the middle of the airflow path.
Route the 24-pin and CPU power cables through the grommets rather than around them. Leave roughly two centimetres of clearance behind the tray so the cables never touch a fan blade, then bundle the slack with a Velcro strap or cable tie. Route graphics power from the bottom and side so the run keeps to the edges of the case.
The flashlight earns its place here. Shine it behind the tray and check whether you can see light straight through the case. If you cannot, the cable bundle is in the way.
4. Check Front and Rear Fan Orientation
Intake fans pull cool room air into the case. Exhaust fans push hot air out. Hot air rises, so exhaust fans belong high and at the rear, intake fans belong low and at the front.
Most fan frames have an arrow moulded into one side showing the airflow direction. If you cannot find it, look at the blades themselves. The side where you can see the open face of the blades, with the support strut behind them, is the intake side. The side with the label sticker and the motor hub blocking your view of the blades is the exhaust side.
Reverse-blade fans break the usual blade shape rule, so trust the arrow. And front intake plus rear exhaust is a starting point rather than a law. A top exhaust fan alongside a front intake is a common addition, since heat collecting at the top of the case has nowhere else to go.
Aim for slightly more intake than exhaust. That creates mild positive pressure, meaning more air enters than leaves, so unfiltered gaps draw from inside the case rather than sucking in dusty room air. The extra capacity usually belongs at the front and bottom, where the case draws the most cool air.
5. Reduce Internal Obstacles and Improve Component Clearance
The middle of a case is where the front fans deliver their air, and that is also where the GPU, the power supply, and the drive cage want to sit. Anything occupying the front-to-back path causes recirculation, where a component inhales its own hot exhaust instead of fresh air.
Remove unused hard drive cages or SSD brackets. Most modern cases take 2.5 inch drives on the back of the motherboard tray or inside the front intake area, which clears the main path completely. Check that the GPU sits with its fans facing the intake side rather than toward the front panel, since a bottom-fed card depends on that bottom intake for its own cooling.
Give the CPU cooler clearance as well. A tall tower cooler close to a side panel can pull in air from the panel gap instead of from the case interior, and the fix is a fan pointed into the cooler rather than away from it.
6. Add or Adjust Cooling Equipment
Once the case is clean and clear, adding capacity is worth trying. Two front intake fans plus one rear exhaust is the common baseline, and a bottom intake fan feeding the GPU does more for a gaming PC than another top exhaust.
Fans need to move air through the case rather than spin it in place. Two intake fans facing each other with nothing to exhaust simply recirculate what is already inside. Match the fan to the restriction: a high-airflow fan suits an open mesh mount, while a fan with a higher static pressure rating handles a fine mesh panel or a dense filter. Static pressure is how hard a fan pushes air through a restriction, measured in mm H2O.
If the case already has enough fans, tune them before adding more. A gentle fan curve that stays quiet at idle and ramps up under load usually gives better real-world results than every fan pinned at full speed. Compare temperature and noise at idle and under the same load, and change one thing at a time so you know which setting helped.
Common Mistakes
A few habits undo the work above.
Blowing dust deeper in. Compressed air pushed through a case without holding the fans can drive dust past the filter and into the heatsink fins, where it never comes out. Hold the blades, and blow from the fans towards the outside.
Making every fan an exhaust fan. You then pull from every unfiltered gap at once, including the empty slots and rear cutouts, and the resulting air is mostly room dust. Balance the two sides instead.
Blocking an intake by accident. Stuffing a cable bundle, a boxed part, or a headset through the front mesh to make things tidy is a fast way to undo a good layout.
Running cables across fan mounts. A cable pinched under a fan mount rubs against the frame and rattles. Add slack and re-route it out of the corner.
Forgetting the filter forever. A filter that never gets cleaned turns into a wall. Vacuum the filter while it is out of the case rather than blowing the dust back toward the intake.
Changing five things at once. Then you have no idea which one did the work. One change, one ten-minute load test, one set of numbers.
Two quick optimisation tips. If your GPU idles hot, check that its fans are not drawing air from a neighbouring hot component. And if the CPU is fine but the GPU is not, the problem is nearly always on the intake side, not the CPU cooler.
Frequently Asked Questions
Do more fans always improve airflow in a PC case?
No. Fans in pairs do useful work, because intake and exhaust together create a pressure difference that moves air through the case. Past that point each added fan adds noise and small temperature gains, and a badly balanced setup can make things worse. Fill the mounts your case already has, match intake to exhaust, then stop and spend the effort on cleaning and cable routing instead.
Should the front and rear fans in a PC case be the same size?
It helps but it is not required. A 140mm fan moves more air at a lower RPM than a 120mm, so a larger front fan paired with a smaller rear fan often balances out well. Match sizes only if the mounts allow it, and if the case has different mounts, remember that the comparison that matters is airflow and static pressure, not the number printed on the box.
How often should I clean PC dust filters and fan vents?
Every three to six months in a typical room, and more often if you have pets, smoke, or the PC sits on carpet. A quick visual check of the filter while you vacuum the room takes seconds and tells you whether a deeper clean is due. Washable filters need a full dry cycle before they go back in, since a damp filter restricts more airflow than a dusty one.
Is opening the PC side panel a good temporary cooling solution?
It is a useful diagnostic and a poor habit. Leaving the panel off drops temperatures noticeably because the case no longer forms a sealed path, which tells you the intake or exhaust is restricted. Leaving it off permanently raises dust intake and can disturb airflow inside the case. Use it to confirm a diagnosis, then close the case and fix the restriction.
How can I tell if my PC case has an airflow problem?
Watch for fans that spin fast and loud while temperatures stay high, a hot spot around the GPU, higher temperatures in summer than winter, or visible dust packed into the filters. Hold a tissue near each intake to see whether air is being drawn in at all, and compare the CPU and GPU sensors under the same load. Removing the side panel for ten minutes and re-checking is the clearest single test.
Should all case fans be set to exhaust?
No, that is one of the most common airflow mistakes. Running everything as exhaust pulls air in through every unfiltered opening in the case, which mixes outside dust into the path and lowers the pressure inside. Keep the front and bottom fans as intake, keep the rear and top fans as exhaust, and give the intake side slightly more capacity for mild positive pressure.
Conclusion
Start with the boring work: pull the filters, clean the fan blades, clear the intake path, and route the cables behind the motherboard tray. Then confirm the fan directions so front and bottom pull in and rear and top push out, and monitor temperatures under the same load you used for the baseline.
Make one change at a time and write the numbers down. The fix that mattered will be obvious within a couple of runs, and you will know exactly what to do the next time the machine needs it.