How to undervolt a GPU for better temps comes down to one idea: ask your card to hit the same clock speed on less voltage, and on most desktop cards that drops core temperature by 5-15C without costing you a single frame. The whole job takes about half an hour: watch a baseline, drag a voltage curve down in small steps, stress test, then save the profile once it holds.
I have done this on enough cards to know where beginners trip up, and it is almost never the concept. It is jumping 200 millivolts on the first try, or trusting a ten-minute benchmark and finding the stutter three weeks later. Below is the process I actually use, with the NVIDIA path in MSI Afterburner and the AMD path in Adrenalin called out separately because the menus genuinely differ.
If your card already runs cool and quiet, stop reading and just lower the power limit. That single slider gets you most of the benefit in about thirty seconds. Everything past that point is for the setups where the fans spin up during a cutscene, the card throttles after twenty minutes, or the thing lives in a small case next to a hot CPU.
Table of Contents
- 1What You Need
- 2Step-by-Step: How to Undervolt a GPU for Better Temps
- 3Step 1: Record Your Current GPU Baseline
- 4Step 2: Open the Correct Undervolting Tool
- 5Step 3: Create a Conservative Voltage Curve
- 6Step 4: Test Games and Stress the GPU
- 7Step 5: Save and Monitor the Final Settings
- 8Common Mistakes
- 9Frequently Asked Questions
- 10Will undervolting my GPU reduce gaming performance?
- 11How much voltage should I lower on my GPU?
- 12Can I undervolt a laptop GPU?
- 13How do I know if my GPU undervolt is stable?
- 14Is undervolting a GPU safe, and does it void the warranty?
- 15Why is the framerate greyed out in MSI Afterburner?
What You Need
You need four things before you touch anything: a supported desktop card, one tuning utility, one monitoring readout, and a stability test. That is genuinely the whole shopping list, and none of it depends on your card being high end.
- A current graphics driver. Install the newest stable driver for your card before you start, whether that is from NVIDIA App or AMD Software: Adrenalin Edition. Recent drivers have a much cleaner voltage-control unlock than the old GeForce Experience era.
- MSI Afterburner for NVIDIA cards, and for plenty of AMD cards too. It is the reference tool for reading and writing clock and voltage offsets on Windows.
- AMD Software: Adrenalin Edition if you own a Radeon card and would rather tune it in the official software. The Wattman panel people still talk about was folded into the Performance and Overclock tabs of the modern app.
- A sensor readout. HWiNFO64 in sensors-only mode, or GPU-Z with the Sensors tab open. This is how you confirm your undervolt is actually live instead of quietly ignored.
- A stress test and at least one demanding game you actually play. Unigine Superposition, 3DMark, or FurMark will find core instability. Your games will find everything else.
- A way back. Know where the Reset button is before you change anything, and screenshot your stock state on the first run. It is one click to undo, but you have to know where it lives.
One rule for the whole process: only run one tuning tool at a time. Afterburner and Adrenalin fighting each other, or either one fighting a driver-level overclock, is the single most common reason a curve looks like it applied but does nothing.
Step-by-Step: How to Undervolt a GPU for Better Temps
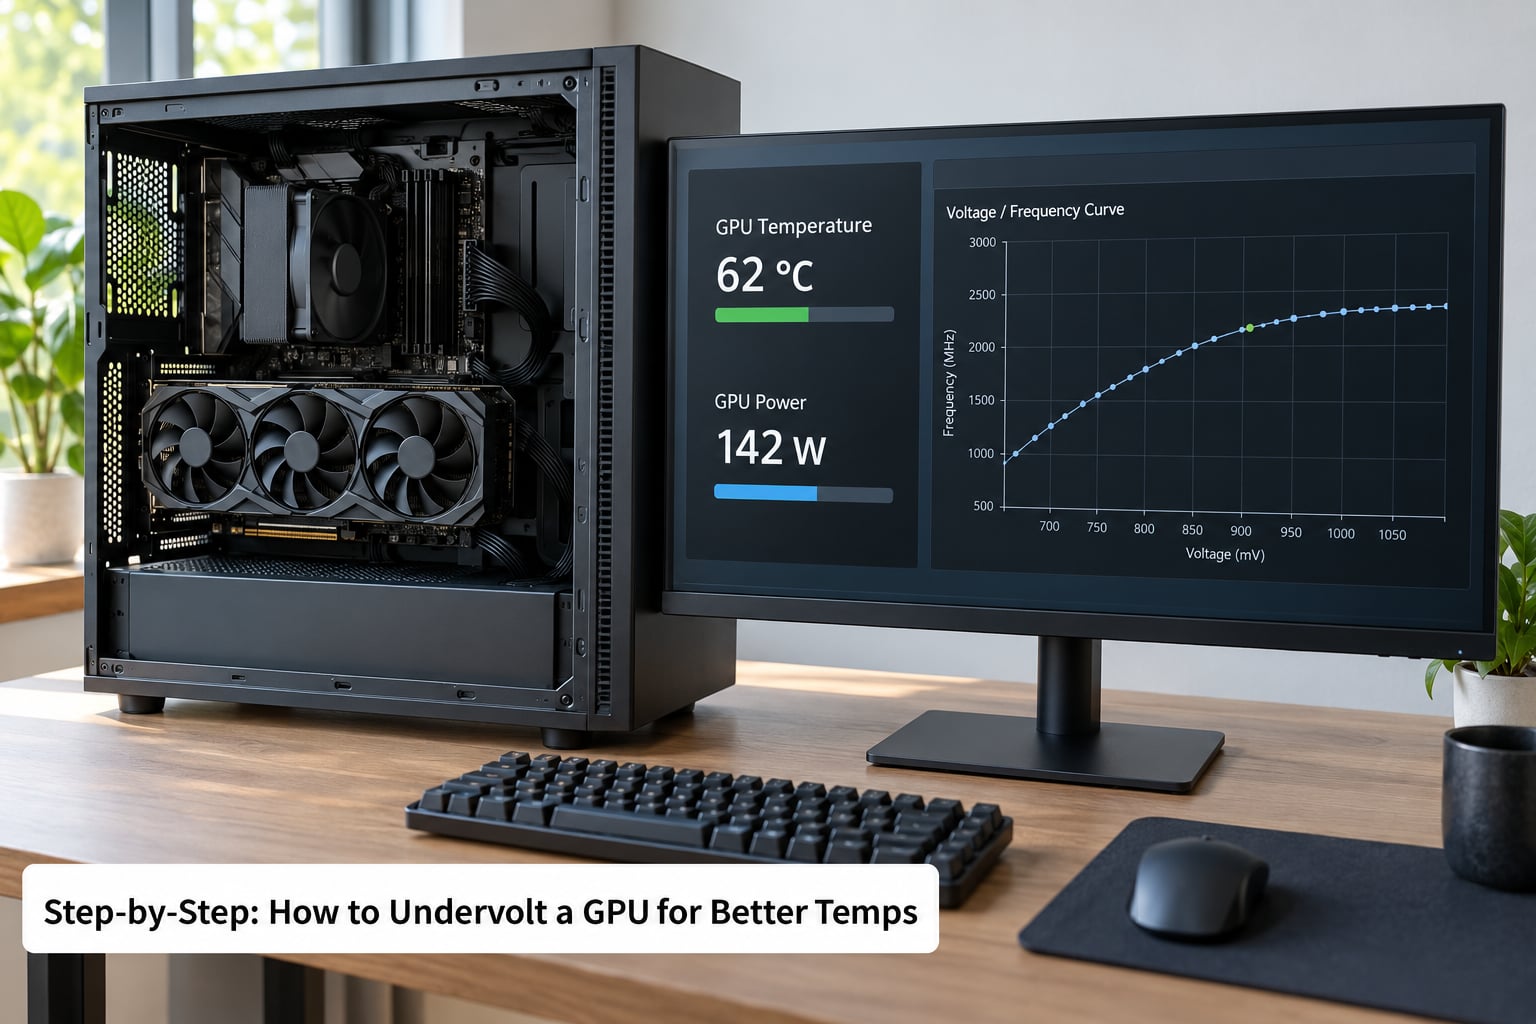
Here is the working order I use: record a baseline, open the right tool, make a conservative change, test it hard, then save and compare. The power limit method is faster and I will cover it in step three as the sensible first move, but the curve is what gets you the last ten degrees and the quietest fans.
Step 1: Record Your Current GPU Baseline
You cannot tell if the change helped if you never wrote down what the card was doing before it. Ten minutes of measuring now saves an afternoon of guessing later.
Open HWiNFO64 and start it in sensors-only mode, then park the window where you can read it while you play. Open GPU-Z alongside it and note two numbers: the factory boost clock in the GPU-Z main tab, and the highest core clock the card actually reaches in the sensors tab under load. Those two are usually different, and the gap between them is the headroom you are chasing.
Now run one game you play regularly for about ten minutes and write down four figures: peak core temperature, board power in watts, fan speed as a percentage, and your average frame rate. Then check GPU utilization while you are in it. If it sits at 98-99 percent, the game is GPU-bound and clock speed translates directly into frames, which is what makes a clean comparison possible.
Write these numbers on paper. Later you will be adjusting a curve by 25 millivolts at a time and your memory of the old temperature will not be reliable.
Step 2: Open the Correct Undervolting Tool
On NVIDIA, open MSI Afterburner as administrator and check the GPU name in the top bar against Device Manager. On AMD, open AMD Software: Adrenalin Edition, confirm your card is listed on the Performance tab, and switch to the Overclock tab where the power and clock controls live. Confirming you are editing the card you think you are editing takes five seconds and saves an evening.
This matters most on dual-GPU laptops and eGPU setups, where a tool can easily grab the wrong adapter. If the Afterburner title bar names a GPU you do not recognize, close it rather than guessing.
You may notice the framerate readout in Afterburner is greyed out or blank. That is a known quirk of the current builds and it has nothing to do with your settings. The undervolt still applies; you simply read frames from your own monitoring overlay or from the game. Ignore it and move on.
Step 3: Create a Conservative Voltage Curve
Start here rather than at the power limit if you want the full result, but do the power limit first if you only want a quick win. Either way, never lower voltage more than a small step at a time.
The easy route: lower the power limit. In Afterburner it is the PL slider; in Adrenalin it is Power Target. Drop it by 5-10 percent, apply, benchmark, and repeat while you are still happy with the frame rate. The card simply gets a smaller wattage budget, so it makes less heat at any given clock. Testing on high-end cards suggests something in the low single digits of frame rate for every 10 percent of power limit removed, which is the kind of trade most people find invisible in daily play. There is a catch: a lower power limit can shave the boost clock at low loads, and it does not touch the voltage curve, so you never get the full quiet-fan result.
The real route: edit the voltage-frequency curve. Every GPU follows a curve that maps frequency to the voltage needed to hold it. Out of the box that curve is generous, because the manufacturer has to guarantee stability on every chip they ship, including the worst one off the line, at any ambient temperature. Most individual cards simply do not need that much voltage.
Open the Settings gear in Afterburner, enable the option to unlock voltage control, then press Ctrl+F for the curve editor. On a locked card the curve will not open until you set Core Clock to -100, which underclocks the card enough to expose the editing points. Once it is open, drag points down from left to right in 25-50 millivolt steps, keeping the highest-frequency point above wherever it crashes.
Reference points worth knowing: the curve usually flattens out below roughly 1.1 volts, and the sweet spot is the point just before that drop-off. Long-running community guides on the Tom’s Hardware forums use 0.9 volts as a target for holding a max stock clock, and closer to 0.775 volts when the goal is only to reach the factory boost spec at lower voltage. Treat those as starting points, not rules, because silicon varies card to card.
On AMD, tune in finer increments. Owners on r/IndianGaming report micro-stutter that survives a 25 millivolt change and only clears when you move in 5 millivolt steps, so once you are close, go slow.
Step 4: Test Games and Stress the GPU
Run a stress test for 15-30 minutes with HWiNFO visible, then play your actual games for at least 20 minutes each. Both matter, and they catch different faults.
The stress test covers the high-frequency range where most instability shows up as flicker, colored triangles, a black screen, a looping audio stutter, or a Windows display driver error. If you see any of those, raise the point above the failure by 25 millivolts and test again.
Then test the games. A benchmark hammers the top of the curve and tells you almost nothing about the bottom of it, which is where lightly-loaded scenes and desktop idle live. A curve that is stable at 2000 MHz can still produce flickering colors in a quiet menu screen, because those states sit far lower on the curve. r/nvidia threads are full of exactly this report, and the fix is to raise the low-frequency end of the curve rather than the high end.
Also leave the card sitting at your desktop for a few minutes with a video playing. If the fans behave oddly or you see flashes on a black background, that is idle instability, and the stress test never would have caught it.
Step 5: Save and Monitor the Final Settings
Click the checkmark to apply the curve, then the save icon to write it to a profile, and tick the option to start the tool with Windows if you want it loaded automatically. Leave Reset untouched and familiar.
Now replay the exact scenario from your baseline and compare the four numbers you wrote down. If temperature and power dropped while the frame rate held, you are done. If you want more, move down another 25 millivolts and repeat the full test rather than assuming the last step was free.
If something crashes, go up one step from the failure point. If you would rather start clean, hit Reset and the card returns to factory settings instantly, no reboot needed. One warning worth knowing: if your settings do not survive a reset or a restart, fully quit Afterburner from the system tray, rename or delete its configuration folder, and run it as administrator again. Users on r/nvidia report hours of tuning lost to settings that silently refused to persist, and that fix resolves it more often than anything else.
While you are in there, drop the fan curve one notch now that the card is cooler. Quieter fans at a lower target is the actual end goal here, and it is free.
Common Mistakes
Nearly every undervolting failure comes down to one of seven mistakes, and all of them are avoidable. Here they are with the fix attached.
- Changing the wrong GPU. Dual-GPU laptops and eGPU enclosures can present more than one adapter. Check the card name in the tool against Device Manager before you drag anything.
- Dropping voltage too far on the first try. Cutting 200 millivolts in one move guarantees a crash and teaches you nothing. Move in 25-50 millivolt steps and retest between each one.
- Forgetting the memory. A core voltage curve does not touch GDDR6 or GDDR6X. If you also changed the memory clock, raise the power limit or memory offset separately and test it on its own.
- Ignoring idle and low-load states. Offset voltage applies across every power state, so a curve can pass a stress test and still flicker on your desktop. Shape and test the low end of the curve.
- Assuming cooler means slower. If GPU utilization is at 98-99 percent and your frame rate matches the baseline, nothing was lost. Measure before you conclude anything.
- Changing the power limit and the curve together. One variable at a time, benchmark after each. Bundle them and you cannot tell which one caused the drop in frames.
- Never finding the Reset button. Before you start, click Reset once so you know exactly where it is and what the factory profile looks like on your card.
A close eighth: trusting the ten-minute benchmark. If you only have a short test, spend it on a game you actually own rather than a synthetic tool.
Frequently Asked Questions
Will undervolting my GPU reduce gaming performance?
Usually not. A properly tuned undervolt holds the same boost clock at a lower voltage, so the frame rate stays where it was. If the card was previously hitting its power or thermal limit, frame rate can actually rise once it is no longer throttling. The one case where you lose frames is a curve pushed past the point of stability, which shows up as stutter and crashes rather than a smooth drop.
How much voltage should I lower on my GPU?
There is no universal amount, because voltage needs vary by model, chip quality, temperature and workload. Start with 25-50 millivolt steps and stop lowering once the curve stops saving much voltage. Around 0.9 volts is a widely used reference for holding a maximum stock clock, and nearer 0.775 volts often reaches the factory boost spec. Always test your own card rather than copying someone else target.
Can I undervolt a laptop GPU?
Sometimes, and the method depends on the manufacturer. Desktop-style voltage curve editing is frequently blocked on laptops, and the Afterburner laptop skin mostly exposes offset and power controls rather than the full curve. The power limit is usually still adjustable and gives you most of the cooling benefit. Because laptop cards share a cooling system with the CPU, also try the manufacturer performance utility and cleaning the vents before assuming the card is the problem.
How do I know if my GPU undervolt is stable?
Run a GPU stress test for 15-30 minutes and then play several games you own, including your most demanding title, for 20 minutes or more each. Watch for flickering colors, black screens, flashing textures, audio loops, or a driver reset message. Leave the card at your desktop for a few minutes too, since idle and low-load states sit at the other end of the curve and a stress test will not reach them.
Is undervolting a GPU safe, and does it void the warranty?
It is safe. Voltage is reduced, never increased, so there is no electrical stress on the chip beyond what the factory already allowed. The worst realistic outcome of a bad undervolt is a crash, a restart, or visual artifacts while the setting is active. It does not void warranty, and it is not permanent: every tuning tool has a one-click Reset that restores stock behavior instantly.
Why is the framerate greyed out in MSI Afterburner?
The readout depends on a display overlay component that is missing or unsupported in the current build, so it shows blank or greyed out regardless of your settings. It does not mean the undervolt failed and it does not affect performance. Read your frame rate from a separate monitoring overlay, HWiNFO, or the game built-in counter instead, and check the overlay setting inside Afterburner settings in case a toggle fixes it.
Start here if you want the quick version of how to undervolt a GPU for better temps: drop the power limit by 10 percent, play the game that made you notice the heat, and check whether the temperature drop is enough. If it is, you are finished and never had to open a curve editor. If you want the last of the noise and heat, record a baseline, unlock the voltage curve, and work down in 25 millivolt steps until the stress test and your games both stay clean.