The fastest way to learn how to organize a huge game library is to stop thinking of it as one giant list and start treating it as a small catalog with four buckets: everything you own, the games you have not started, the games currently installed, and the ones you forgot you bought. Add a fixed set of tags, a queue of five games you might actually start, and a fifteen-minute monthly reset, and the whole thing takes an evening to set up. The steps below are written for Steam on Windows; other launchers differ, and I call out where they do.
Table of Contents
- 1What You Need
- 2Step-by-Step: How to Organize a Huge Game Library
- 31. Create one master game inventory
- 42. Choose a small set of useful tags for a huge game library
- 53. Sort games by status and priority
- 64. Build short play and backlog queues
- 75. Store games in the right launchers and folders
- 86. Check storage and back up your catalog
- 97. Maintain the system with a monthly reset
- 10Common Mistakes
- 11Frequently Asked Questions
- 12What is the best way to organize my Steam library?
- 13How do I categorize my Steam library so it stays useful?
- 14How do I find games I own but never played?
- 15Should I uninstall games I bought and never play?
- 16Where should my Steam library folder be, and is it safe to move or delete it?
- 17What is the best backlog tracker for a huge game library?
What You Need
You need somewhere to write things down and a decision about where it lives. That is the whole shopping list, which is why this takes an evening rather than a weekend.
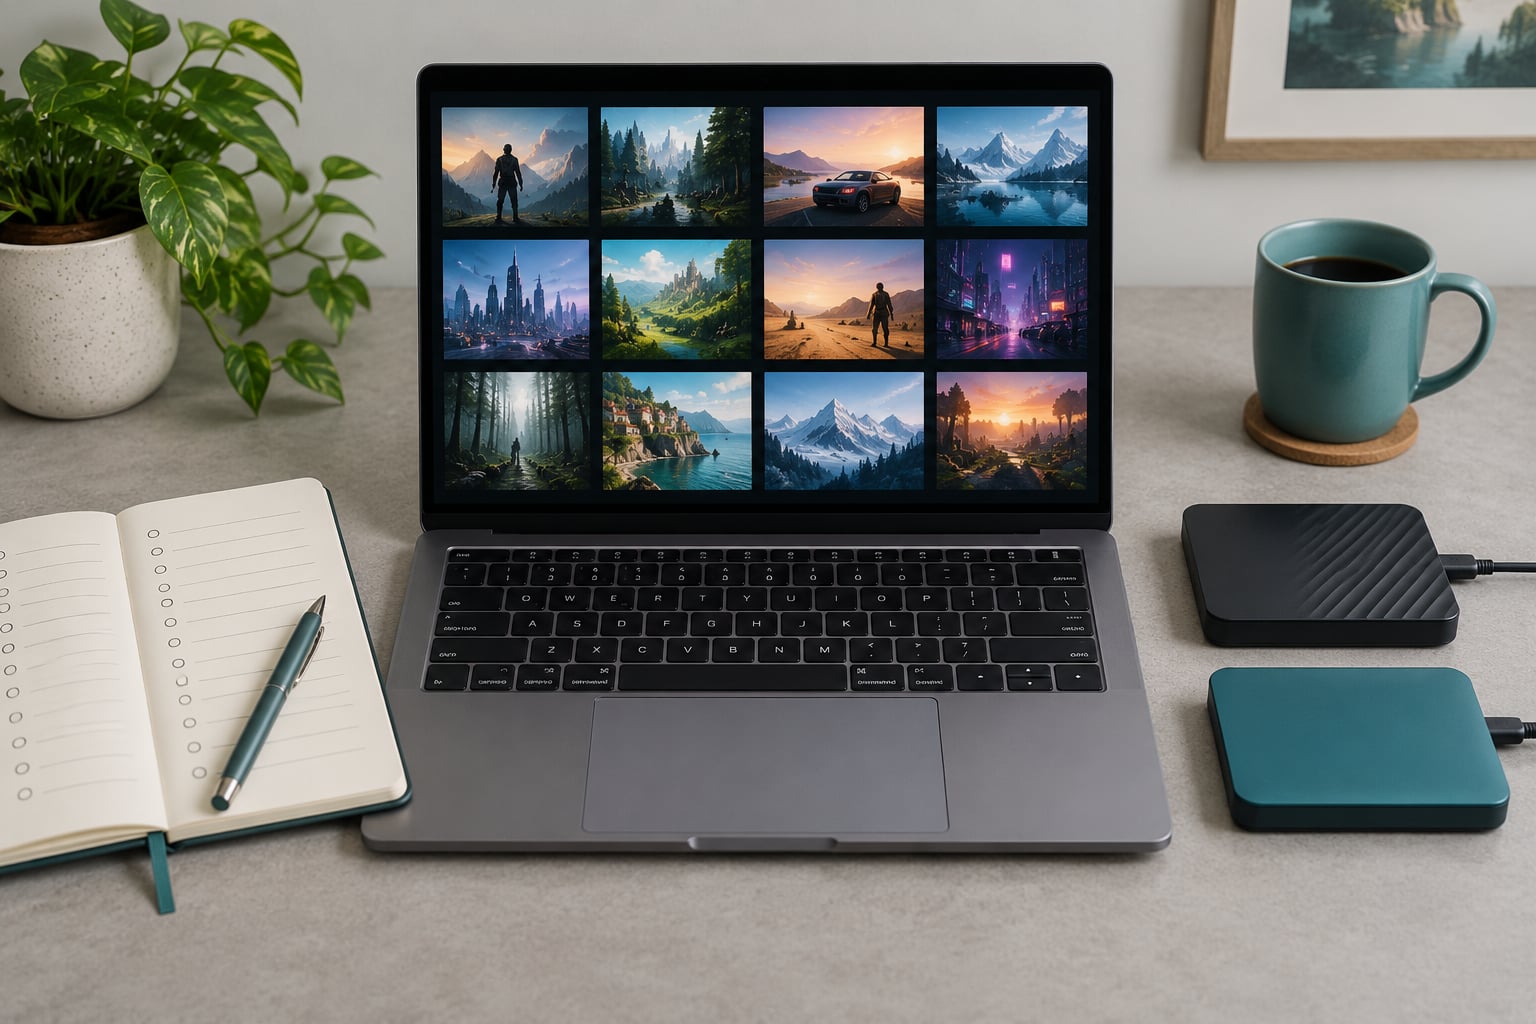
Start with a master inventory in a spreadsheet you can search and filter, or a library manager if you want the data to update itself. The columns that earn their place are platform, edition, install size, purchase date and status. Anything more is optional.
You also need to know your storage picture before you start moving anything: how much free space you have on each drive, where games are installed right now, and whether cloud saves are switched on for the ones you care about. Write that down too, because it is the part people skip and then regret.
Finally, pick your tracking method once. The five options most people weigh:
- Spreadsheet. Best at cost, hours played and cost-per-hour math. Weak spot: nothing updates on its own.
- Playnite. Best at one window for Steam, Epic, GOG, Ubisoft, EA and Battle.net titles. Weak spot: set-up takes an evening.
- GOG Galaxy 2. Best at pulling owned games from several stores into one list. Weak spot: does not import Battle.net.
- Notion database. Best at status views, notes and filtered backlogs. Weak spot: easy to over-build into a project.
- Steam collections and dynamic collections. Best at sorting and filtering games you already own. Weak spot: Steam only.
Use one of those as the record and let the others be display layers. Running three at once is how people end up maintaining nothing.
Step-by-Step: How to Organize a Huge Game Library
1. Create one master game inventory
If the backlog feels unmanageable because you have no idea what is in it, the fix is unglamorous: gather every game you own into a single list. Most people can export a list from each launcher and paste the rows into one spreadsheet rather than typing anything.
Give each row the five columns that matter: platform, edition, install size, purchase date and status. Edition matters more than people expect, because a Game of the Year Edition and the standard edition are often separate entries with different DLC, and that is how duplicates sneak in.
How you know it worked: you can sort the whole list by any one column and get a sensible answer. If sorting by purchase year produces chaos, you have duplicate rows to merge first.
2. Choose a small set of useful tags for a huge game library
Pick tags in advance and write them down somewhere you will see them. A workable set is status, priority, platform, multiplayer or single-player, plus genre only if you actually browse by genre.
Genre is where most systems collapse. It is the first thing people reach for, and it stops being useful once a library passes a few hundred titles, because a game like Hades lands in six categories and none of them tell you whether you want to play it tonight.
How you know it worked: you can tag a game in under five seconds without inventing a new category. If you are typing a fresh tag name mid-session, your vocabulary has already sprawled.
3. Sort games by status and priority
Once you have the inventory, status is the axis that does the most work. Status beats genre every time for a library this size. Use six values and no more: unplayed, in progress, completed, paused, replayable and abandoned.
Then add a separate priority field with three values: high, medium and none. The two fields do different jobs. Status tells you where a game is, priority tells you how badly you want to return to it, and games you never intend to touch can sit at none forever without guilt.
How you know it worked: your unplayed count is stable or shrinking. A list where nearly everything is unplayed is not a backlog, it is a receipt.
4. Build short play and backlog queues
Three lists are enough. Currently playing, next up with five to eight games, and someday for everything else you want visible without deciding on it.
Keep next up short on purpose. A queue of five is a decision you can make in a minute on a Tuesday evening. A queue of forty is homework, and homework is why the queue stays untouched.
In Steam, adding games in bulk is mostly multi-select: hold Ctrl to pick individual titles, hold Shift to pick a range, then right-click and choose the collection. That is the fastest way to sort several hundred games into collections, and it is the trick that makes a first pass over a thousand-title library feel possible.
How you know it worked: your next-up list holds five to eight games and you have actually started at least one of them this month.
5. Store games in the right launchers and folders
Every game belongs to the launcher that owns it, and every launcher’s library screen only shows its own titles. Organize by launcher first, then by your own folders inside it.
Add a naming convention and stick to it. Publisher then game title works for most collections, so a Konami game still sits next to other Konami games when you are hunting for something you finished years ago. Keep DLC, expansions and soundtrack bundles in their own folder rather than mixed into the main game, because those are what quietly consume a drive.
Note the version in your inventory when it is unusual. Enhanced editions, director’s cuts and regional versions are the ones you rediscover and cannot tell apart from the box art.
How you know it worked: you can answer “where is this game and which version is it” without opening Steam.
6. Check storage and back up your catalog
Record the install location for each drive you use and the free space on it. Steam installs under its library folder, and the games themselves sit in the common folder inside it.
Moving that folder is a supported operation, not a hack. Use the storage settings to add the new drive as a library folder, then move individual games from there rather than dragging folders by hand. Moving files outside the client is what causes missing-game errors and a multi-gigabyte re-download.
Cloud saves are the part people forget until they need them. Turn them on for anything with real hours on the clock, and keep a separate copy of your inventory. A spreadsheet is a few hundred kilobytes, and it is the only record of what you paid and when you bought it.
How you know it worked: you can restore your catalog list on a new machine in ten minutes, and your save files exist somewhere other than one drive.
7. Maintain the system with a monthly reset
Set fifteen minutes aside once a month, the day a big sale usually ends. The routine is short: update statuses for anything you finished, empty next-up and refill it from your high-priority unplayed pile, check whether anything landed in your installed folder without a location recorded, and add new purchases to someday rather than next-up.
That last one is the whole trick. A sale adding sixty games should add exactly one entry to your decision queue. Everything else stays in someday, where it costs nothing.
How you know it worked: a sale ends and your next-up list has not grown past eight games. If you want one more guardrail, try a 20-game rule on purchases outside a sale, and see whether the backlog stops growing on its own.
Common Mistakes
Organizing by genre first. It feels logical and it collapses fastest, because games cross genres and the categories overlap. Fix: status as the main axis, genre as a tag you can filter by later.
Building more than one system. A spreadsheet, a Notion base and Steam collections all holding different truth means you check two and trust one. Fix: one record, the others read from it.
Treating the whole library as the backlog. Your backlog is the subset you have not started or not finished, which is usually smaller than you fear and larger than you want. Fix: count unplayed games in your inventory before deciding anything.
Sorting never-played games by purchase year. It tells you when you bought something, not whether it is any good. Fix: sort that group by Steam review summary or by a critic score, then keep the ones that look interesting.
Leaving a huge backlog to guilt. Unfinished games are a list of undecided intentions, not a moral debt. Fix: move what you will not finish to abandoned and stop revisiting it.
Forgetting multiple accounts. Libraries split across accounts hide games you already own, which is the most common answer to “why do I not own this.” Fix: record the account each purchase sits on in the same row as the game.
Skipping the reset after a sale. A system that only gets set up once starts decaying within a month. Fix: the fifteen-minute monthly pass, scheduled like anything else.
Two maintenance tips that matter more than the rest. Keep next-up short, and put new purchases in someday rather than in a queue you are supposed to play. Everything else on this page is recoverable; a backlog you feel bad about is not.
Frequently Asked Questions
What is the best way to organize my Steam library?
Sort by play status first, then keep only a short next-up queue of five to eight games. Use Steam collections for the manual folders and dynamic collections for anything rule-based, so new purchases sort themselves. Bulk assign with Ctrl-click and Shift-click to move large batches quickly, and record install locations and account details in one inventory outside Steam.
How do I categorize my Steam library so it stays useful?
Use a controlled vocabulary rather than free-form categories. Six status values cover most libraries: unplayed, in progress, completed, paused, replayable and abandoned. Add a separate priority field with high, medium and none. Keep genre as a tag you filter by rather than as a folder structure, because genre folders overlap and stop being useful once a library gets large.
How do I find games I own but never played?
Filter or sort your unplayed group by Steam review summary or by a critic score, then read the top of that list. Another method is sorting the Uncategorized shelf, which surfaces games nobody has filed. Adding a low-playtime rule to a dynamic collection also works, catching anything under an hour or two that has been sitting there untouched.
Should I uninstall games I bought and never play?
Uninstalling is safe in the sense that you keep ownership and can reinstall later, but it does not delete anything, so it only helps disk space. Check cloud saves first if you have any progress, and check whether the game is available on another launcher or through a subscription you pay for. Uninstall rather than delete when in doubt.
Where should my Steam library folder be, and is it safe to move or delete it?
Keep games on a fast drive with room to spare, and add extra drives as separate library folders through Steam’s storage settings rather than moving files by hand. Moving the folder manually is what causes missing-game errors and forced re-downloads. Deleting a folder you created yourself is fine; deleting inside the library folder yourself is what breaks installs.
What is the best backlog tracker for a huge game library?
For a spreadsheet, nothing beats a plain spreadsheet because it handles cost, hours played and cost-per-hour math that no launcher tracks. Playnite is the best free option if you want one window across Steam, Epic, GOG, Ubisoft, EA and Battle.net. GOG Galaxy 2 is convenient for owned games across stores but does not import Battle.net, and Notion suits people who enjoy building views.
Start with step one tonight: export what you own, add the five columns, and tag the fifty games you actually played this year. Everything after that is maintenance, and fifteen minutes a month is the whole commitment. Updated for 2026.