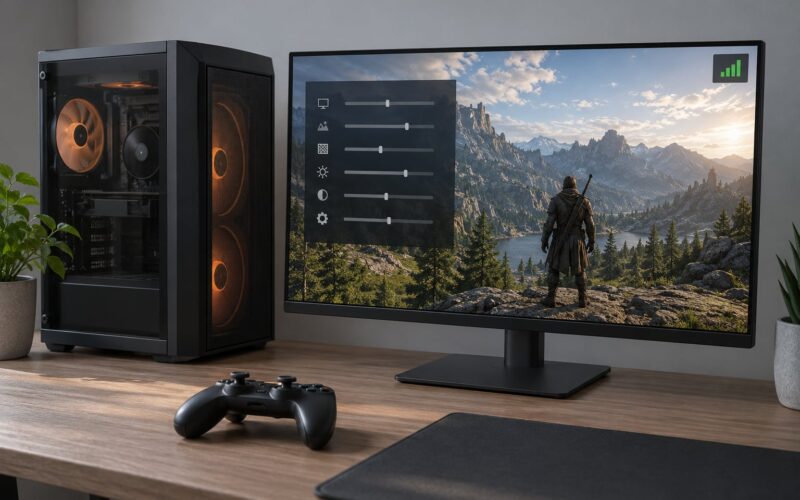
Most modern games can be coaxed onto a low-end PC, and the order you do things in matters more than anything else. Learning how to run modern games on a low end PC is mostly about sequence: set the graphics preset to performance, drop the resolution, turn off the settings that eat the most frame time, then close the background work your PC does while you play. It takes about an hour, costs nothing, and on most older machines the frame rate goes from unplayable to steady. The catch is knowing which problem you actually have.
This guide walks through that in six steps, starting with whether your hardware can run the game at all and ending with how to measure the result. Every step says how you can tell it worked, so you can stop when you hit your target.
Table of Contents
- 1What You Need
- 2Step-by-Step
- 31. Check Whether Your PC Meets the Game Requirements
- 42. Set the Graphics Preset to Performance
- 53. Turn Off Unnecessary Background Work
- 64. Update the Graphics Driver and Game Files
- 75. Use the Right Display and Launch Settings
- 86. Test Performance and Adjust Once More
- 9Common Mistakes
- 10Frequently Asked Questions
- 11Is 8 GB of RAM enough to run modern games on a low-end PC?
- 12Can I run modern games on integrated graphics?
- 13Should I use fullscreen or borderless mode on a low-end PC?
- 14Why does my game still stutter after I lower the graphics settings?
- 15When is upgrading better than changing more game settings?
- 16Conclusion
What You Need
You need a Windows 10 or Windows 11 PC, administrator access to your own machine, and the graphics driver that shipped with it. Free storage matters too: games patch themselves, and shader compilation stutters badly when the drive is nearly full. Aim for at least 15 percent headroom on the drive your games live on.
Before changing anything, work out which kind of problem you have. Four causes look identical from the outside but need completely different fixes.
- Settings too high. The game runs, just at 12 FPS with everything on maximum. This is the easiest case.
- Background load. The same game runs at 45 FPS with every browser tab closed.
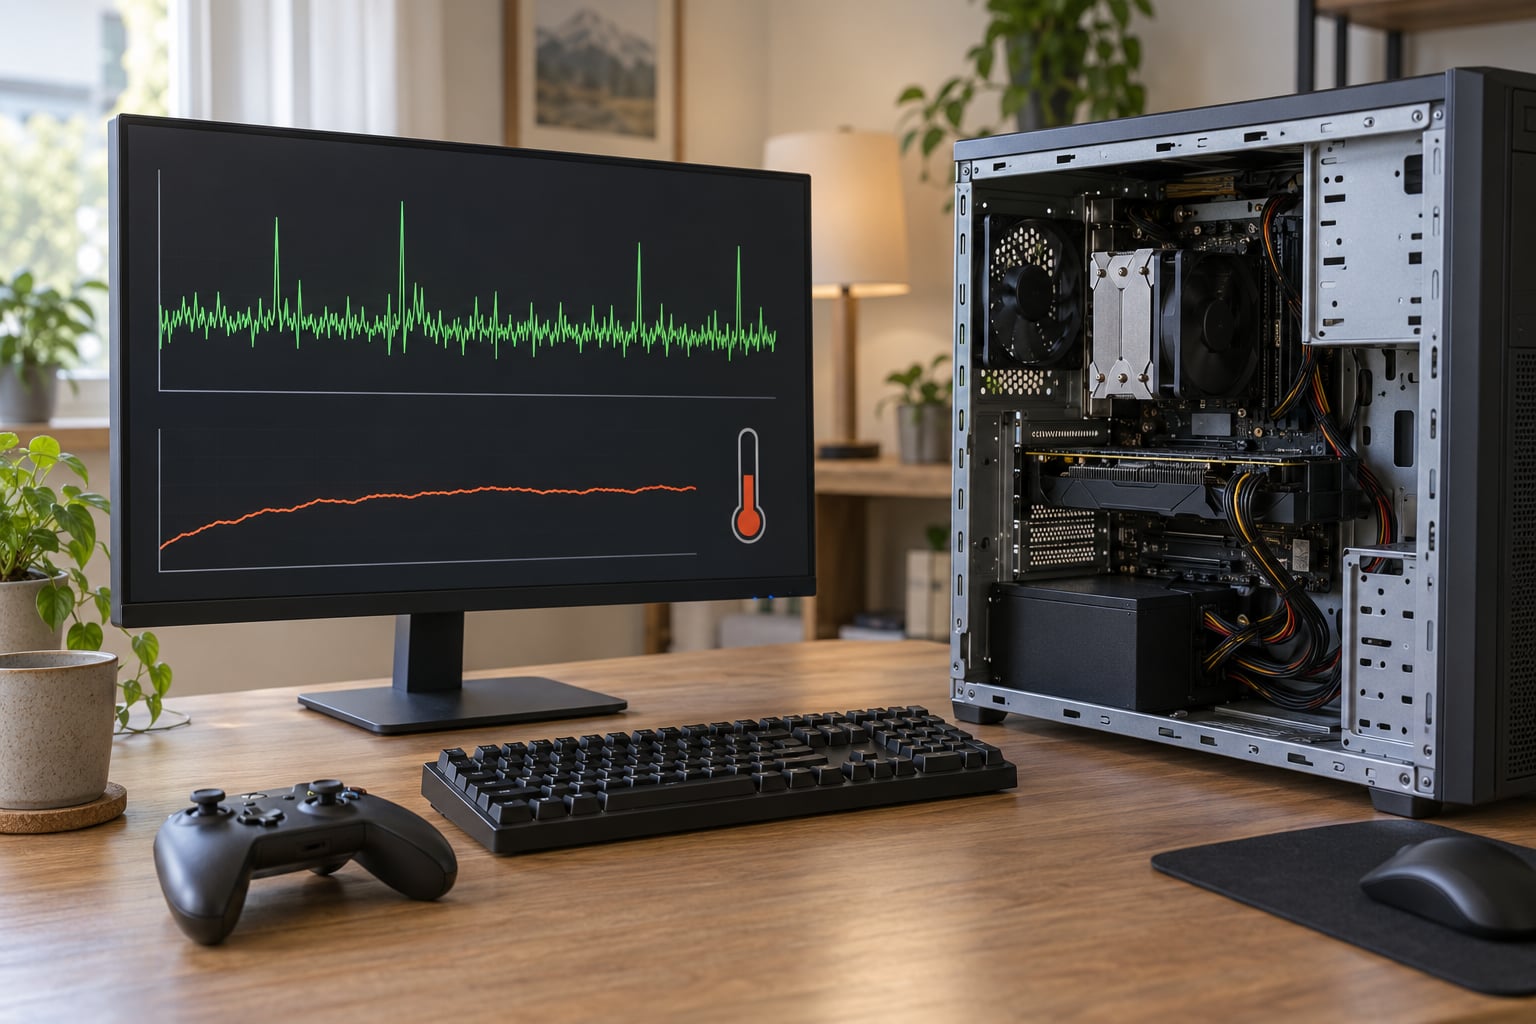
- Heat. Performance is fine for ten minutes, then drops off a cliff.
- Hardware genuinely too weak. Menus are smooth, but gameplay crawls at any setting. Nothing you change in the menu fixes this.
The last one is the frustrating case, because it means the game lists a minimum your PC does not meet. Check system requirements listings against your own specs before you spend an evening on settings. More on that in step 1.
Step-by-Step
1. Check Whether Your PC Meets the Game Requirements
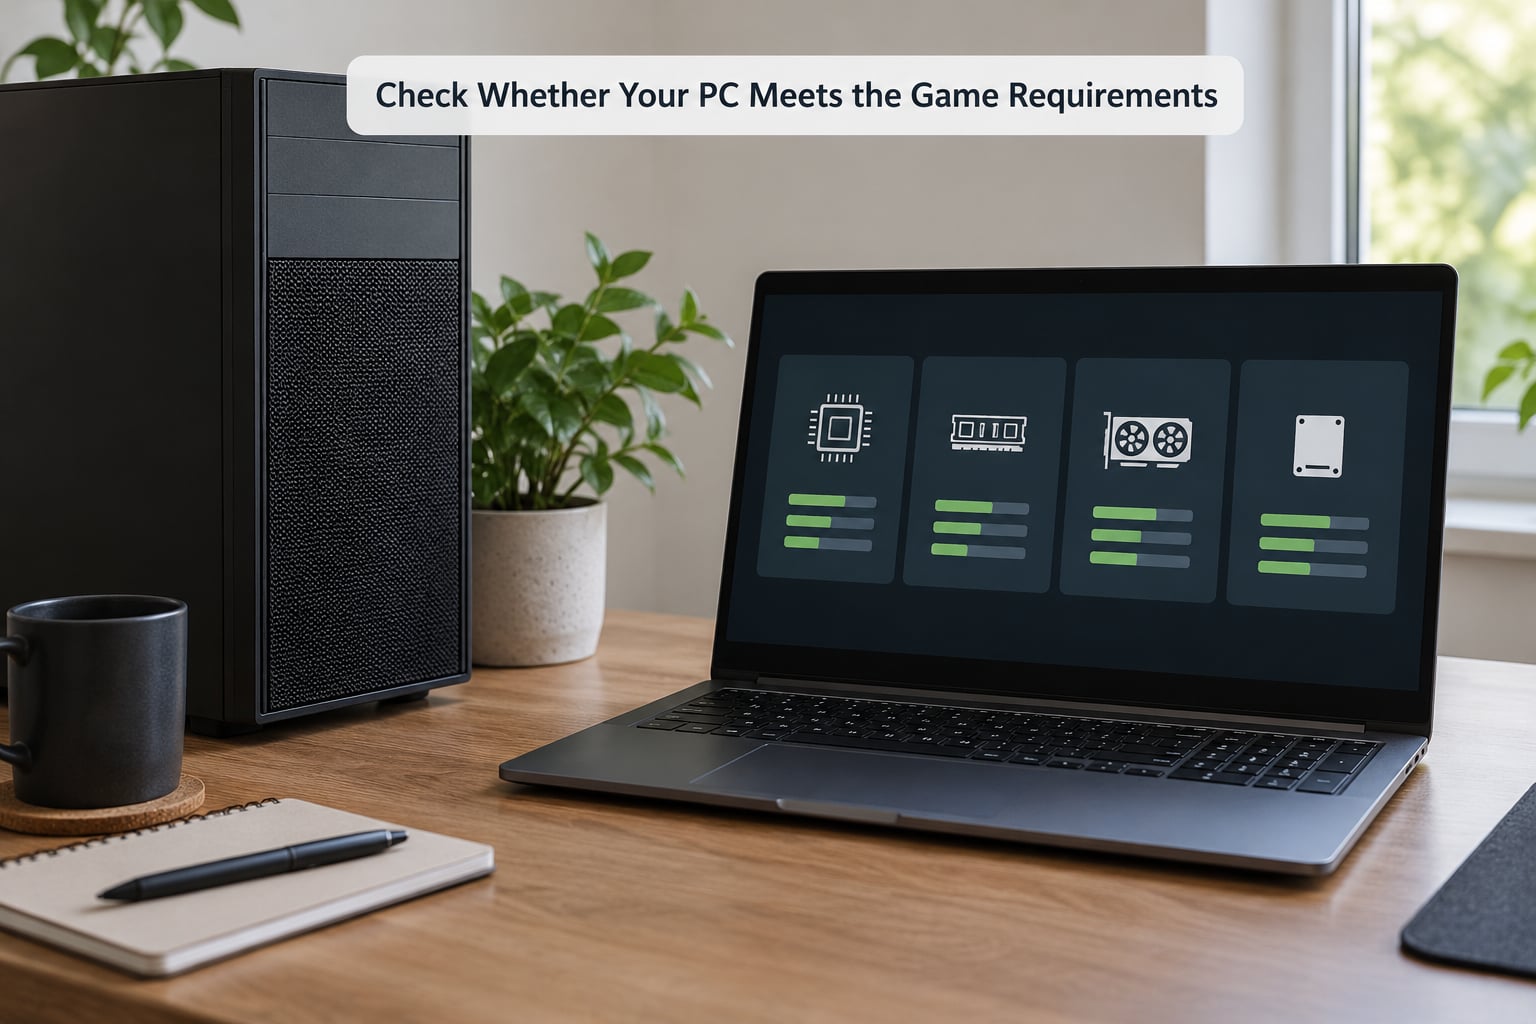
Open the game’s store page and find the minimum and recommended specifications, then write down what your PC actually has. On Windows 11, press Windows + R, type msinfo32, and press Enter to see your processor and installed memory. For the graphics card, search “Device Manager” in the Start menu, expand Display adapters, and read the entry there. Task Manager’s Performance tab, opened with Ctrl + Shift + Esc, shows the same numbers live.
Compare the minimum spec with what you own and be honest about the gap. A PC below the minimum can often still run the game slowly, but a PC far below it usually cannot, and no settings menu rescues a missing GPU core. On integrated graphics, check the video memory figure as carefully as the frame rate target, because low VRAM is what forces ugly texture popping no matter how you set texture quality.
How you can tell this step worked: you know your CPU, RAM amount, GPU name and resolution before you touch anything. If you can’t name your graphics card, stop here and find that out first, because every later step depends on it.
2. Set the Graphics Preset to Performance
Open the in-game graphics menu and pick the low or performance preset before touching individual settings. That preset changes a dozen values at once, and it saves you from missing an expensive one.
After the preset, work through these in order, because each costs more frame time than the one after it:
- Resolution. Drop from 1080p to 900p or 720p. This is the single biggest lever on a weak GPU, bigger than every other setting combined.
- Shadow quality. Low or off. Shadows render from multiple angles and cost more than they look worth.
- Ambient occlusion and volumetric lighting. Off. These two run every frame across the whole scene.
- Ray tracing. Off, always, on low-end hardware. It is the most expensive option in every menu that has it.
- Anti-aliasing. Switch to the cheapest option, or use the upscaling option if the game has one.
- Texture quality. Reduce one notch if VRAM is tight. Keep it high if you have plenty, because low textures look worse than a slightly lower frame rate feels.
Menu names differ slightly between Windows 10 and Windows 11 builds, but the labels themselves — Shadow Quality, Ambient Occlusion, Volumetric Fog, Ray Tracing — are standard. Some games also ship an engine-level low-spec mode. In Unreal Engine titles it appears as Low Spec Mode in the main settings, and on Steam you can often launch with the launch option -lowspec. That option cuts lighting and shadow work before the menu even loads.
How you can tell this step worked: the frame rate counter rises noticeably and the frame times stop spiking. If nothing changed, you probably have a CPU bottleneck, and no graphics setting will touch it.
3. Turn Off Unnecessary Background Work
On a weak machine, background work does not just use idle resources. It steals slices of your frame budget, and on a PC with 8 GB of RAM it causes outright stutter while the system swaps.
On Windows 11, press Ctrl + Shift + Esc to open Task Manager, click the Startup apps tab, and disable anything you do not need running at login — chat clients, cloud sync trays, launchers. Do this from the Startup apps tab rather than ending processes in the Processes tab, because the change sticks. On Windows 10 the same tab exists, and you can also right-click a taskbar tray icon to disable it.
Close browser tabs you are not using, especially in Chrome or Edge, and pause OneDrive, Dropbox or Google Drive syncing while you play. Turn off the background recording in Xbox Game Bar: press Win + G, click the gear in the top corner, and switch off capture. Exit Discord, the Steam overlay and the GeForce overlay before you launch a game. On an 8 GB machine, three of those running together is a genuine frame-time problem.
Never disable Windows Update, your antivirus, your audio service, or anything tied to your graphics driver. On Windows 11, also leave Game Mode on — Settings, Gaming, Game Mode — since it prioritises the running game.
How you can tell this step worked: Task Manager’s CPU and memory graphs sit flat and low while you play, and hitches during firefights or busy scenes stop.
4. Update the Graphics Driver and Game Files
Get the current driver from the card or laptop manufacturer first, not from a generic driver tool. For NVIDIA, use the NVIDIA App or GeForce Experience; for AMD, use Adrenalin; for Intel integrated graphics, use Intel Driver & Support Assistant. Manufacturer drivers are tuned for that machine, and they usually include older cards that the newest branch has dropped.
Windows Update is a fine fallback: Settings, Windows Update, Check for updates, then Optional updates, where driver updates often hide. If you have never installed a driver manually, do a clean install — tick the clean install option in the driver package so your old settings and profile data go with it.
Skip driver booster utilities, registry cleaners and “one-click optimisers.” They install extra background services, and there are regular reports on PC gaming forums of exactly that making performance worse.
Then verify the game files through its launcher. On Steam, right-click the game, Properties, Installed Files, Verify integrity of game files. On Epic, use Manage, Verify. This repairs anything a failed update corrupted, and it costs a few minutes.
How you can tell this step worked: no missing-texture errors, no crashes to desktop, and shader stutter stops after the first run through each area.
5. Use the Right Display and Launch Settings
Display mode changes how much work the system does. Exclusive fullscreen usually performs better than borderless, because borderless forces the desktop compositor to stay active. On Windows 11, Alt + Tab switching to a modern title defaults to borderless, so switch the game’s video mode to Fullscreen in its own menu rather than assuming what you have is what you selected.
Check your Windows display settings for the right resolution and refresh rate: Settings, System, Display. Match the in-game resolution to the desktop resolution. Mismatched values force scaling, and scaling a low frame rate game looks worse than it needs to.
Turn off V-Sync on a weak GPU, since it can add input lag when you cannot hold the target rate. Set a frame limiter slightly below what you can hold — if you are getting 48 FPS, cap at 45. Stable frame times are what players on low-end hardware care about most, and most report that 25 steady FPS feels better than 45 that keeps hitching.
Use the render scale slider if the game has one. Setting it to 80 or 90 percent while keeping resolution at 1080p gives a sharper image than dropping to 720p outright, and it costs less.
Upscalers are worth trying: FSR 1.0 works on almost any GPU, Intel XeSS runs on Intel and AMD hardware, and DLSS needs NVIDIA. Frame generation can add visual frames on weak cards, but it does not fix a frame rate under about 30, so turn it off if your base rate is low.
On a laptop with hybrid graphics, Windows 11 lets you pick the GPU per app: Settings, System, Display, Graphics, then select the game and choose Options, and set it to the dedicated GPU. Forcing the wrong GPU is a common cause of integrated graphics choking in combat while menus look fine.
How you can tell this step worked: input feels immediate and the frame counter holds within a few points of your cap.
6. Test Performance and Adjust Once More
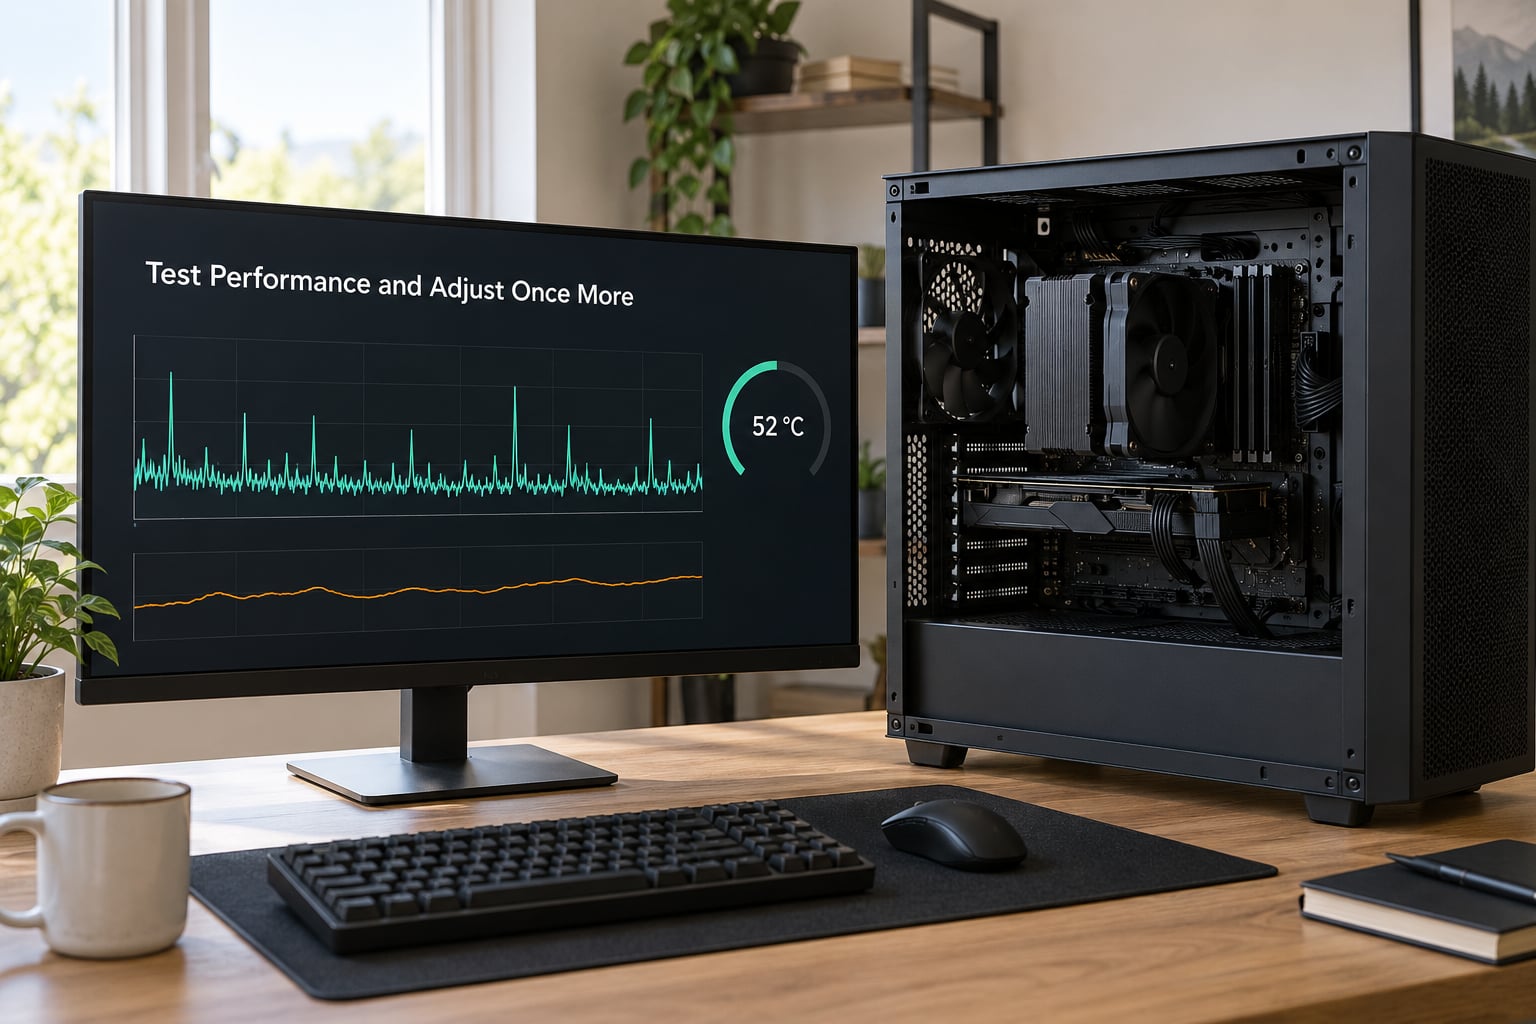
Measure before you adjust anything else, using the built-in counter most games show with a key combo, or a system monitor in Task Manager’s Performance tab. Record the average frame rate and how much it varies. Then change one setting at a time and write the new number next to the old one.
Frame time matters as much as frame rate. A game running at 45 FPS with frame times between 18 and 40 milliseconds stutters badly; a game at 30 FPS with frame times holding near 33 feels smooth. That difference is why frame limiters help more than they should on weak hardware.
Watch CPU temperature during the test. If your machine drops frames after 10 to 15 minutes of play but was fine at the start, you are thermally throttling, not settings-limited. An old prebuilt or laptop with clogged vents and dried thermal paste throttles exactly like this. Cleaning dust out of the intake vents and improving airflow does more than any setting change in that case.
If a change lowers quality without improving the frame rate, undo it. Texture quality and anti-aliasing are worth keeping if your frame rate is already acceptable.
How you can tell this step worked: you have a before and after number for the same scene, and you know which single change was responsible.
Common Mistakes
Disabling Windows services. Guides that tell you to turn off Windows Update, Defender or the SysMain service break security and can break the game itself. Leave them running and trim startup apps instead.
Driver booster utilities. These add services that consume CPU in the background, which is the last thing a weak PC needs. Install drivers from the manufacturer or Windows Update.
Forcing resolutions the game does not list. A stretched or black screen from an unsupported resolution usually means editing config files by hand. Use a supported lower resolution instead.
Random registry tweaks. “Gaming optimisation” registry edits are unverifiable and some break features silently. The free wins are real: drivers, background apps, resolution, presets.
Running a hot laptop flat on a bed or lap. Blocked vents cause throttling, and throttling looks exactly like a settings problem. Put it on a hard surface.
Changing five settings at once. Then a crash or a new stutter appears and you cannot tell which change caused it. One change, one measurement, one note.
A few tips that cost nothing: cap your frame rate at a level you can hold, close overlays before launching, and keep the game on an SSD if you have one. An SSD will not raise your frame rate, but it shortens load times and reduces hitching during streaming asset loads, which reads as smoothness even when the average frame rate is unchanged.
If you are still stuck after all six steps, cap your expectations rather than your settings. A game below minimum specs on a weak CPU will not become playable through menu changes, and that is the honest answer rather than a promise.
Frequently Asked Questions
Is 8 GB of RAM enough to run modern games on a low-end PC?
8 GB is playable for older and indie titles, but it is the main cause of stutter on current games. Windows and your browser use several gigabytes before the game starts, so little is left for streaming assets. Closing background apps helps immediately. Moving to 16 GB is the single most useful memory upgrade on a low-end PC, and it does far more for smoothness than any settings change.
Can I run modern games on integrated graphics?
Yes, for a large share of current titles, at 720p or 900p with low settings. Intel UHD and Iris Xe, and Radeon integrated graphics, handle shooters, strategy games and simulation titles at steady rates. What they cannot handle is ray tracing, high texture quality and anything with heavy shadow work. Check the video memory figure too, because low VRAM causes texture popping that no setting fully fixes.
Should I use fullscreen or borderless mode on a low-end PC?
Fullscreen is usually the better choice on low-end hardware. Borderless mode keeps the desktop compositor active, which costs a little performance and occasionally adds stutter. On Windows 11, modern titles often default to borderless, so set the mode inside the game menu rather than trusting the Windows setting. Switch to borderless only if you alt-tab to another app frequently while playing.
Why does my game still stutter after I lower the graphics settings?
Lower settings fix frame rate, not every source of stutter. Common culprits are shader compilation on first run through an area, background overlays like Discord or Xbox Game Bar, a nearly full drive, a single slow storage device streaming assets, and CPU heat throttling. Learning how to run modern games on a low end PC means treating stutter as its own problem: close overlays, free drive space, and watch CPU temperature during the same scene.
When is upgrading better than changing more game settings?
Upgrade when settings have already done their job. Signs are clear: you are below the minimum specification, gameplay stays slow at 720p on low, menus are also sluggish, or your CPU drops frame rate after 10 minutes from heat. At that point no menu change will help. Adding RAM to 16 GB, moving to an SSD, or fitting a used graphics card with more video memory are the changes that actually raise performance.
Conclusion
Start with the free work in this order: check the game’s minimum specifications against your own, apply the performance preset, then lower resolution and the expensive toggles — shadows, ambient occlusion, ray tracing, anti-aliasing. Turn off startup apps, close overlays and pause file syncing. Update the driver from the manufacturer, verify the game files, and finish with fullscreen, V-Sync off and a frame limiter below what you can hold.
Then measure. One setting, one number, written down, so you know what helped and what only made the game uglier. If the frame rate refuses to move and your PC is below minimum specifications, software changes have run out — a RAM, storage or graphics card upgrade is the honest next step.