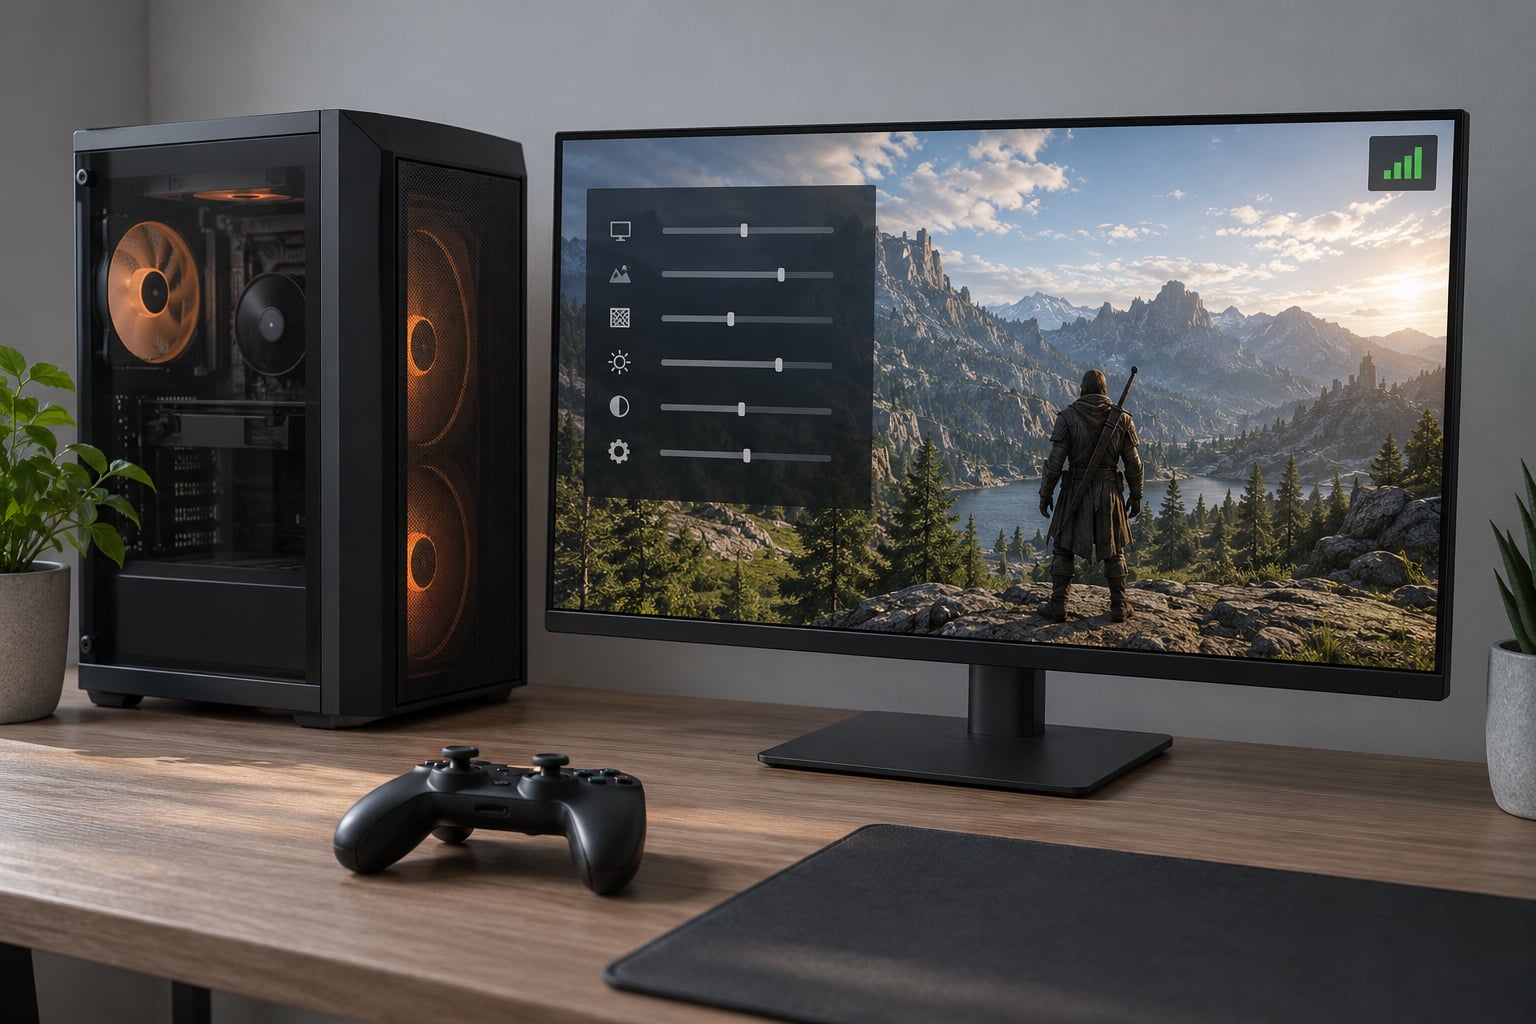
You cannot make a graphics card render frames faster than its hardware allows, but most players are handing 20 to 50 percent of their frame rate to settings nobody tuned, background software, and heat. That is the whole promise of learning how to increase FPS without upgrading your GPU: change what the GPU is being asked to do, cut the work it is doing in the background, and stop it throttling mid-match. Give me an hour and one repeatable test scene, and most people find the fix before they open a browser tab to shop for a new card.
Table of Contents
- What You Need
- How to Increase FPS Without Upgrading Your GPU
- 1. Set a Frame-Rate Cap
- 2. Change the Graphics Preset and Resolution
- 3. Lower the Most Expensive Visual Settings
- 4. Update the GPU Driver and Check the Power Plan
- 5. Close Background Apps and Overlays
- 6. Disable Fullscreen Optimizations and Test Cleanly
- 7. Remove Unnecessary Desktop Visual Effects
- 8. Check for CPU and Storage Bottlenecks
- Common Mistakes
- Frequently Asked Questions
What You Need
None of this requires new hardware, which is the point. You need four things, and three of them already exist on your machine.
- Admin access to Windows. Settings, Task Manager, and the Power options all live behind it. Windows 11 and Windows 10 paths differ, and I call out which is which throughout.
- Your GPU model and current driver version. Both show up in Task Manager under Performance, GPU, in the top right corner. Write it down, because you will want to know whether a change helped or just felt different.
- The game’s own graphics menu. Almost every fix below lives there.
- A frame rate counter. Most games ship with one behind a key like Alt+F or F2. If yours does not, MSI Afterburner with RivaTuner Statistics Server, or the NVIDIA overlay, will add one to anything you launch.
- A repeatable test scene. The same route, the same time of day, the same weather in an open world game. Frame rates swing wildly between a loading screen and a firefight.
How to Increase FPS Without Upgrading Your GPU
Before you touch anything, capture a baseline. Play your test scene for two minutes with the counter on, note the average and the worst dip, and write both down. Then change one setting, repeat the same scene, and record the result. The discipline matters more than any single trick, because a change that adds three frames is not worth the visual damage it causes.
Diagnose your bottleneck first. If your GPU sits at 95 to 99 percent usage, it is the limiting factor and every in-game setting below will pay off. If it sits below roughly 80 percent while the frame rate sags, the CPU or memory is starving it and lowering shadows will do nothing at all. This is the single biggest time-waster for new players, and the reason so many people conclude their card is broken.
Here is roughly what each change is worth, so you can work down the list instead of guessing:
| Tweak | Typical gain | Visual cost | Difficulty |
|---|---|---|---|
| Resolution drop, one step (1440p to 1080p) | Large, often 40 to 60 percent | Noticeable but familiar at distance | One click |
| Ray tracing off | Large, often 30 to 50 percent | Small if you never used it | One click |
| Upscaling to Performance or Balanced | Large, often 40 to 70 percent | Visible softening up close | One click |
| Shadows, volumetrics, ambient occlusion to Low | Moderate, 10 to 25 percent | Mild, mostly noticed in motion | Three clicks |
| Background apps and overlays off | Small, 0 to 8 percent, more in stutter | None | A minute of closing tabs |
| Power plan and clean driver install | Small, 0 to 10 percent, more on laptops | None | Ten minutes |
| More RAM or a faster SSD | Almost never raises average FPS | None | Money |
1. Set a Frame-Rate Cap
An uncapped frame rate wastes power your card could be spending on sustained boost clocks, and in older titles an uncapped rate is a classic source of micro-stutter as the rate swings between 300 and 340.
On Windows 11, open Settings, go to System, then Display, then Advanced display, and set Choose a refresh rate to your monitor’s highest supported option. On Windows 10 the same page reads Settings, System, Display, Advanced display, Display refresh rate. Run the game once on a high uncapped setting before touching this, because it is one of the few changes that can make things feel worse before they feel better.
Inside the game, use its own frame limiter or set V-Sync to a multiple of your refresh rate. If your display runs at 165 Hz, a 165 FPS cap gives you a stable pacing. Then test the same scene twice.
2. Change the Graphics Preset and Resolution
Resolution is the strongest lever you have, because the number of pixels scales directly with rendering cost. Moving from 2560×1440 to 1920×1080 cuts the pixels you are asking the GPU to fill by roughly half, and a GPU-bound scene usually gains proportionally more.
Start by picking the Performance or Low preset in the graphics menu, then lower the output resolution through the game’s Display settings if it offers that choice. Many titles also have a separate render scale slider, usually labelled resolution scale or screen percentage; moving it from 100 to about 80 percent is a large and often unnoticeable gain at 1080p.
Only move the output resolution itself if you are still short after the cheaper changes. It is the fix that costs you the most sharpness.
3. Lower the Most Expensive Visual Settings
Settings are not equal. Shadows, ray tracing, volumetric lighting, ambient occlusion, reflections and dense foliage cost the most, while texture quality is comparatively cheap until it eats your VRAM.
Work down this order and stop as soon as you hit a playable frame rate: ray tracing first, then shadows, then volumetrics and fog, then ambient occlusion, then reflection and screen-space effects, then foliage density. Anti-aliasing, motion blur and depth of field are cheap on frame rate and worth keeping for a long time.
Leave texture quality alone unless the game stutters. Dropping it is the most visible change on the list and usually the least rewarding, unless you are right at the edge of your card’s VRAM.
4. Update the GPU Driver and Check the Power Plan
Get your driver from the card maker’s site rather than a driver aggregator, and install it cleanly. If a game got slower after a driver update, or your frame rate dropped after a hardware swap, do it properly: download DDU, boot into safe mode with networking, run it, then install the fresh driver before Windows starts. That sequence is the standard community fix for post-upgrade regressions, and it works.
Windows will also try to install its own driver version in the background. Pick one source for your drivers and turn off the other, so you are not fighting the machine over which version loads.
Then check the power plan. On Windows 11 it is Settings, System, Power and battery, Power mode, Best performance. On Windows 10 open Control Panel, Hardware and Sound, Power Options, and choose High performance, or Ultimate performance if your hardware exposes it. Desktops rarely notice; laptops in power-limited mode gain noticeably, so make sure you are plugged in and that your manufacturer’s gaming or performance mode is switched on.
5. Close Background Apps and Overlays
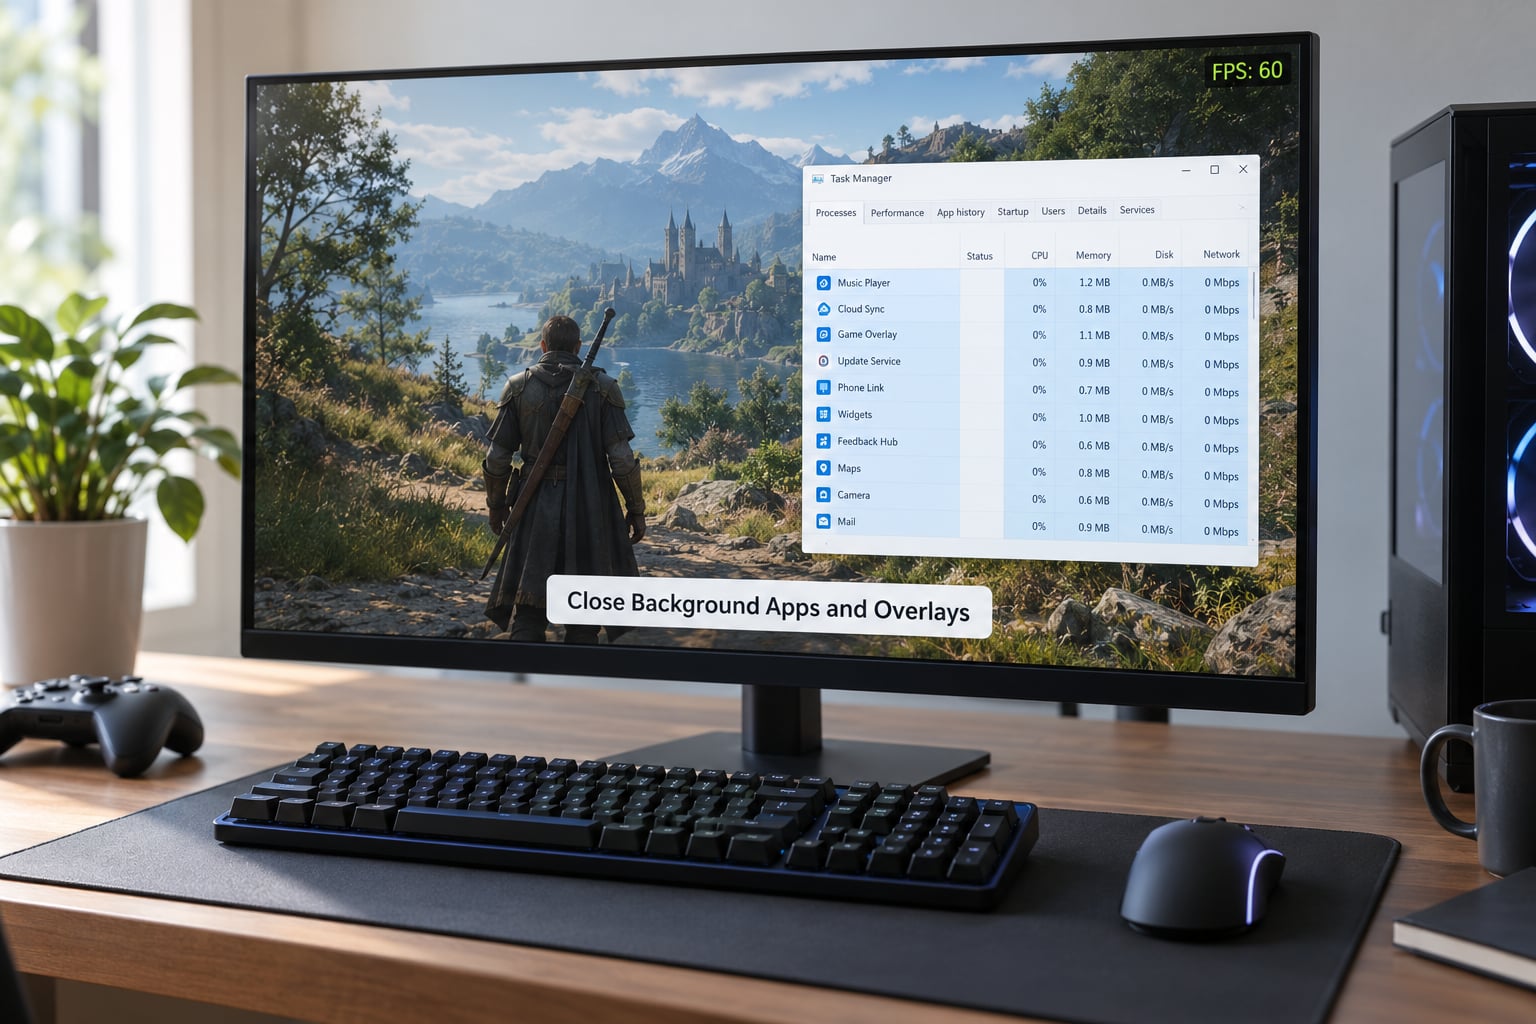
Open Task Manager with Ctrl+Shift+Esc and sort by CPU and memory while the game is running. Twenty browser tabs, a Discord client, a cloud sync client and a launcher all take time away from the CPU threads feeding your GPU, and memory pressure is what turns a smooth scene into a stuttery one.
Turn off overlays, not just apps. The Xbox Game Bar capture, the Steam overlay, Discord’s in-game overlay and hardware monitoring tools all hook into the game’s rendering thread, which shows up as periodic hitching even when they are idle. Players report a small but measurable gain from killing them, and it costs nothing to test for yourself.
Keep your monitoring overlay running while you test, though. It is the only way to know whether step six actually helped.
6. Disable Fullscreen Optimizations and Test Cleanly
Some older and portable titles run in a compatibility borderless mode that costs frames. Right-click the game’s executable, open Properties, go to the Compatibility tab, select Change display settings, then tick Disable fullscreen optimizations. Restart the game and retest your scene.
Treat this as a diagnostic, not a permanent recommendation. It fixes a narrow set of cases and can hurt in others, so if the frame rate did not move, untick it.
Also confirm the conditions are identical between runs: restart the PC after driver changes, keep the laptop plugged in, and make sure the power mode did not drift back to balanced. A surprising share of misleading benchmark results come from one of those three changing between runs.
7. Remove Unnecessary Desktop Visual Effects
Window animations and transparency are not free. On Windows 11, open Settings, Personalization, Themes, and look for Effects and animations, where you can turn transparency and animation off. On Windows 10 the equivalent switch is Settings, Personalization, Colors, Transparency effects.
For the bigger win, use the classic performance dialog: type Adjust the appearance and performance of Windows into Start, open Performance, choose Adjust for best performance, then re-select just the text and window borders you want to keep. It clears every animation across the desktop in one pass and is the change people notice most on older CPUs.
The gain on a modern desktop is small. On an older processor fighting for CPU time with a demanding game, it is worth the minute.
8. Check for CPU and Storage Bottlenecks
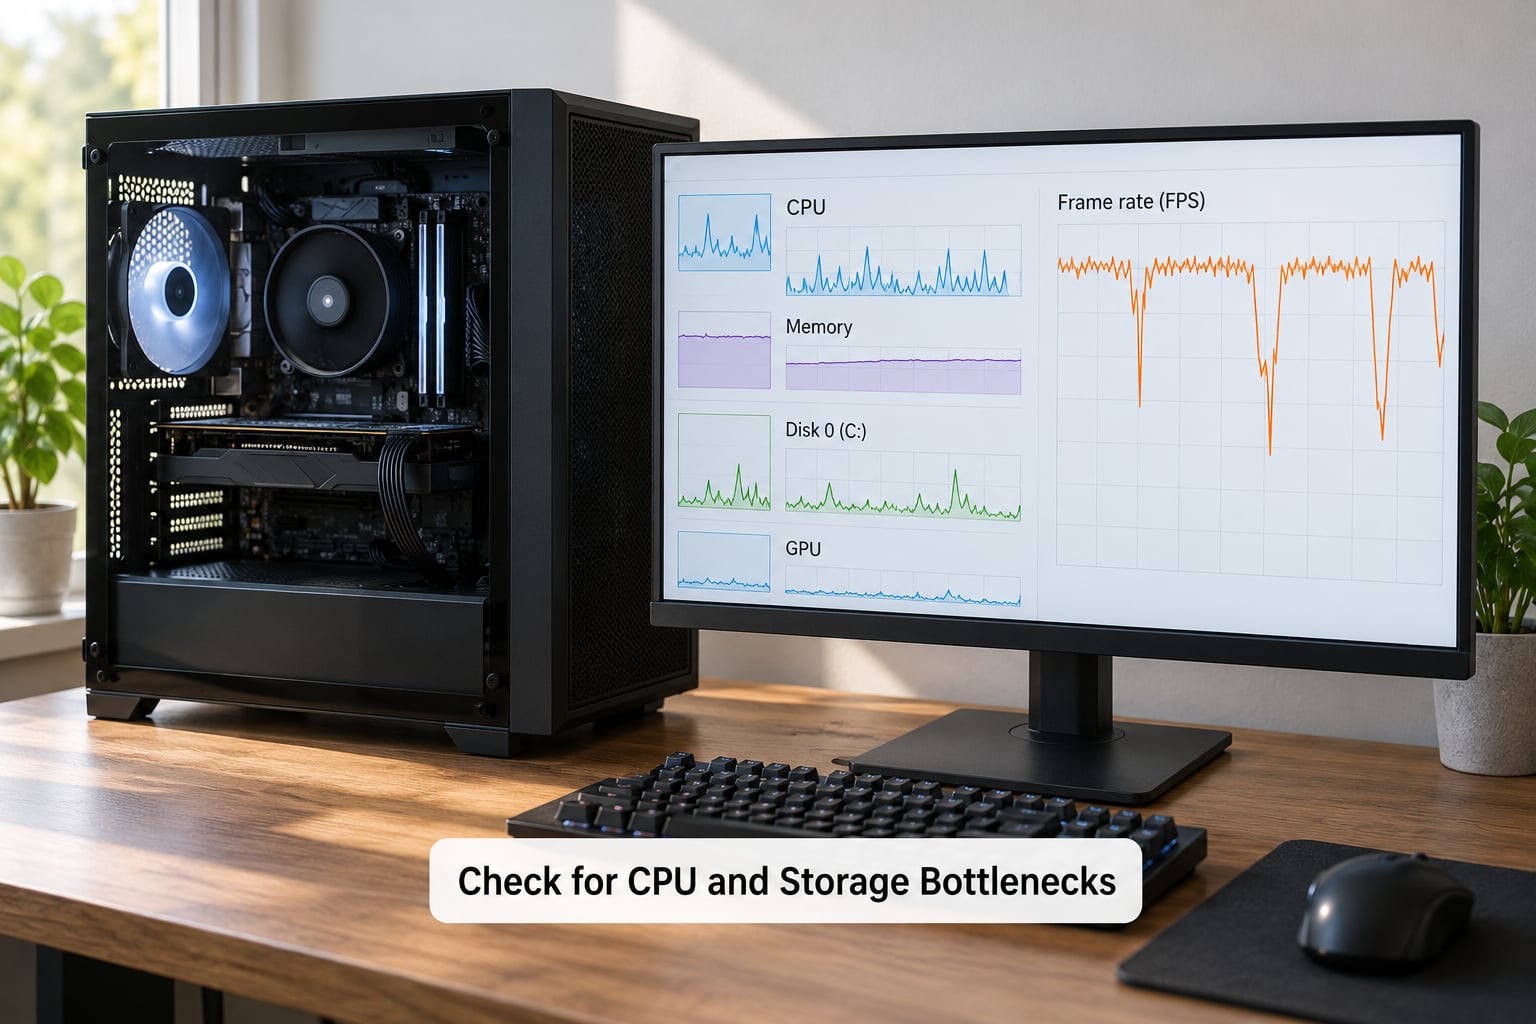
Some frame rate problems are not the GPU’s fault, and no settings change will fix them. Open Task Manager, Performance, and watch four things while you play.
- GPU at 95 to 99 percent: you are GPU-bound. Every graphics setting in steps two and three applies to you.
- GPU under about 80 percent while frames stutter: the CPU is the bottleneck. Lowering textures will do nothing. This is the classic case of RAM sitting at 95 percent, GPU at 85 percent, and graphics changes making no difference at all.
- GPU hits 100 percent memory usage or shows full but small stutters: you are at the VRAM ceiling. Reduce texture quality, or use upscaling to bring in less detail.
- Discrete spikes in disk activity: the game is loading assets faster than your drive can supply them. This reads as stutter, not as low frame rate.
The fixes here are unglamorous. Close memory-heavy browser tabs, keep the game on an SSD rather than a spinning drive, and if your machine is close to its memory limit, move the pagefile to the SSD through System, About, Advanced system settings, Performance, Settings, Advanced, Virtual memory.
Watch frame times rather than the average, too. A game averaging 60 FPS with 1 percent lows at 22 is a stuttering game, and fixing the dips usually matters more than raising the average.
Common Mistakes
Changing everything at once. You will find out which change helped about four tries from now. One setting per test, two minutes per scene.
Chasing two-frame gains. If a change buys you under about 3 percent, put it back unless the visual difference is invisible. Your time is worth more than the frames.
Confusing a frame cap with lost performance. A capped 60 FPS is not a slower machine. If your monitor is 144 Hz, cap at 144, not at a round number, and give the limiter a few seconds to find its rhythm before you judge it.
Buying RAM before identifying the bottleneck. More memory almost never raises average FPS. It fixes stutter in a machine that is genuinely running out of it, and leaves the average exactly where it was. Confirm your RAM usage in Task Manager first.
Turning off security features permanently. Disabling Memory Integrity or Virtual Machine Platform can help a few edge cases, and should be re-enabled the moment you stop gaming. Treat it as a temporary test, not a setup step.
Ignoring heat and airflow. A card that throttles back in a crowded case gives away frame rate over the course of a match, which no setting menu will tell you. Keep the intake clear and let the card breathe.
Three habits keep the whole process honest. Test in the same scene every time, at the same camera angle, with the same lighting. Revert anything that did not earn its place. And write the numbers down, because memory is generous with your failures and stingy with your wins.
Frequently Asked Questions
Can I increase FPS without upgrading my GPU?
Yes, within the limits of your hardware. Games ship with settings aimed at far stronger cards, so many machines are rendering far more than they need to. Lowering resolution and render scale, turning off ray tracing, enabling an upscaler, trimming background load and stopping thermal throttling can together recover 20 to 50 percent of lost frame rate. Once those are done, the card’s raw performance is the ceiling.
Is lowering the resolution the best way to improve FPS?
Usually it is the biggest single lever, because it cuts the number of pixels the GPU must fill rather than just adding effects. A move from 2560×1440 to 1920×1080 removes roughly 44 percent of the pixels. Resolution scale inside the game is a softer version of the same trick and often the better first move, since the sharpness loss is harder to notice.
Does VSync increase or decrease FPS?
V-Sync caps your frame rate at your monitor’s refresh rate, so the raw number usually drops. In exchange you stop screen tearing and usually remove the stutter that uncapped frame rates cause in some titles. On a variable refresh monitor, turn V-Sync off in the game, set the frame rate just below the refresh rate, and let FreeSync or G-Sync handle smoothness instead.
Why does my game have high FPS but still feels stuttery?
The average frame rate hides the dips that matter. Check the 1 percent lows rather than the headline number, and watch frame times. The usual causes are memory pressure, an SSD that is not keeping up with asset streaming, a CPU that cannot feed the GPU fast enough, or a background overlay injecting work into the render thread.
Does closing browser tabs improve gaming performance?
Sometimes, and it costs nothing to check. Each open tab runs background processes, and a browser sitting at high memory usage competes for the CPU time and memory bandwidth the game needs. Watch the CPU and memory columns in Task Manager while the game runs and close what you do not need. Expect a small frame rate gain and a bigger reduction in stutter.
How do I know whether my GPU or CPU is the bottleneck?
Turn on a frame rate counter and watch GPU usage. At 95 to 99 percent, the GPU is the limit and graphics settings will help. Below roughly 80 percent with a stuttering frame rate, the CPU is starving it, and lowering textures changes nothing. A GPU sitting near 100 percent of its memory points at a VRAM limit instead.
If you do only three things tonight, record your baseline, set a frame cap just under your refresh rate, and drop the game to its Performance or Low preset at a lower resolution scale. Those three take about fifteen minutes between them and settle the question of whether you need new hardware at all.