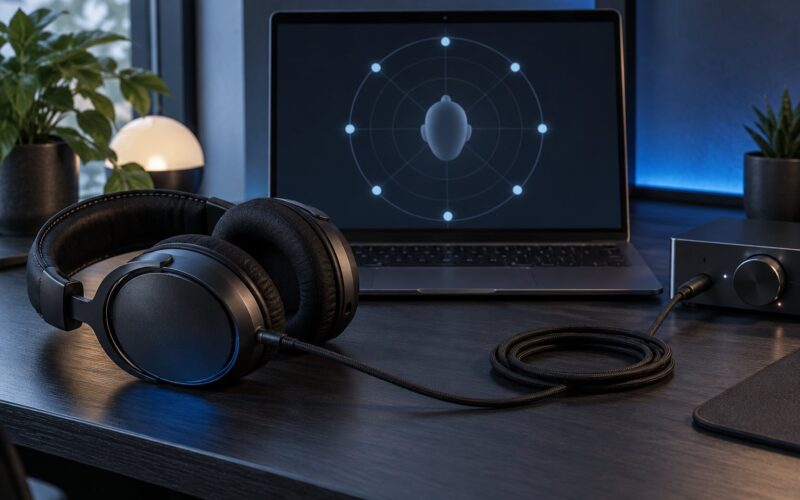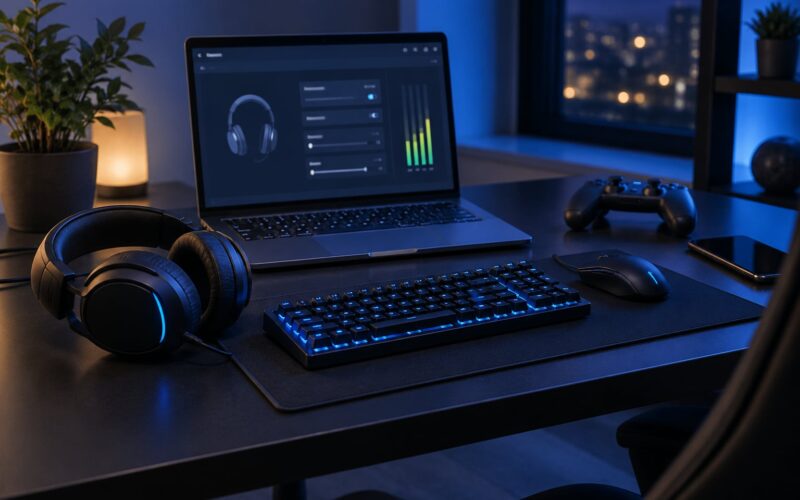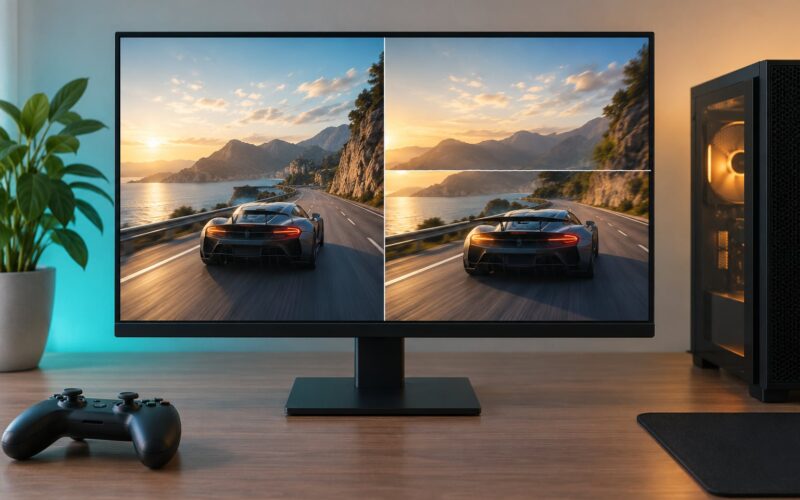
How to calibrate display settings for games comes down to four layers, changed in this order: native resolution and the highest stable refresh rate first, then brightness and black level, then HDR and color profile, and only then the sliders inside the game itself. Most people who get a washed-out or too-dark picture are adjusting layer four when the problem lives in layer one or two.
The whole job takes about 30 minutes. You will spend most of that on the monitor’s own menu rather than inside Windows, because the monitor decides how its panel is driven, and no software setting overrides a picture mode set to Standard or Cinema.
There are three routes, and picking the right one saves time. The Windows built-in tool covers SDR in about five minutes. The Windows HDR Calibration app handles HDR tone mapping. A hardware colorimeter is the only route that produces accurate color measurements, and it matters most on wide-gamut and OLED panels.
One warning before you start. Games in HDR often bypass your desktop ICC profile entirely, so a colorimeter profile improves video, desktop and browser games, but for many titles the game applies its own tone map on top. That is why the sequence below ends with in-game settings rather than beginning with them.
Table of Contents
- 1What You Need
- 2Step-by-Step: How to Calibrate Display Settings for Games
- 3How to Calibrate Display Settings for Games on Windows
- 4Set Display Scale and Resolution
- 5Adjust Brightness, Contrast, and Gamma
- 6Configure Refresh Rate, VRR, and Motion Settings
- 7Set HDR and Color Profile
- 8Test the Final Settings in Your Game
- 9Calibrate Browser Games and Game-Specific Options
- 10Common Mistakes
- 11Calibration Tips for Different Displays and Monitors
- 12Frequently Asked Questions
- 13What is the best way to calibrate display settings for games?
- 14Should I use Windows or in-game display settings for calibration?
- 15What resolution and refresh rate should I use for gaming?
- 16Is HDR worth enabling for games on every monitor?
- 17How do I fix blurry or cut-off text after changing display settings?
- 18Do I need a colorimeter to calibrate a gaming monitor?
- 19Conclusion
What You Need
You need four things, and only one of them is optional.
- Access to the monitor’s own menu. The buttons or joystick on the panel, plus about ten minutes to find the picture mode.
- The native resolution and refresh rate from the manual or spec sheet. The refresh rate is usually printed on a sticker on the back.
- A game you actually play. Settings that look right in a desktop wallpaper rarely survive contact with a dark corridor.
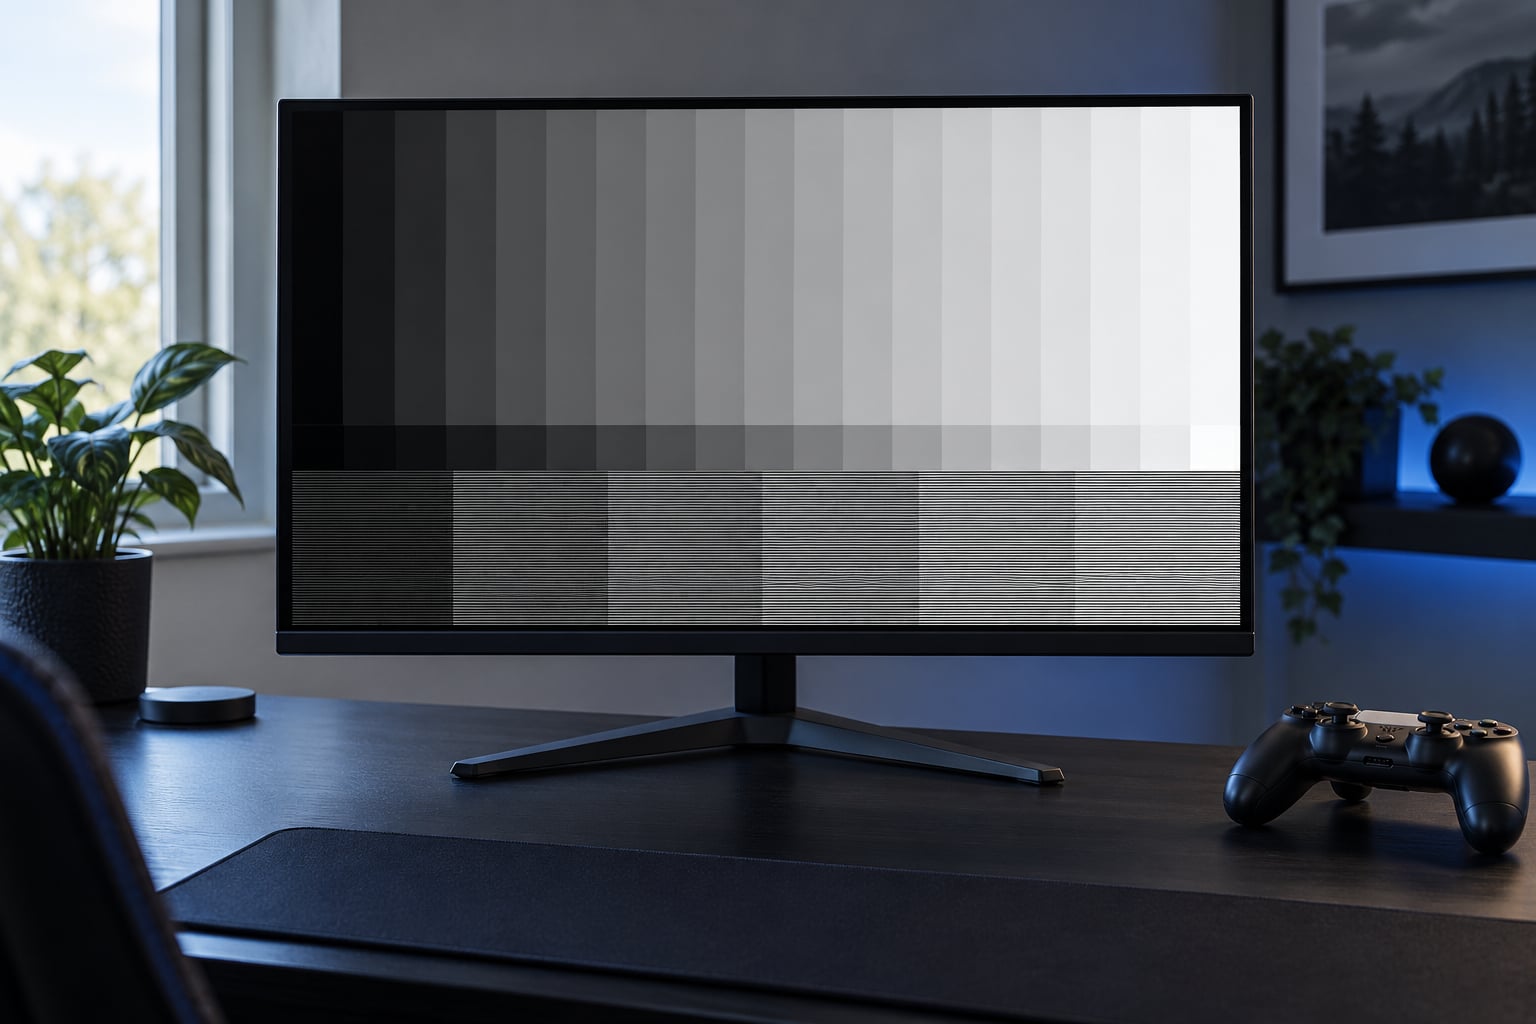
- A neutral test image or benchmark. A grey ramp and a zone-pattern clipping test are enough to judge brightness and contrast.
- Optional: a colorimeter. Only needed for wide-gamut or OLED panels where accurate grayscale matters.
Warm the panel for 20 to 30 minutes before you judge anything. Backlights and OLED panels drift as they heat up, and a calibration taken in the first five minutes after power-on is not worth much.
Step-by-Step: How to Calibrate Display Settings for Games
How to Calibrate Display Settings for Games on Windows
Windows exposes two different panels depending on the version, and the paths diverge enough to matter.
Windows 11: press Win+I to open Settings, then go to System, Display, and use the HDR toggle at the top of the main display page. Below that, SDR content brightness appears only when HDR is switched on. Scaling lives under System, Display, Scale, where you pick 100, 125, 150 or a custom percentage.
Windows 10: right-click the desktop and choose Display settings, then pick Advanced display display adapter properties for the full list. The HDR toggle in Windows 10 lives under Settings, Gaming, and Xbox Game Bar, Game Mode, and it depends on your graphics driver rather than the OS.
Verify after each change by opening the game’s settings menu and a text-heavy screen such as a map or a mod list. Sharp text at native resolution should look crisp with no grey fringe; if it looks soft, you have changed the resolution away from native.
Two settings here are worth enabling before anything visual. Night Light shifts color temperature warmer on a schedule, which is useful for late sessions but wrong while you judge color, so turn it off during calibration and back on afterward. Game Mode strips background recording and overlay overhead, so latency figures stay honest.
On macOS the equivalent path is Apple menu, System Settings, Displays. High resolution mode selects the native panel resolution, and the toggle beside it chooses a scaled desktop; on Retina laptops use the option closest to native and raise the text size in Accessibility rather than shrinking the desktop resolution.
Set Display Scale and Resolution
Start at the panel’s native resolution, always. On a 2560×1440 monitor, 2560×1440. Scaling at a lower resolution makes text soft, makes HUD elements smaller, and forces the game to upscale everything itself.
If text is too small at native resolution, change the operating system scale rather than the resolution. Windows 11 allows 100 to 500 percent; Windows 10 stops at a lower ceiling, so on older builds a 1440p panel often reads better at 100 or 125 percent.
Check three things with scaling in place:
- Menus in the game open fully, with no clipped text on the right edge.
- The HUD stays inside the visible area at the game’s intended aspect ratio.
- Subtitles at the smallest size stay readable against a bright sky.
Ultrawide monitors add one wrinkle. Set the in-game aspect ratio to the native 21:9 rather than letting the game render 16:9 and pillarbox. If the panel is 32:9, some games cap out below native width, and the right-hand strip stays black until you accept it.
Adjust Brightness, Contrast, and Gamma
Work from the monitor’s menu here, not from Windows, because the monitor applies these to the panel signal before Windows sees it.
- Set the picture mode. Choose Game, FPS, or a user mode rather than Standard, Cinema or Movie. Game mode usually also disables dynamic contrast and eco brightness, both of which shift brightness as the scene changes.
- Set brightness for your room. In a dim room, 20 to 35 is a reasonable starting point on a typical monitor. In a bright room you can push toward 50. Brightness is a preference, not an accuracy setting, and pushing it to 100 to feel punchy is the single most common mistake.
- Leave contrast at the default. Overriding contrast to 100 on most panels clips highlights and crushes the grey range simultaneously. Watch your test image while you touch it: if the light bars lose their gradation, you went too far.
- Nudge gamma if shadows look flat. Lowering gamma reveals detail in dark areas; raising it makes shadows read as black and hides enemies. For competitive shooters, slightly lower gamma helps.
- Fix color temperature. If the panel offers a warm or sRGB preset, select it. An sRGB preset clamps the gamut and gives far more consistent colors between games than leaving the wide-gamut option open.
The test that tells you it worked: on a grey ramp, the darkest step should be near-black without merging into the step beside it, and the brightest step should be distinguishable from the one below it. If either end has fused into a solid block, you have clipped it.
Configure Refresh Rate, VRR, and Motion Settings
Refresh rate is a calibration setting because a mismatched rate causes visible stutter and, on some panels, flicker. On Windows, open Settings, System, Display, Advanced display and set the refresh rate to the highest value listed that the panel and your cable both support.
You need the right cable for the top end of the range. A DisplayPort cable certified for the required bandwidth, or HDMI with the matching Ultra High Speed certification, matters. A cable that only just works tends to cap the rate or drop to a lower color depth without saying so.
Variable refresh rate, listed as VRR in NVIDIA Control Panel or Adaptive Sync on the monitor, smooths frames between the top and bottom of your range. Turn it on only after the refresh rate is locked, since a mismatch is the usual cause of flicker at the edges of the screen.
Watch for four symptoms:
- Frame pacing jitter. Rotating the camera makes objects stutter unevenly. Usually a VRR or frame cap conflict.
- Overshoot. A trail follows fast-moving objects. Turn off any motion blur or overdrive setting the monitor adds.
- Flicker at the screen edges. VRR range below the rate the game renders at. Raise the lower bound of the VRR range in the driver.
- Frame drops at a fixed camera angle. Often thermal throttling or a background overlay capturing frames.
Then set the game’s frame cap deliberately. A cap three frames below your refresh rate removes pacing wobble on most variable-refresh panels.
Set HDR and Color Profile
HDR only works if three layers agree: the panel, the connection, and the game. On PC, confirm the display is marked HDR capable, that the cable carries full bandwidth, and that the port exposes the required color depth.
With HDR enabled in Settings, System, Display, the SDR content brightness slider appears. It controls how bright regular desktop windows look against HDR content. Leaving it at default makes the desktop look dim once HDR is on, and the first search people run for that dim desktop is answered by this single slider.
Install the Windows HDR Calibration app from the Microsoft Store and run it. It presents four screens: minimum luminance, maximum luminance, maximum full-frame luminance, and color saturation. Minimum luminance sets the black floor for SDR content, maximum full-frame luminance sets how bright ordinary highlights go, and the saturation screen is where over-bright HDR color gets clamped back to something sane.
Console players have a parallel workflow rather than a shared one. On PlayStation, Settings, Screen and Video, Screen Video Settings, HDR, then Adjust to Display. On Xbox Series X|S, Settings, Display and Video, Video Calibration, Calibrate Xbox to your display. Both wizards walk you through the same four controls.
For SDR color accuracy, install an ICC profile produced by a colorimeter. Windows will apply it to video and most desktop applications automatically. In-game, treat sliders as the final layer: set the game’s brightness, contrast, gamma, and HDR Calibration mode only after the OS and monitor layers are settled.
Change one layer at a time. If you move the monitor’s brightness, the Windows HDR sliders, and the in-game brightness together, you have no idea which change helped, and you will not be able to undo the combination selectively.
Test the Final Settings in Your Game
Now the real test, because calibration only counts if it survives the game you play.
- Open the in-game settings and set display mode. Fullscreen or borderless window both behave correctly at native resolution. Exclusive fullscreen is legacy on Windows 11 and usually unnecessary.
- Find a dark scene. Basements, caves and night interiors are the harshest test. Shadow detail should be visible without lifting gamma until the image looks flat.
- Find a bright effect. Fire, muzzle flashes, sunlight on water. Highlights should roll off rather than turn into solid white blocks.
- Check subtitles. Turn on a small subtitle size against a busy background. Thin outlines usually solve legibility without raising global brightness.
- Play fifteen minutes of normal matchmaking. Real motion, real particles, real HUD. Anything that looks wrong here is not a calibration problem, it is a settings problem inside the game.
- Photograph the result. A phone photo of a known bright scene gives you a reference to compare against when you change something later.
If the game ships its own HDR calibration screen, run that last and then make small corrections here rather than a full second pass. Two calibration systems fighting each other produces the flat, grey look people usually blame on HDR.
Calibrate Browser Games and Game-Specific Options
Browser games have one extra layer: the browser’s own zoom and its color management, both of which sit between the display profile and the canvas.
- Press F11 or use the browser’s Full screen control so nothing else steals focus or draws a framebuffer.
- Reset zoom to 100 percent before judging sharpness. Zoom scales the canvas and makes it blurry at any resolution.
- Check the browser’s color profile handling. If your monitor has a hardware calibration profile, install it through the OS rather than relying on the browser.
- Turn off blue light filters. Night Light, macOS Night Shift and vendor eye-comfort modes all shift the color temperature and belong in the “on” category only after calibration.
Laptops add a power-management wrinkle. Many panels drop to a lower refresh rate or cap brightness on battery, so a setup that looked calibrated on a full charge looks wrong when you unplug. Calibrate plugged in.
On HDMI, confirm UHD Color or Deep Color is enabled on the TV and console side. Without it, some consoles fall back to chroma subsampling, which produces fringing on fine text and small HUD icons that no calibration setting can repair.
Common Mistakes
These six mistakes account for most bad results, and each has a straight fix.
- Running below native resolution. The image is upscaled by the display and nothing else fixes it. Return to the panel’s native mode, then adjust scaling instead.
- Changing the monitor and the game at the same time. Move one slider, then look. If you change five things, the result is a guess.
- Enabling HDR on a display that does not support it. The toggle appears but the mapping is wrong, producing washed-out color. Check the panel’s specification first.
- Running brightness at 80 or 100. The picture looks punchy and detail is gone from both ends of the range. Pull it back until shadow gradation returns.
- Treating a colorimeter reading as a brightness preference. The device measures accuracy. What you find comfortable at night is a separate decision, made after calibration.
- Calibrating in the wrong picture mode. Calibrate in the game mode you will actually use. Recalibrate if you later switch to a mode with different processing.
Two more that catch people out: leaving dynamic contrast on, which changes brightness mid-scene, and never saving a known-good configuration. Both are solved the same way: turn off processing you did not choose, and photograph your final screen.
Calibration Tips for Different Displays and Monitors
Panel technology changes the starting point more than anything else, and pushing the wrong control makes a good panel look bad.
- IPS. Slight glow at the corners is normal and cannot be calibrated away. Leave the black level at default and avoid boosting brightness, since glow is strongest when blacks are lifted. Gamma correction is the safe control for shadow detail.
- VA. Excellent native contrast but prone to crushing near-black detail. Raise gamma a touch and use black equalizer or shadow boost if the monitor offers it, rather than raising brightness.
- OLED. Keep brightness modest. Most OLED panels apply an automatic brightness limiter on large bright areas, which causes brightness to fall during bright effects; lowering the in-game HDR brightness helps. A black tone adjustment lifted slightly preserves near-black detail without washing the panel out. Keep static UI elements off screen as long as you reasonably can.
- QD-OLED and wide gamut. Do the calibration in the panel’s native gamut mode, not in an sRGB-clamped mode, if you intend to view HDR content. This is where a colorimeter earns its keep.
- Laptop panels. Calibrate on AC power, keep the brightness slider in the OS rather than the panel OSD if both exist, and expect less headroom than a desktop monitor.
- Multi-monitor. Calibrate each panel separately. Match black level across both by eye under the same HDR content, since matching brightness across mismatched panels is a geometry problem, not a calibration one.
And when a change makes things worse, work backwards one step at a time. Most monitors keep factory reset in the menu; several also store two or three user presets, so you can save a good state and use the rest for experiments without losing your calibration.
Frequently Asked Questions
What is the best way to calibrate display settings for games?
Start at the layer you have not touched yet. Set native resolution and the highest stable refresh rate, then brightness and black level on the monitor itself, then HDR and the color profile, and only then the in-game sliders. Calibrating one layer at a time is what makes the result repeatable. Most problems people report as HDR look wrong are actually a picture mode or brightness setting on the panel.
Should I use Windows or in-game display settings for calibration?
Use both, in that order. Windows and the monitor handle brightness mapping, refresh rate, HDR tone mapping and the color profile, and the in-game menu handles what the game renders. The in-game slider cannot fix a wrong picture mode or a non-native resolution. Change the OS and panel layers first, then use the in-game controls for the last few percent of tuning.
What resolution and refresh rate should I use for gaming?
Use the monitor’s native resolution and the highest refresh rate the panel supports over a cable that can carry it. If text is too small, raise the operating system scaling percentage rather than lowering the resolution. Leave room below your refresh rate for a frame cap, so cap at three frames under it. Lowering resolution never improves performance on modern GPUs in most cases; it mostly just makes the picture softer.
Is HDR worth enabling for games on every monitor?
No. HDR needs a certified or capable panel, a connection carrying full bandwidth, and game support, and it needs calibration. On an SDR monitor the HDR toggle either does nothing or applies an approximation that usually looks worse. If your display has no HDR specification, spend the effort on refresh rate, brightness and contrast instead, and you will get more from the upgrade.
How do I fix blurry or cut-off text after changing display settings?
Blurry text almost always means the resolution is no longer native, or browser and game zoom has been raised. Return the resolution to the panel’s native value and reset zoom to 100 percent. Cut-off text at the right edge of a menu means scaling is set too high; drop the scaling percentage one step and reopen the menu to check nothing is clipped.
Do I need a colorimeter to calibrate a gaming monitor?
No. The built-in Windows tool and the Windows HDR Calibration app handle most gaming setups at no cost, and many monitors ship with a factory calibration report. A colorimeter matters when you want accurate grayscale on a wide-gamut or OLED panel, when you edit or create HDR content, or when two monitors need to be matched to each other. Buy one for accuracy work, not for everyday play.
Conclusion
Start with native resolution and the highest refresh rate your cable supports. Set the picture mode and brightness on the monitor itself, then move to HDR and the color profile, and only then touch the in-game sliders. One change at a time, tested in the game you actually play, is the whole method.
Take a photo of your final screen before you close the game. When a patch or a new monitor shifts everything, that photo is what tells you how far you have drifted.