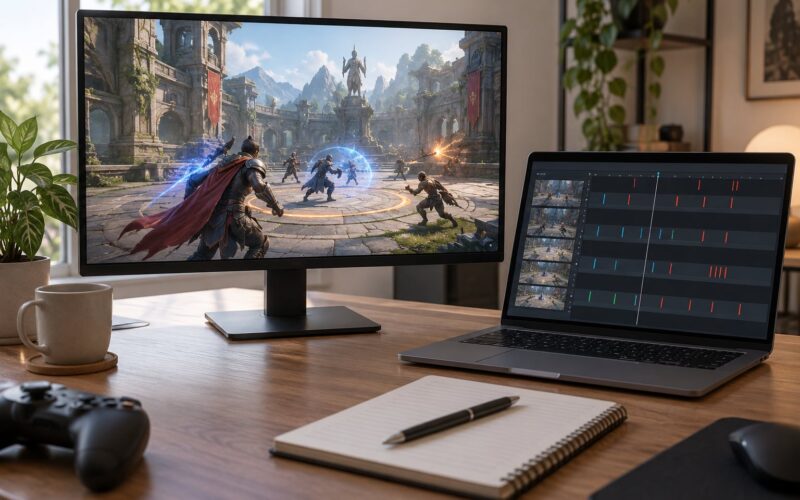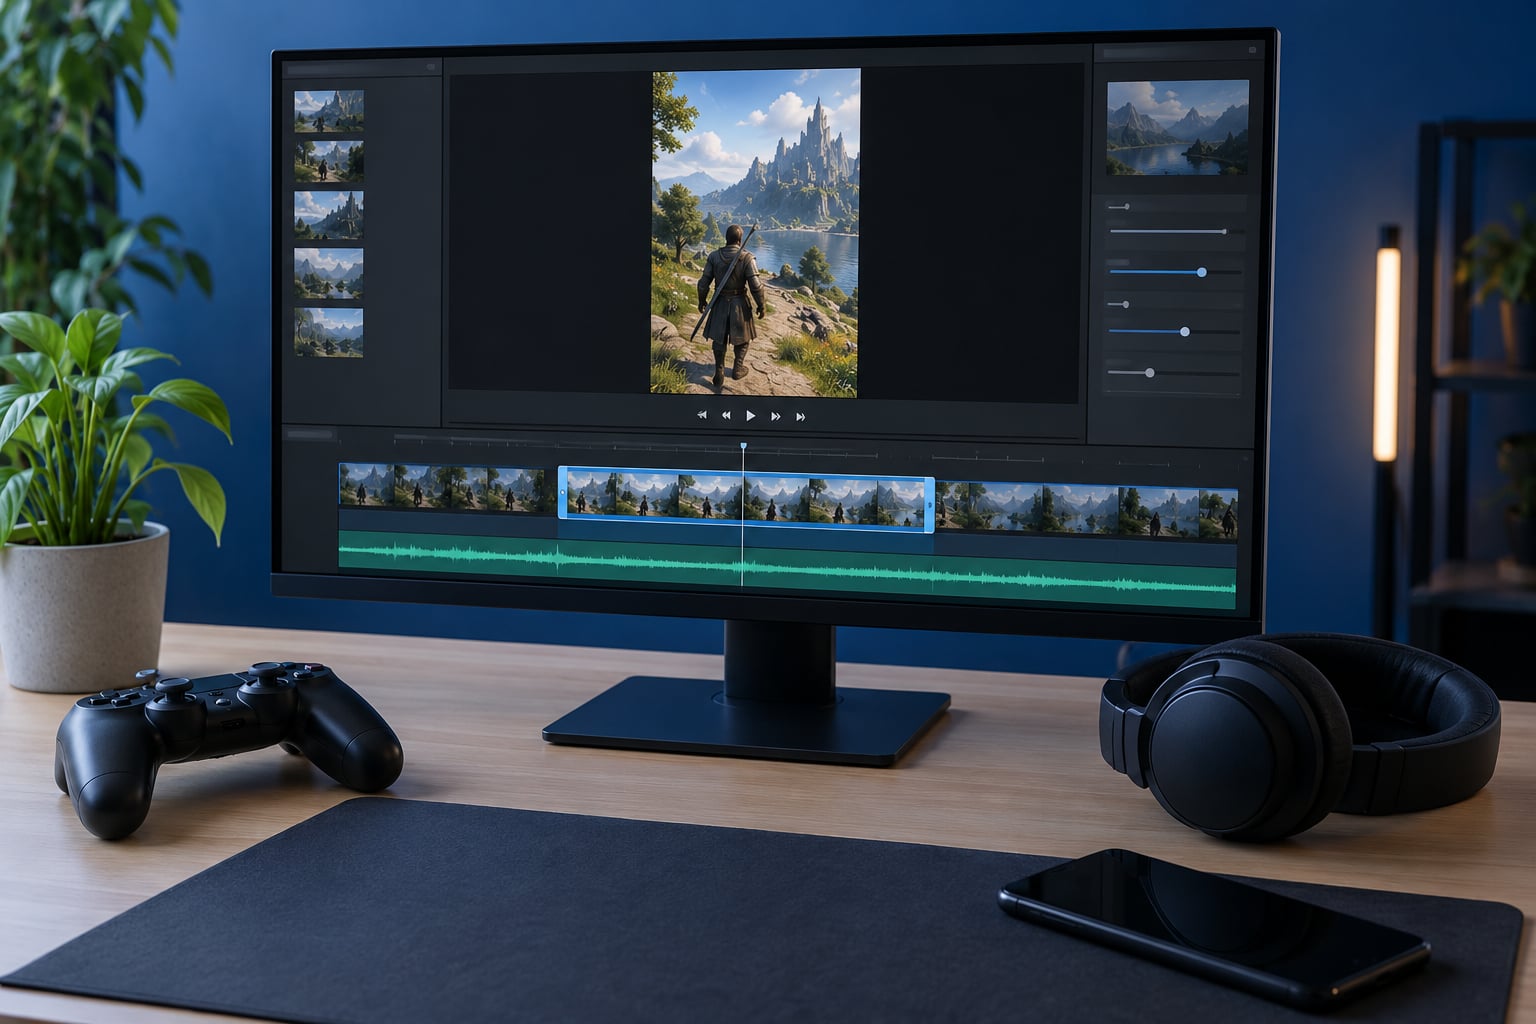
Learning how to edit gaming clips for short video comes down to one repeatable loop: find the moment, cut away everything around it, reframe 16:9 gameplay into 9:16, add captions and sound, then export at 1080×1920. Once that sequence is muscle memory, most clips take well under half an hour from raw stream recording to finished vertical file.
The reason this matters is simple. Short-form viewers decide whether to stay in about a second, most watch with the sound off, and a vertical clip fills the entire phone screen. A clip that opens slowly, sits in 16:9 with black bars, or buries the game audio under music loses people before the play even happens.
This guide covers the whole workflow, whether you edit on a desktop or only on your phone. Last updated for 2026.
Table of Contents
- 1What You Need
- 2Step-by-Step
- 31. Choose the clip and moment
- 42. Set the video format and frame rate
- 53. Cut pauses and tighten the pacing
- 64. Add captions and visual emphasis
- 75. Layer music, game audio, and effects
- 86. Color-correct and review the clip
- 97. Export and publish
- 10Common Mistakes
- 11Frequently Asked Questions
- 12What is the best program to edit gaming videos?
- 13Which is easier, CapCut or DaVinci Resolve?
- 14How long should a gaming short be?
- 15Can I edit gaming clips on my phone?
- 16Is it misleading to cut and speed up gameplay clips?
- 17Why does my gaming clip look blurry after upload?
- 18Conclusion
What You Need
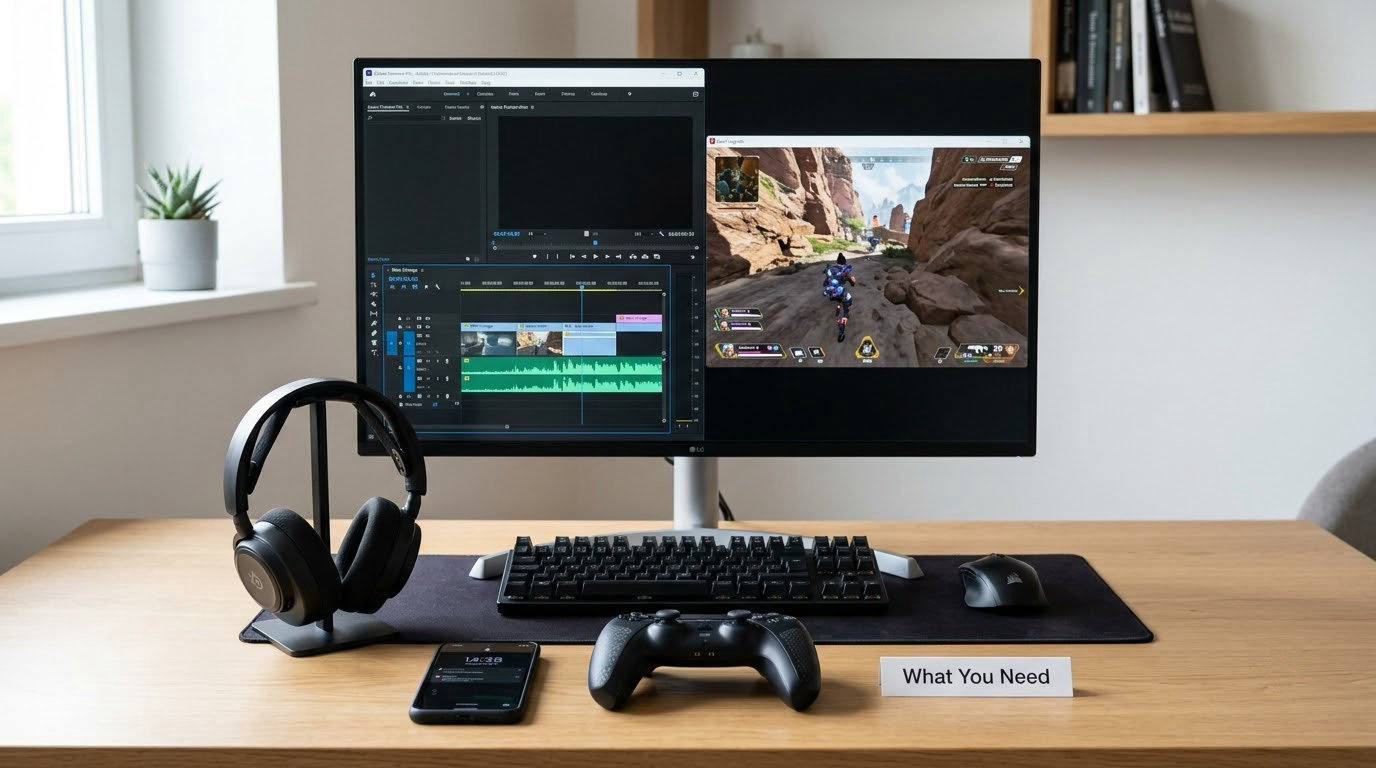
You need very little. Almost every free editor on the market will turn a recorded match into a finished short, so the tools are not the hard part of how to edit gaming clips for short video.
- Source footage. A raw match recording or a full stream VOD in MP4 or MKV. Higher resolution source gives you room to crop into 9:16 without a soft-looking clip.
- A capture tool, if you record fresh. OBS Studio handles capture, recording and instant replay replays. NVIDIA ShadowPlay does the same with less overhead on an NVIDIA card, and its manual save shortcut captures the last few minutes on demand.
- An editor. CapCut desktop for speed, DaVinci Resolve or Shotcut if you want a free non-subscription tool, Premiere Pro if you already edit long-form.
- Captions. Every editor listed below has an auto-caption feature. You will still fix the gaming slang by hand.
- Two audio sources. Game audio plus a microphone track, either recorded separately or laid down separately in your capture software.
- A progress line and export settings. Know your vertical resolution, frame rate and container before you start, not after.
- Optional but useful: a second monitor or a scrubber, an external drive for large VODs, and proxy media if your machine struggles.
Here is how the common free and paid editors compare for this specific job.
| Editor | Cost and watermark | Auto captions | Learning curve | Best for |
|---|---|---|---|---|
| CapCut desktop | Free, no watermark on standard effects | Yes, one click | Low | Fast vertical clips with captions |
| DaVinci Resolve | Free, no watermark, export capped at UHD | Yes, in the Text+ panel | Medium to high | Colour work and longer projects |
| Shotcut | Free and open source | No built-in tool | Medium | People who like a plain timeline |
| Premiere Pro | Paid subscription, no watermark | Yes | High | Creators already in the Adobe ecosystem |
Step-by-Step
1. Choose the clip and moment
Find the moment before you open the editor. Most of the time wasted on gaming clips goes into scrubbing backwards through a four-hour VOD looking for something worth cutting.
Scrub at double speed and watch three things: the kill feed or scoreboard jumping, the chat reacting, and the shape of your own audio. Any time two of those spike together, you have a candidate. On a stream VOD, your reaction audio is the single most reliable marker because you talk louder when something happens.
Then pick what the moment is. A clutch play, a funny rage reaction, a speedrun split, a rare drop reveal and a silent comeback all need different edits, and deciding early saves an hour of trimming. Write one sentence describing the clip in the past tense. If you cannot, the moment is probably not clear enough yet.
Mark in and out points roughly, then move on. Precision comes later.
2. Set the video format and frame rate
Set your project to 9:16 vertical at 1080×1920, because TikTok, Instagram Reels and YouTube Shorts all read vertical natively and any 16:9 upload gets pillarboxed or shrunk. Set the project frame rate to match your recording exactly, usually 30, 60 or 120 fps. Editing a 60 fps clip on a 30 fps timeline blends frames and makes fast mouse movement look wrong.
Reframing 16:9 gameplay into 9:16 is the step most guides skip. Three methods work:
- Crop and track. Scale the footage up until it fills the vertical frame, then keyframe its position so the player stays centred as the camera moves. Best for single-player games and clean cinematic shots. The trade-off is that you lose the left and right edges of the HUD.
- Blur-fill. Put the full 16:9 frame in the middle with a blurred copy behind it. Everything stays visible, but the clip looks softer and less punchy, so use it when the HUD matters more than the look.
- Auto-reframe. CapCut and Premiere have automatic reframing that follows detected subjects. It saves real time on face-cam and third-person games and gets it wrong on fast shooters, where it lags behind the action.
Whichever you pick, check the HUD after the first few seconds. The minimap usually sits in a top corner, so before you post, make sure it is still on screen and not sitting where the caption will go.
3. Cut pauses and tighten the pacing
Ripple delete every pause, menu screen, loading animation and stretch of walking between objectives. This is where a flat 90 seconds of gameplay becomes a clip people finish. Keep the two seconds before the payoff, because the setup is what makes the payoff land, and cut only what happens after it.
Use jump cuts to bridge small gaps rather than cutting back to a clean start. Where the action genuinely needs to feel slower, drop the frame rate to 70 or 80 percent for a beat and then snap back. Where you want to hide a bad take, a speed ramp from three times back to normal reads as intentional momentum.
Then watch it once with the sound off and a timer. If you lose interest by the ten-second mark, the middle is the problem, not the runtime.
4. Add captions and visual emphasis
Add captions because most viewers watch muted. Generate them with auto-captions, then fix the words the machine got wrong: gaming slang, player names and clan tags. W/L, clutch, diff, camp, aimbot accusation and map names all get mangled by default, and a misspelled word reads as sloppy to the audience that knows the game.
Keep captions in two lines maximum, positioned in the lower third but above the platform UI, which sits roughly 250 pixels from the bottom of a 1080×1920 frame. Highlight one word per caption in a second colour when it carries the emphasis, and remove the caption track entirely for clips with no speech.
For visual emphasis, use a zoom punch-in on the decisive frame. Scale to roughly 110 percent over about four frames, hold, then return to 100 percent. It reads as impact without hiding the HUD. Arrows and circles work for pointing at a minimap or an item, but keep them still for a second, not animated across the whole clip.
5. Layer music, game audio, and effects
Set your levels so the important thing is always loudest. For a commentary clip, your voice sits clearly above the game audio, with game sound pulled down enough to stay present. For a pure highlight with no talking, game audio leads and music sits under it.
Duck the music by hand at every point where you speak. Two or three manual volume keyframes beat leaving music at one level, because a viewer turns the sound off within a second if speech gets buried. Keep music peaks around the low end of the meter so the compressor is not constantly pulling it down.
Add sound design sparingly. One impact hit on the kill, a bass swell in the half-second before the reveal, and nothing else. Every extra effect is another thing competing with the game sounds that made the clip worth watching in the first place.
6. Color-correct and review the clip
Apply a correction, not a look. Raise contrast slightly, lift shadows a touch, and match the white point so the screen does not look blue or washed out. A flat correction also stops clips from one session looking different from clips from last week, which matters when they sit next to each other on the same profile.
Skip grading if you are not sure. An over-saturated clip hides HUD detail, and the HUD is the part viewers need to read.
Then review it properly: watch once for the opening, once at full speed for pacing, once muted for captions, once on headphones for audio, and once as the very last frame to check the ending holds.
7. Export and publish
Export a vertical file at 1080×1920, in the same frame rate you edited, as H.264 MP4. Keep the bitrate high enough that the platform’s second compression pass does not turn text into mush; somewhere around 10 to 20 Mbps for a 30-second clip is a reasonable starting point. Export a clean master file and keep it, so you can re-export for another platform without rebuilding the timeline.
| Platform | What to upload | Watch out for |
|---|---|---|
| TikTok | 9:16 MP4, no watermark baked in | Any visible third-party watermark gets suppressed |
| YouTube Shorts | 9:16 MP4, title and a one-line hook | Check the current length limit in the upload flow |
| Instagram Reels | 9:16 MP4, cover frame chosen deliberately | The cover frame is the thumbnail, so pick a readable one |
Write the caption as a continuation of the clip, not a summary of it. Three to five hashtags that match the game and the community work better than a wall of broad tags. For the cover frame, choose the frame just before the payoff rather than the payoff itself, since the payoff works better when the viewer does not already know what happens.
If the clip ends on a static frame, hold the last moment for half a second so it can loop cleanly when someone watches it twice.
Common Mistakes
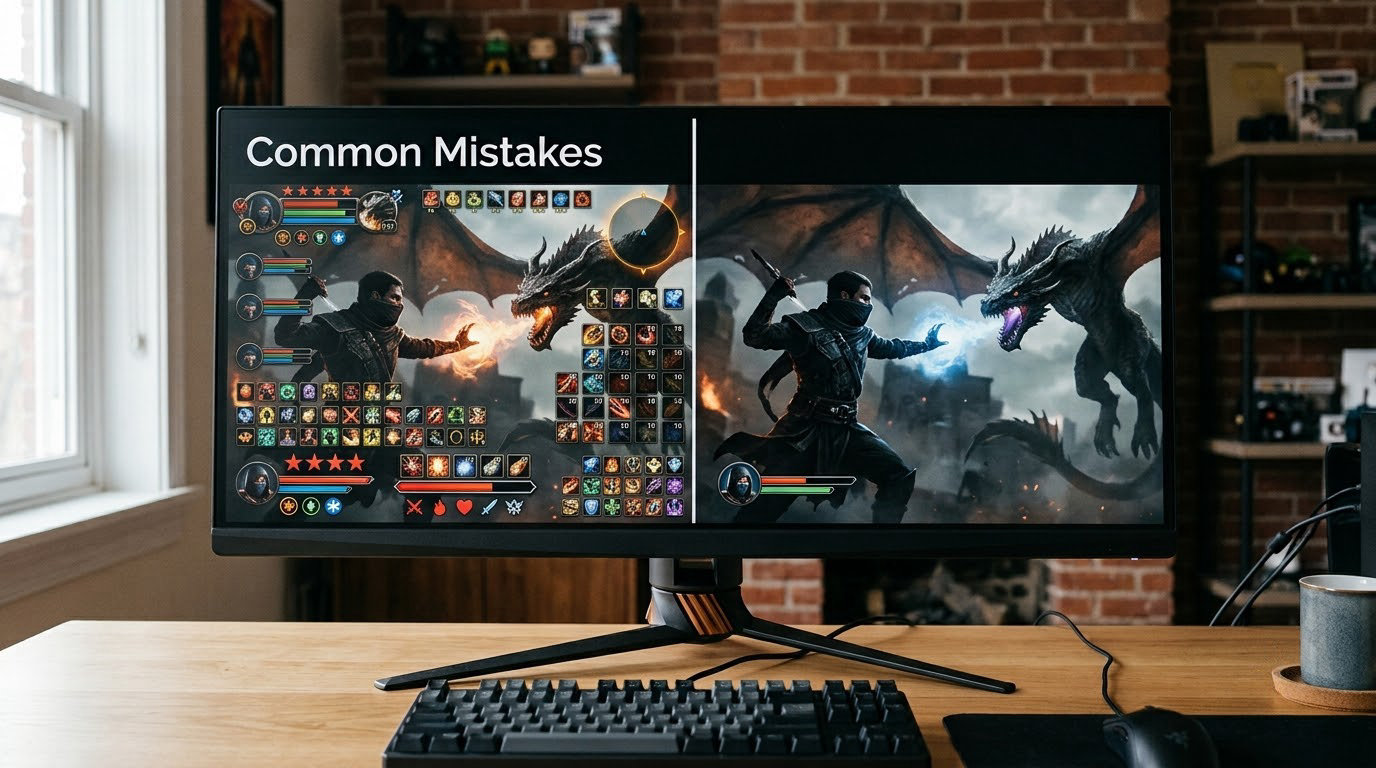
Most disappointing gaming clips come down to a short list of fixable habits.
- Slow openings. Starting with a fade from black, a logo or a slow zoom. Start on the first frame of the action.
- Clips that run too long. If the payoff lands at eight seconds, cut at ten, not at forty.
- Captions over the action. Text placed dead centre covers the crosshair, the minimap or the kill feed. Keep it low and check it against the HUD.
- Buried audio. Music at full volume over commentary. Viewers mute and swipe inside a second.
- Effect overload. Multiple zooms, meme overlays, transitions and speed ramps in the same ten seconds compete with each other and with the gameplay.
- Mismatched frame rates. Editing 60 fps footage on a 30 fps timeline, or exporting 30 fps from 120 fps source, gives you judder on fast movement.
- Uploading 16:9 and letting the app crop it. The automatic crop picks the wrong part of the frame. Export vertical yourself.
- Copyright and privacy. Game music, creator-made beats used outside their licence, and background music baked into a stream VOD all carry claims. Other players’ usernames and voice chat deserve a blur if they did not consent.
The eighth one deserves expanding, because it is the question that comes up most on creator forums: is it misleading to cut a clip tighter than the original, add text and add zooms? No, not if the moment itself is real. Trimming dead time, skipping ahead and labelling what happens are normal editing, and every highlight reel in existence is built that way.
It crosses a line when you change the order of events, speed something up until the difficulty no longer matches, or attach a reaction you did not have. Speed-ups are fine as long as the pacing does not misrepresent what happened. If you build clips for a living, keeping the source file and the cut list for each clip is what settles the question later.
A few habits that raise the whole thing a level: export a clean master you can re-cut for another platform, post without the raw gameplay music when you have cleared rights, and keep a folder per game so a channel’s colour and caption style stay consistent.
Frequently Asked Questions
What is the best program to edit gaming videos?
CapCut desktop is the easiest for beginners because auto-captions, auto-reframe and beat cuts sit in one place, and the free version exports vertical at 1080×1920 without a watermark on standard effects. DaVinci Resolve is free too and much stronger for colour work, but the interface costs you an afternoon to learn. Shotcut suits people who already know a plain timeline. Premiere Pro is worth it only if you already edit long-form.
Which is easier, CapCut or DaVinci Resolve?
CapCut, by a wide margin. Its timeline is simpler, auto-captions are one button, and reframing is nearly automatic. DaVinci Resolve asks you to set up a render pipeline, handle colour and sync audio yourself before you get a clean clip. If your goal is a publishable vertical clip in under half an hour, CapCut wins. Pick Resolve if colour grading and long-form projects are part of the plan.
How long should a gaming short be?
Most clips land between 15 and 30 seconds. Shorter suits a single clean play or a fast joke, and longer suits a moment that needs buildup. Let the payoff decide the length rather than letting a target length decide the edit. If the clip still feels slow at 20 seconds, the hook is the problem, not the runtime, so go back to the first two seconds before trimming further.
Can I edit gaming clips on my phone?
Yes. CapCut, InShot and VN all run on iOS and Android with trimming, captions, music and vertical export built in. Mobile editing gets awkward for frame-accurate reframing of a HUD-heavy game, so keep phone edits to short, simple clips and move the fast ones to a desktop. Save the project file if the app supports it, so a crash does not cost you the whole edit.
Is it misleading to cut and speed up gameplay clips?
Not when the moment is real. Trimming dead time, jumping ahead and adding text that describes what happened are normal editing choices, and every highlight reel is built that way. It becomes misleading when you reorder events, speed something up until the difficulty no longer matches reality, or add a reaction you did not have. Keep the original pacing of the play itself intact and cut only what happened.
Why does my gaming clip look blurry after upload?
Almost always the export rather than your capture. Platforms re-encode every upload, and a low-bitrate file turns soft and noisy after a second pass. Export at 1080×1920 in H.264 MP4, match your source frame rate, and keep the bitrate around 10 to 20 Mbps for a short clip. Avoid exporting 16:9 and letting the app crop it, since the automatic crop also picks the wrong part of the frame.
Conclusion
Start small. Pick one gameplay moment you already know is good, build a 9:16 project at 1080×1920, trim the pauses, add one caption line, set your audio levels and export. Publish that first version before you touch anything more advanced, because the habit of finishing and posting is what makes the next ten clips faster than the first one.