Eye strain while gaming is temporary fatigue in the muscles that focus your eyes, and the fastest way through it is to stop fighting your own display settings. Learning how to make games easier on your eyes means fixing brightness first, cutting motion and post-processing, enlarging text you squint at, and taking real breaks — all of which take about fifteen minutes on a machine you already own.
That matters because games ask more of your eyes than most work does. You shift focus rapidly between a distant HUD and close-up inventory text, hold convergence on a screen half an arm away, and read hundreds of tiny static icons. Your blink rate drops while you do it, so the eye surface dries out and the focusing muscles stay contracted.
None of that is permanent damage. It clears when you rest, and no evidence connects ordinary gaming to retinal harm. What it can do is leave you with headaches, dry or red eyes, blurred focus and a stiff neck, and it can hide an uncorrected vision problem that only an eye exam will find. The steps below are ordered by how much relief they tend to give per minute spent.
Table of Contents
- 1What You Need
- 2How to Make Games Easier on Your Eyes, Step by Step
- 31. Match the game brightness to your room
- 42. Use the display’s native resolution
- 53. Reduce unnecessary motion effects
- 64. Turn off bloom, film grain and heavy post-processing
- 75. Use color filters selectively
- 86. Increase text, HUD, and subtitle legibility
- 97. Set a sensible viewing distance and scale
- 108. Close distractions and simplify the display
- 119. Take deliberate visual breaks
- 12Common Mistakes
- 13Quick Tips
- 14Frequently Asked Questions
- 15Should I turn blue light filter on when playing games?
- 16How do I reduce eye strain while gaming if I wear glasses?
- 17Does enabling colorblind mode make games less colorful?
- 18What brightness level is best for gaming at night?
- 19Why do my eyes hurt even when a game has low motion settings?
- 20When should I stop gaming because of eye pain?
- 21Start With One Comfortable Change
What You Need
Almost nothing. Every change in this guide lives in a menu you already have access to: your game’s video or accessibility options, your display settings, and your operating system’s accessibility tools. No special hardware, no filters, no subscriptions.
Two things worth having before you start: a game you can spend twenty minutes in without dying constantly, and about fifteen quiet minutes when your eyes will not be needed afterwards. The second one matters because the first few brightness adjustments look wrong right up until they settle.
Menu names differ across Windows, macOS, consoles, handhelds and mobile, so I name the setting rather than only the path. Where a path is stable enough to be worth giving, I give it — the rest is worth searching inside your own device.
How to Make Games Easier on Your Eyes, Step by Step
Change one thing at a time and play ten minutes before deciding. If you adjust six settings at once you will not know which one helped, and you will probably undo a good change along with a bad one.
1. Match the game brightness to your room
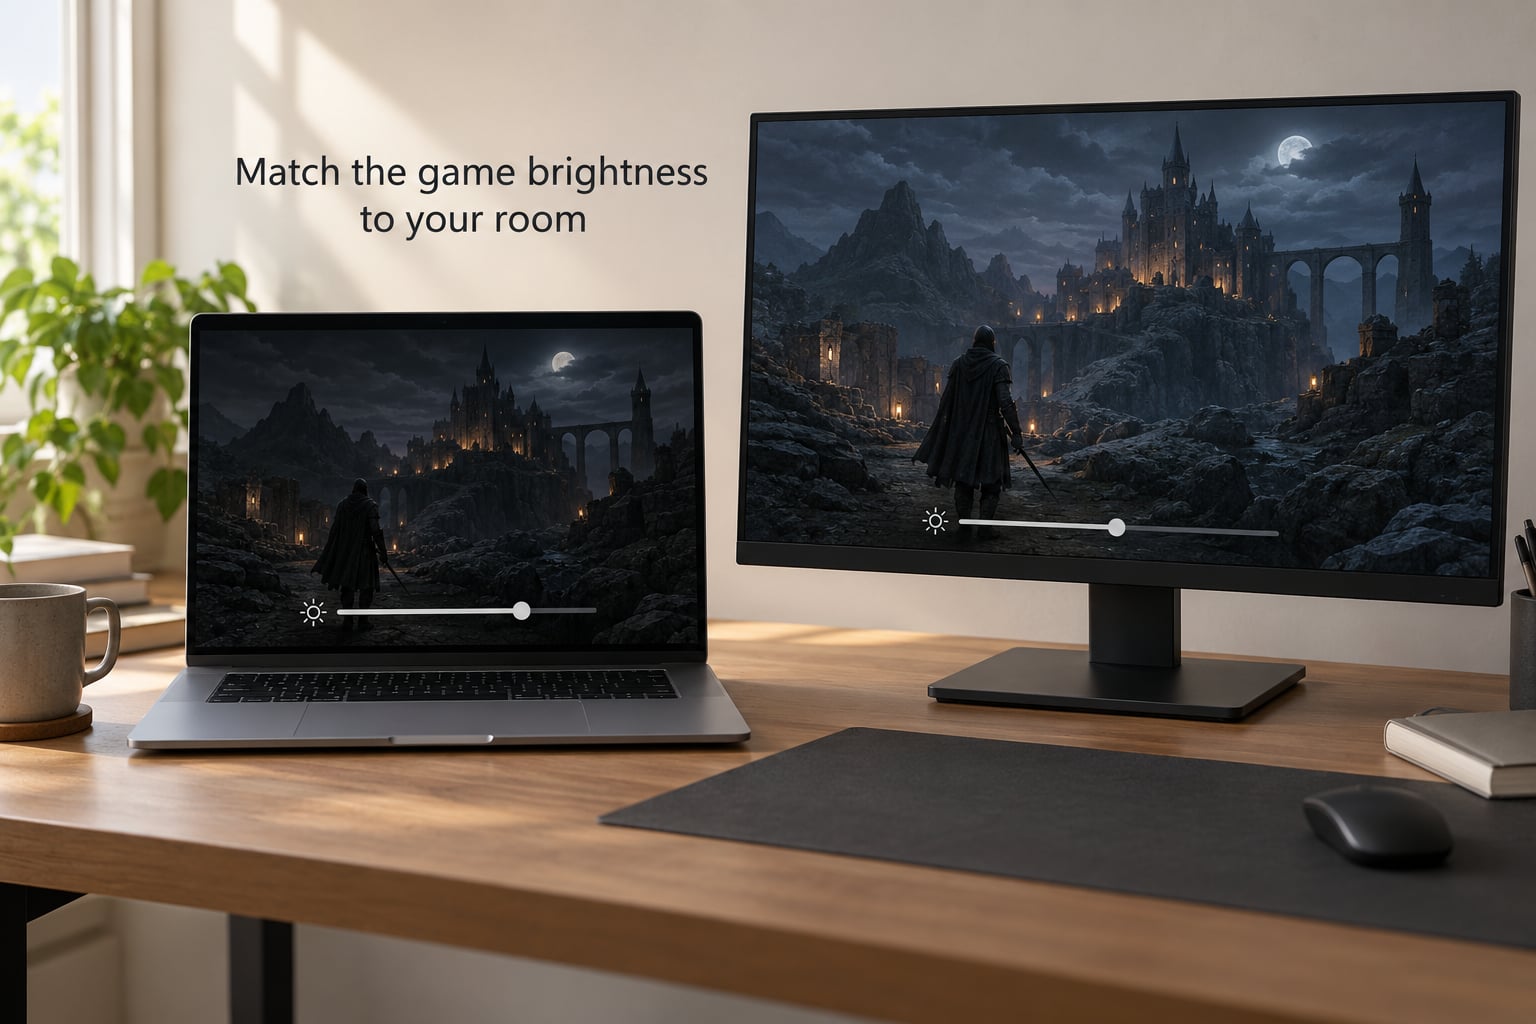
Start here because brightness dominates everything else. A screen that is brighter than the room behind it forces your pupils to constrict and fight glare; a screen much darker than a lit room makes you squint at shadows you should be seeing clearly.
There are three dials, and all three matter. The in-game brightness slider sits under Video, Display or Graphics in almost every title. The display brightness lives on your monitor, laptop or TV, usually on a physical dial or a slider in system settings. The room itself is the third dial: close curtains at night, and keep some ambient light on during the day rather than gaming in a black void.
A common starting point is 25 to 60 percent display brightness in a dim room, matched to a mid-range in-game setting. Treat that as a starting point, not a rule. If dark areas become unreadable you have gone too far, and if you can see the screen’s own reflection in the panel or a white wall behind it, too far the other way.
You know it worked when you stop noticing the brightness within a few minutes and text still reads easily after ten minutes of play.
2. Use the display’s native resolution
Native resolution is the exact pixel grid your screen was built with. Running anything else scales or interpolates the image, softening edges, and a soft HUD forces your focusing muscles to work harder to separate a number from its background.
On Windows 11, the path is Settings, then System, then Display, then Display resolution, where native is normally labelled with a recommended value. Older Windows versions use Display Properties and the Settings tab. On macOS, Displays sits under System Settings. Consoles pick the resolution for you in most cases, and what matters is that the TV is in a matching game mode with no extra processing layered on top.
On a phone or tablet, the resolution is fixed by the device and the only lever is display zoom or text size, which links to step six. Handhelds are the same story. If the game offers an upscaling or render-scale option, match it to native rather than raising it for a sharper-looking image; sharpening an upscaled frame adds shimmer, and shimmer is exactly what you are trying to remove.
3. Reduce unnecessary motion effects
Motion is the second biggest strain source after brightness, and it is the one players defend most fiercely. Screen shake, camera sway, weapon recoil, motion blur and particle density all force your eyes to track fast movement they had no reason to follow.
Look for Camera Motion, Screen Shake, Motion Blur or Reduce Motion in the game’s video settings. Most major titles ship a reduce-motion or accessibility preset, and Windows offers its own animation controls under Settings, Accessibility, Visual effects, where you can turn off animation effects system-wide in one move.
Players on competitive shooters argue this costs aim readability, which is fair. A soft compromise is to keep camera motion but set shake to off and motion blur to off, since those two add the most movement without adding information. Field of view is separate and belongs to step seven.
4. Turn off bloom, film grain and heavy post-processing
Bloom makes bright areas bleed light outward, film grain adds constant low-contrast noise, and depth of field blurs everything outside your focus point. Individually they look like style. Together, on a long session, they make fine text wobble against a moving background.
These sit under Post Processing, Effects or Filmic/Photographic modes in the video menu. Setting Effects to Low or turning individual toggles off is usually enough; you do not have to drop the whole graphics preset.
Nothing about this touches gameplay. Enemies, loot, hit markers and physics work identically with bloom off. If the picture still feels flat afterwards, a modest contrast bump in the game’s calibration panel brings edges back without raising the glare.
5. Use color filters selectively
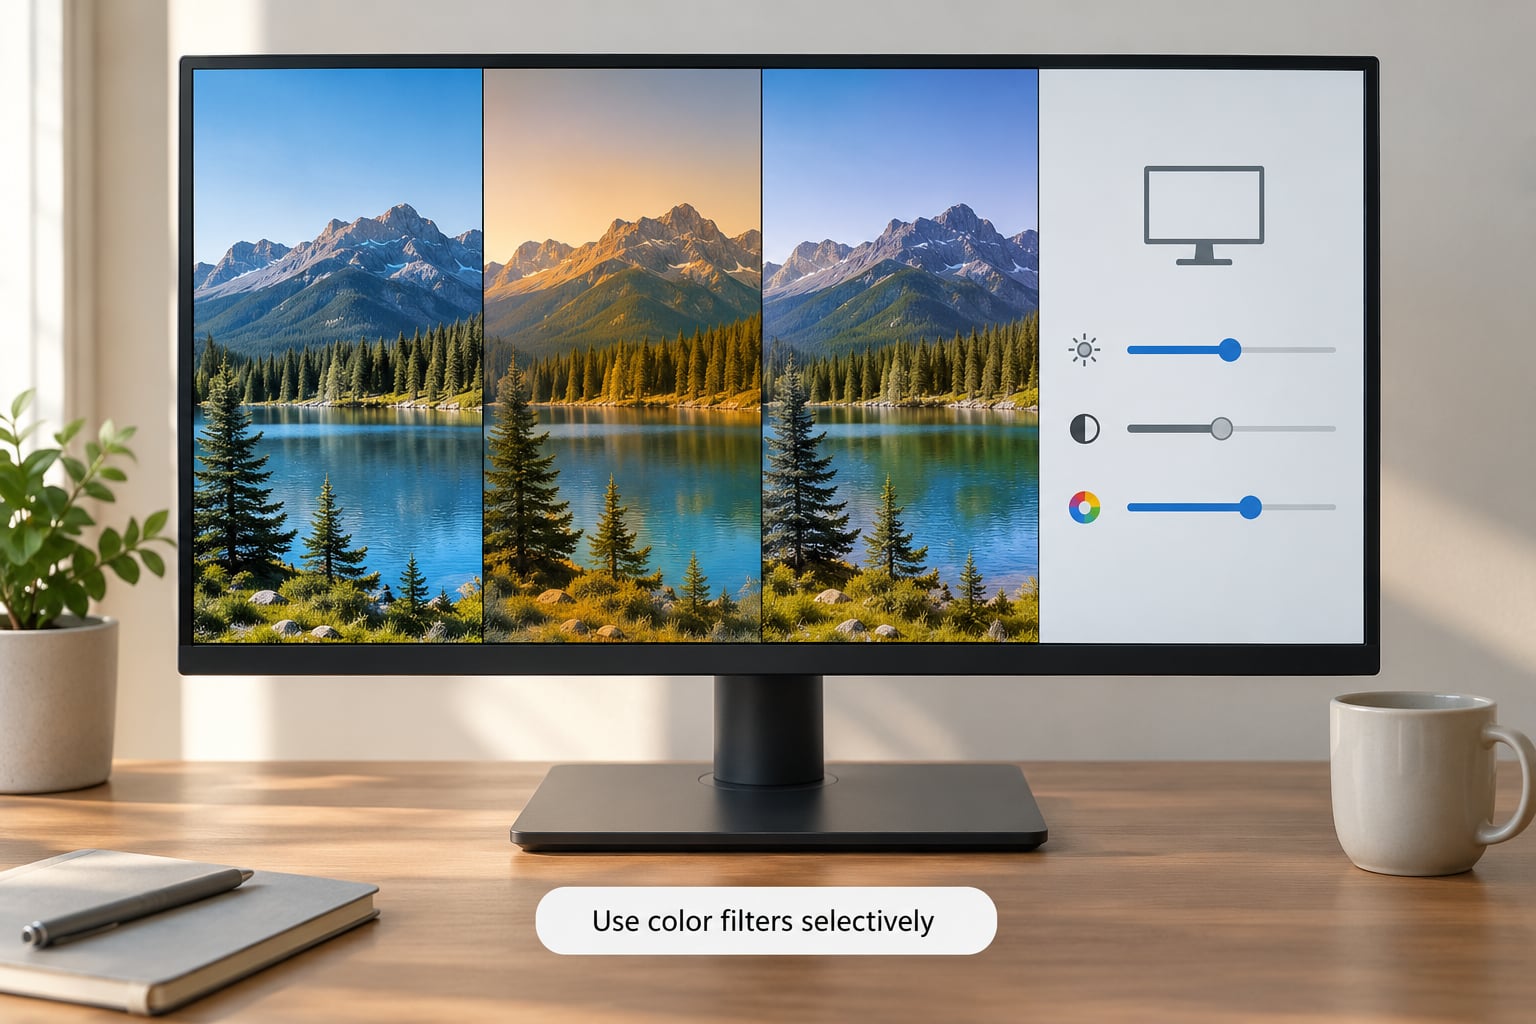
Color filters come in three flavours and they conflict. Windows and macOS have a Night Light or Night Shift warm filter. Windows and most consoles also have a low blue light mode. And most games now carry a colorblind filter for deuteranopia, protanopia or tritanopia, which recolors problem pairs so they become distinguishable.
Stacking two warm filters is the common mistake. Twice the warmth is not twice the comfort; it is a visibly yellow image that makes you work harder to separate a blue UI element from a grey one, which is the opposite of the goal.
Pick one. Warm filter in the evening if you play late, off during competitive sessions where enemy outlines matter. The colorblind filter is a different tool with a different purpose: choose the type that matches you, leave it on permanently, and pick one of the high-visibility presets rather than the default if contrast looks poor.
If you play without a diagnosed color vision deficiency and everything looks reasonably clear, a colorblind filter costs you some accuracy in the colors you can already see, so it is optional. If you do have one, it is usually the single largest improvement on this entire list.
6. Increase text, HUD, and subtitle legibility
Small text is the thing players squint at longest, and it is the easiest thing to fix. Almost every game has a UI Scale, HUD Scale or Interface Size slider, usually somewhere near the display options rather than buried in audio. Push it to 110 or 125 percent before you think you need more.
Font size and subtitle size are separate toggles and worth raising on their own. Subtitle Background Opacity does more for legibility than a heavier font when a bright explosion sits behind dialogue.
Waypoint and objective markers are frequently resizable too, and in games without the option, a smaller field of view (step seven) is the usual way to make distant markers physically bigger.
Windows also scales the whole interface: Settings, Accessibility, Display, then Scale under Display size. Raising it to 125 or 150 percent enlarges menus outside the game. Browsers and most mobile games expose their own text size control.
Here is the short version to copy from:
| Setting | Try this | What it does for your eyes | Usually found under |
|---|---|---|---|
| UI or HUD scale | 110 to 125 percent | Stops you squinting at small icons | Video, Display or Interface |
| Subtitle size | Largest that keeps dialogue on screen | Removes reading effort during cutscenes | Accessibility, Subtitles |
| Colorblind filter | Your type, high-visibility preset | Makes problem color pairs separable | Accessibility, Colorblind |
| Reduce motion | On | Cuts shake, sway and blur tracking | Video, Accessibility |
| Effects or bloom | Off or Low | Removes shimmer over small text | Video, Post Processing |
| OS Night Light | Evening only, on or off per game | Warmer image for dark rooms | Settings, System |
Play long enough with the new sizes to confirm nothing important now sits off-screen. Menu overlaps and broken HUD layouts are common at extreme values, which is where 125 percent beats 200.
7. Set a sensible viewing distance and scale
Distance matters because the further away the screen sits, the less your focusing muscles strain, and the more of it fits in your field of view at the same size. For a monitor, roughly 20 to 26 inches is a workable minimum and 30 to 40 is more comfortable for long sessions. A laptop at 15 inches is closer than ideal, which is one reason players feel strain sooner on a laptop.
For a television, scale up with size rather than sitting closer. A 65-inch panel viewed from six to eight feet is broadly comparable to a 27-inch monitor at two feet. Handhelds and phones sit wherever your hands put them, which is usually too close — propping a handheld up on a stand genuinely reduces strain.
Position matters as much as distance. Put the screen top edge at or slightly below eye level so you look gently downward, a range of roughly 15 to 20 degrees below straight ahead. Looking up at a TV all evening is a neck problem that feels like an eye problem.
Field of view scales with the same logic. A wider field of view shows more world but shrinks every object in it, which is why some players narrow it for shooters and strategy games and widen it for driving and space sims. If text and markers look small, narrow the view before you buy anything.
8. Close distractions and simplify the display
A cluttered screen asks your eyes to classify far more than they should. Minimise desktop windows behind a borderless fullscreen game, disable in-game notifications and achievement pop-ups, and turn off chat and friend overlays you do not read mid-round.
Trim the HUD itself where the game allows it: fewer tracked quests, a shorter waypoint list, smaller minimap clutter. On a TV at distance, every icon you remove is one less thing competing for focus.
Also check what is behind and beside the screen. A bright window, a white wall or a lamp reflecting in the panel forces your pupils to keep adjusting, so turn off what you cannot block or reposition the screen away from it.
9. Take deliberate visual breaks
The 20-20-20 rule is the one piece of advice with broad professional support: every 20 minutes, look at something about 20 feet away for 20 seconds. It works because distance viewing relaxes the focusing muscles instead of asking them to shift again, which is what most in-game breaks do.
Do not substitute another screen. Not your phone, not a second monitor, not the desktop behind the game. Look out a window, at a far wall, or at the far side of the room. Blink deliberately a few times during the break too, since reduced blinking is what drives dry eyes in the first place.
Breaks stick when they are mechanical, not optional. Set an hourly alarm, use a timer app, or use the in-game idle timer some titles include. The metric version, 20-6-20, substitutes a 6-metre distance for anyone who struggles with 20 feet indoors.
Longer breaks matter too: every hour or so, get up and move for a few minutes. Neck and shoulder tension feeds eye discomfort, and no amount of display tuning fixes a chair that is too low.
Common Mistakes
Stacking filters. A warm monitor mode plus an OS Night Light plus an in-game filter turns the picture yellow and muddy. One filter at a time, chosen for the room you are in.
Dimming the screen to fix glare. Dropping brightness in a bright room makes you squint at dark scenes and can do more harm than the glare did. Match the screen to the room instead.
Maxing graphics by reflex. Ultra presets push post-processing, bloom and higher refresh demand without making anything easier to read. Turn effects down and keep native resolution.
Changing everything at once. Adjust one setting, play ten minutes, then decide. Otherwise you learn nothing and end up reverting good changes along with bad ones.
Relying on glasses and ignoring the display. Tinted lenses without matching the room lighting and screen brightness leave the underlying mismatch in place. The display settings are the bigger half of the problem.
Pushing through pain. Sharp pain, double vision, or a headache that outlives the session is not a settings problem. That is a stop-and-call-an-eye-care-professional signal.
Quick Tips
Save a preset once you land on a combination you like. Every game stores graphics profiles, and your display and OS settings remember themselves, so rebuilding from scratch each time is wasted effort.
Adjust brightness in small increments and give each one five minutes. Your eyes adapt, and a setting that felt harsh can feel flat thirty seconds later.
Write down the settings that felt right, with the game and the time of day. When something hurts, you will not want to hunt through menus while your eyes are already complaining.
Give your setup one fifteen-minute session rather than five ten-minute ones. The order above is deliberate: brightness, then resolution, then motion, then everything else.
Frequently Asked Questions
Should I turn blue light filter on when playing games?
Turn it on for evening and late-night sessions, and turn it off for competitive play where enemy outlines and team colours matter. A warm filter is a comfort aid, not a vision treatment, and the evidence that it prevents eye damage is weak. Choose one warm filter rather than stacking an OS filter, a monitor mode and an in-game filter, since the combined yellow cast makes small text and colour-coded UI harder to read.
How do I reduce eye strain while gaming if I wear glasses?
Start with lens position. Glasses sitting low push the top of the lens into your line of sight and leave you looking over the frame at a blurry screen, which is a common and easily fixed source of strain. Raise them so your eyes look straight through the lenses, clean both sides, and set screen height to eye level so you are not looking down over the top rim. Then apply the brightness and text-size steps as normal.
Does enabling colorblind mode make games less colorful?
Yes, a little. The filter shifts specific colour pairs so they become distinguishable, which does flatten some of the palette. If you have a diagnosed colour vision deficiency the tradeoff is overwhelmingly in your favour, and it is usually the biggest single readability improvement available. If your colour vision is typical, test the high-visibility preset and decide from there, since some filters wash out browns and greens more than others.
What brightness level is best for gaming at night?
Lower, but not the lowest. A common starting range in a dark room is 25 to 40 percent display brightness with the in-game slider around the middle, adjusted until white text is clear without glowing and dark areas are still readable. Keep a dim light or a monitor light bar behind the panel so the screen is not the only light source. If you squint to see dark corners, you have gone too dark.
Why do my eyes hurt even when a game has low motion settings?
Motion is rarely the only variable. The same game may still be pushing a low resolution, a 60Hz panel, heavy bloom, a static HUD, or a field of view that forces constant focus shifts. Stale display drivers and a high-contrast dark scene are common culprits as well. Change one setting at a time, and if the discomfort persists across several games with different settings, treat it as an eye health question rather than a graphics one.
When should I stop gaming because of eye pain?
Stop for the session and see an eye-care professional if you notice sharp or stabbing pain, double vision, flashing lights, a headache that does not ease within an hour of stopping, or blurred vision that does not clear after a night of rest. Recurring dry eyes, redness and tension headaches after long sessions are worth a routine eye exam too, especially if you have never had one or your prescription is several years old.
Start With One Comfortable Change
If you do one thing tonight, match the screen brightness to your room. Open your game’s video settings, set the in-game brightness to the middle, then move your display brightness until white text reads clearly and dark areas still show detail. Give it ten minutes of play.
Tomorrow, remove the motion and the shimmer. Turn off screen shake, motion blur, bloom and film grain, and set UI scale to 120 percent if anything on the HUD has been nagging at you.
This week, set up the break. An hourly reminder to look at something twenty feet away for twenty seconds costs nothing and does more than any filter setting you will fiddle with. And if discomfort keeps coming back no matter what you change, book an eye exam — that is the one part of this I cannot fix with a menu.
Updated for 2026. This guide covers display and comfort settings only. It is not medical advice; for eye pain, double vision or persistent discomfort, talk to an optometrist or ophthalmologist.