If you want to know how to set up your gaming mouse sensitivity, it comes down to two numbers and one product. Your mouse’s DPI, the in-game sensitivity multiplier, and the result of multiplying them together. That result is called eDPI, and it is the only value that determines how fast your crosshair moves. Set the DPI first, turn off mouse acceleration in Windows, dial in an in-game value, then test it properly. The whole process takes about twenty minutes.
eDPI = Mouse DPI × In-Game Sensitivity
A player on 800 DPI with a 0.4 in-game sensitivity and a player on 400 DPI with 0.8 in-game sensitivity move their crosshair at exactly the same speed. Neither is more accurate. That is the whole reason this topic confuses people: they are comparing a raw DPI number that means nothing on its own against a setting that only means something in combination.
There is no single best sensitivity. Yours depends on your mouse, your screen, your hand position, the game, and how long you have played. Menu paths also shift between patches, so the walkthrough below reflects the menus as they stood in 2026.
Table of Contents
- 1What You Need
- 2Step-by-Step
- 3How to Set Up Your Gaming Mouse Sensitivity in Windows
- 4Set the Mouse DPI
- 5Choose the Game’s Sensitivity Setting
- 6Test Turning, Tracking, and Firing
- 7Lock In the Best Setting for Each Game
- 8Common Mistakes to Avoid While You Test
- 9Common Mistakes
- 10Frequently Asked Questions
- 11Should I use 800 or 1600 DPI for gaming?
- 12Is 400 DPI too low for gaming?
- 13What is the best mouse sensitivity for gaming?
- 14Is 2400 DPI too high for gaming?
- 15Which is the best DPI for Valorant?
- 16My mouse software will not change the DPI. What do I try?
- 17Conclusion
What You Need
You need four things, and only one of them is a product. The rest are settings and a way to measure.
- A wired or wireless mouse with adjustable DPI, and the cable or receiver to connect it
- Windows 10 or Windows 11 access, since the pointer settings live there
- The game you actually play, plus five minutes in a practice range or a private lobby
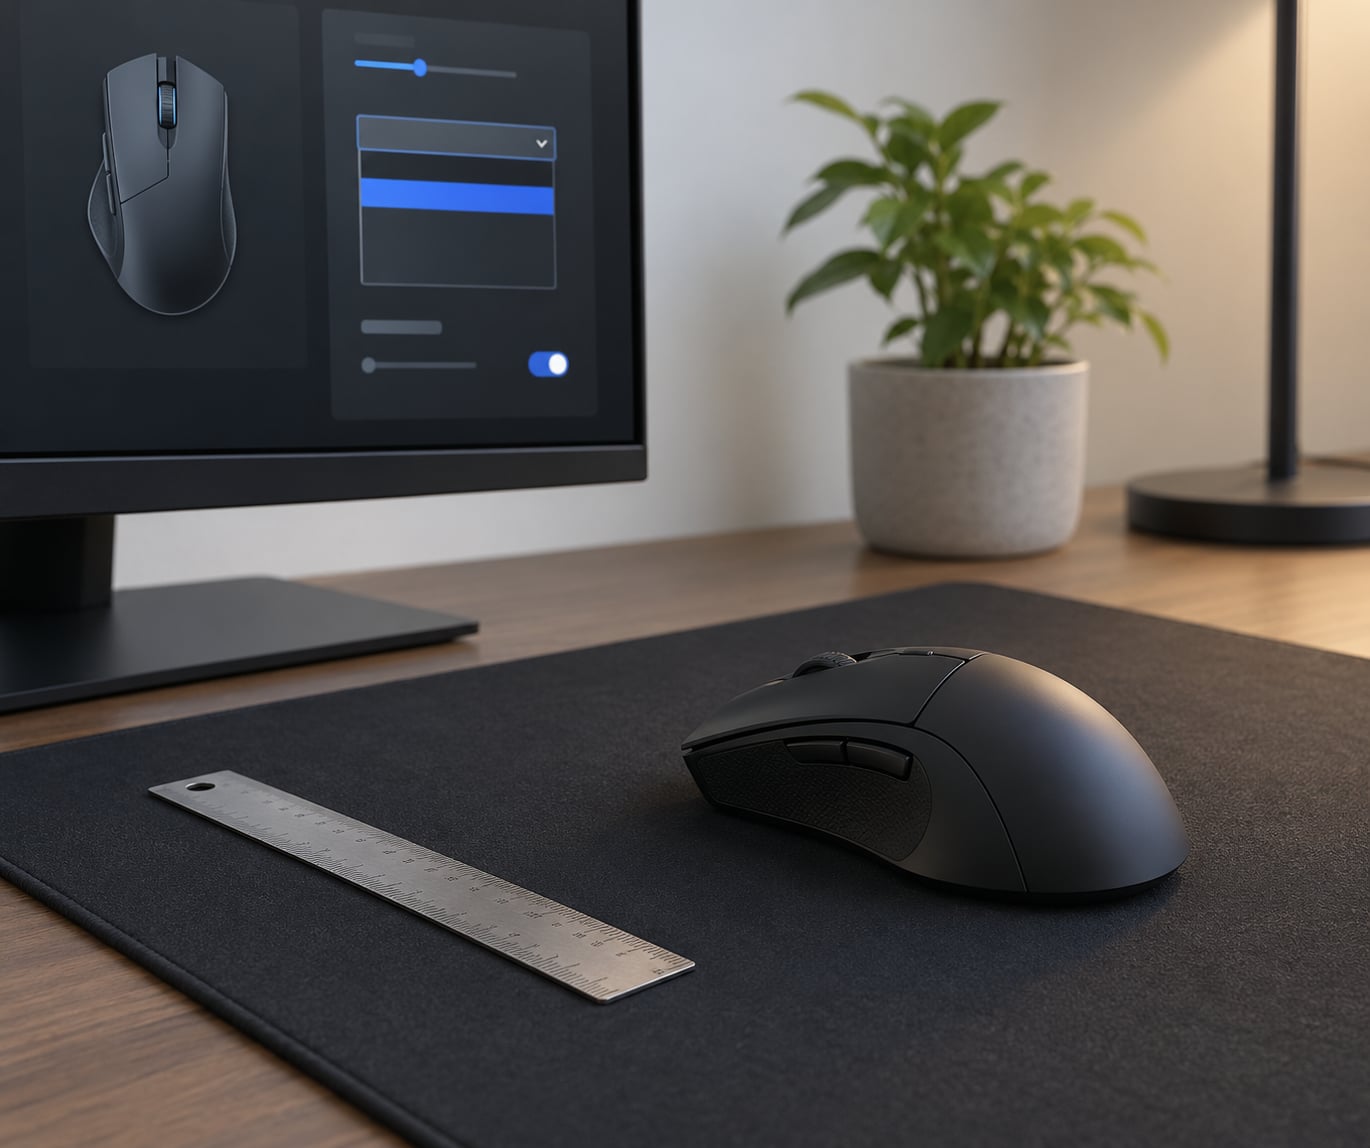
- A ruler or a tape measure, for measuring how far your mouse travels
That last item surprises people. A mouse movement has a physical distance, and once you know how many centimetres it takes to spin 360 degrees, you can compare your setup against anyone else’s on the internet without guessing.
Step-by-Step
Work through these in order. Changing two variables at once is the single biggest reason people never land on a setting that feels right.
How to Set Up Your Gaming Mouse Sensitivity in Windows
Start here, because Windows can quietly rescale your mouse input and undo your work. On Windows 11, open Settings, go to Bluetooth and devices, choose Mouse, then pick Additional mouse settings. On Windows 10 the same page is under Settings, then Devices, then Mouse, then Additional mouse settings.
That opens the classic Mouse Properties window. Click the Pointer Options tab and you will see a speed slider with eleven notches. Leave it on the default sixth notch. Then untick Enhance Pointer Precision, which is Windows’ built-in mouse acceleration, and click Apply.
Why turn it off? With acceleration on, one inch of mouse travel produces different crosshair movement depending on how fast you moved it. A slow adjustment and a fast flick of the same distance no longer match, which breaks the consistency your muscle memory depends on. Players argue about the default notch constantly on r/GlobalOffensive, and most of the confusion traces back to treating that desktop slider as an aiming control.
One important caveat: this setting controls your desktop cursor. Most competitive shooters read raw mouse input directly and ignore the Windows speed slider entirely, which is why turning acceleration off will not visibly change your aim in Valorant or CS2. It still matters, because it keeps your desktop and any game that does not read raw input behaving predictably, and it stops you from being tempted to compensate for it later.
Set the Mouse DPI
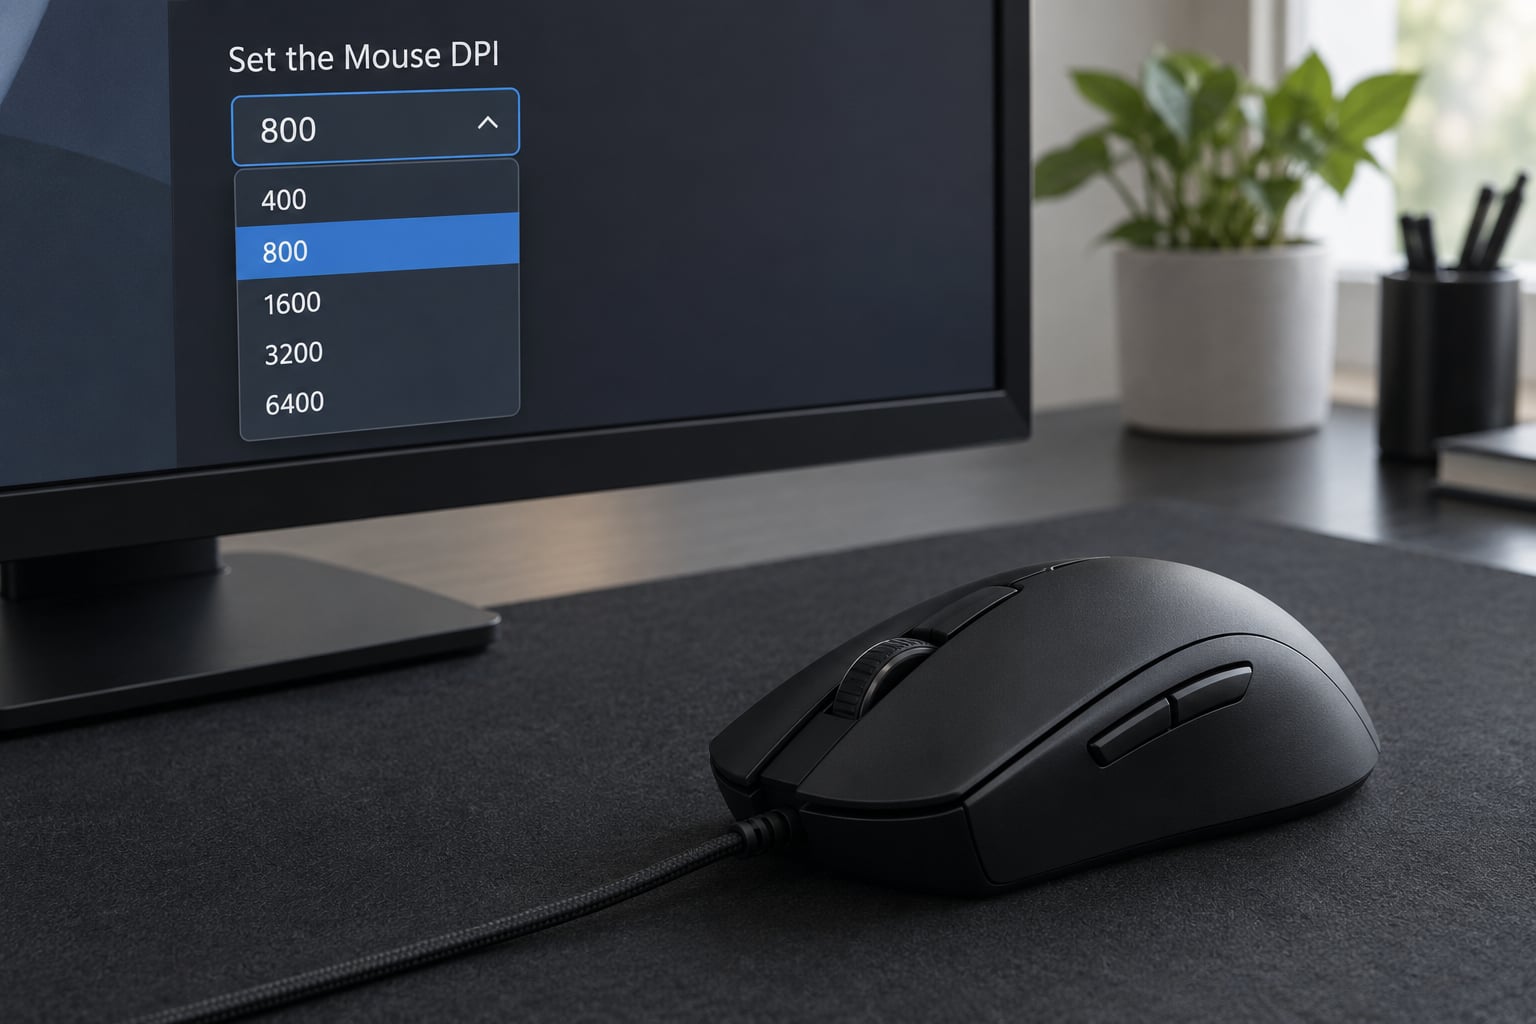
DPI means counts per inch: how many sensor readings your mouse reports each time you move it one inch. Most mice set it three ways. A DPI button on top cycles through preset steps, usually 400, 800, 1600 and 3200. A driver panel gives you exact values. Some newer mice show the current DPI on a small display.
For the panel, install whatever software came with the mouse. Logitech uses G Hub, Razer uses Synapse, SteelSeries uses GG, and Glorious and many smaller brands use their own utility. The panel is better than the button because you can type an exact number instead of hunting through presets.
Where should you start? For competitive shooters, somewhere between 400 and 1600 DPI is the practical band. Pick a round number in that range, set it once, and leave it there. A lower DPI is not more precise, it is the same precision spread over more desk space.
Be clear about what DPI does and does not do. It scales how many counts your sensor emits, and the game multiplies those counts into camera movement. DPI on its own is not your aim speed, and two people with different DPI values can be playing at an identical speed.
Choose the Game’s Sensitivity Setting
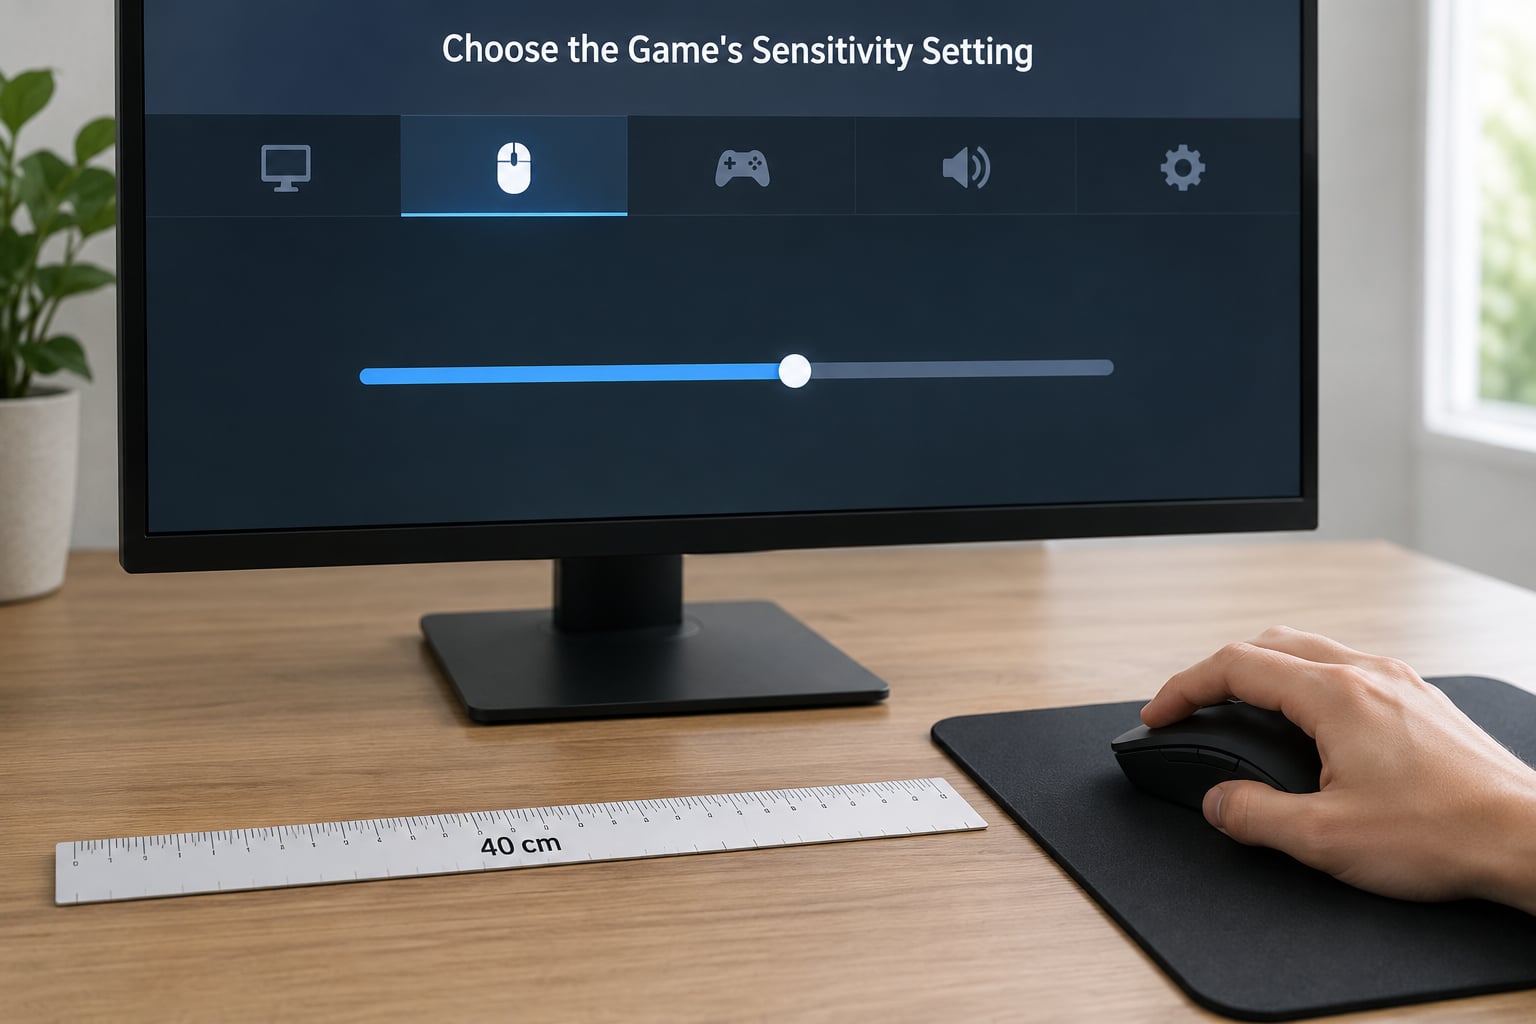
Games do not agree on a scale, which is a large part of why switching titles feels like starting over. You will run into three types.
Centimetres per 360 degrees. The game tells you how far the mouse must travel to spin the view once. This is the most honest scale because it describes a physical distance. Some builders and tactics titles use it.
A 0 to 1 scale, often with two decimals. Valorant and CS2 both work this way. Valorant’s slider runs from 0.01 up, and CS2’s runs from 0.01 to 8. These are multipliers, so 0.4 means four tenths of the base rotation speed.
A 0 to 10 scale, a 0 to 100 scale, or a percentage. Older shooters and most current titles use one of these. Overwatch 2 runs a long slider past 100, Fortnite expresses aim sensitivity as a percentage, and Roblox uses a short decimal scale. You cannot convert between these by eyeballing the number, which is exactly why the eDPI product matters.
Here is where each setting lives, in plain click paths.
- Valorant: Settings, then the Mouse tab, then Sensitivity. Turn on the pitch and yaw options if you want vertical movement to match horizontal.
- CS2: Settings, then Mouse, then Sensitivity, and leave Use Raw Input enabled. Raw input bypasses OS scaling so your sensitivity value means exactly what it says.
- Apex Legends: Settings, Mouse and Keyboard, then Mouse Sensitivity Aim, with a separate Mouse Acceleration toggle underneath. Turn that acceleration toggle off.
- Overwatch 2: Settings, Controls, Mouse, then Mouse Sensitivity.
- Fortnite: Settings, Mouse and Keyboard Sensitivity, then the Aim row.
- Roblox: Settings, Mouse, then Sensitivity.
Now pick a starting value using the pro eDPI bands, which are drawn from sensitivity databases and settings sheets that competitive players publish.
| Game | Typical pro eDPI | Scale |
|---|---|---|
| Valorant | 200 to 400 | 0.01 to 10 multiplier |
| Overwatch 2 | 300 to 600 | Long percentage-style slider |
| Apex Legends | 500 to 1200 | 0.1 to 20 multiplier |
| CS2 | 800 to 1150 | 0.01 to 8 multiplier |
| Fortnite | 35 to 80 | Percentage, not a multiplier |
Fortnite is the odd one out. Its percentage is a relative scale rather than a clean multiplier, so multiplying DPI by it does not produce a comparable number. Treat its band as a feel guide instead.
Land inside the band, not on its edge, and you have a defensible starting point. Example for Valorant at 800 DPI: 0.25 gives an eDPI of 200, 0.35 gives 280, 0.5 gives 400. Pick the middle and test.
Test Turning, Tracking, and Firing
Now measure what you built. There is a formula for centimetres per 360 degrees, and it takes two game constants: your DPI, your in-game sensitivity, and the game’s yaw value in degrees per mouse count. For CS2, yaw is 0.022.
cm/360 = 360 ÷ (DPI × in-game sensitivity × yaw)
At 800 DPI and 1.0 sensitivity in CS2, that is 360 divided by 17.6, which is about 20.5 cm. Halve the sensitivity to 0.5 and the distance doubles to roughly 41 cm. That is the same calculation, and it is the only honest way to compare your setup with someone else’s on a stream.
Competitive shooters tend to sit in a band of roughly 30 to 50 cm per 360 for a full-arm turn, which is why so many players end up with a low eDPI and a wide desk. Other games use a different yaw value, so identical eDPI in Valorant and CS2 produces different physical distances. Copy the feel, not the number.
Run three tests in this order, in the same spot, at the same sensitivity, for the same number of rounds.
- Turning. Put a landmark on a wall, such as a door frame, spin 180 degrees, and stop the crosshair on it. Do this five times. Consistently stopping short means you are turning too slowly for your setup, and consistently sailing past means you are too fast. Neither is wrong, but you should know which one you are before you change anything.
- Tracking. Follow a strafing bot or a moving player without losing it. If you can hold the target but feel like you are always catching up from behind, drop your sensitivity by about 5 percent. If you cross in front of the target constantly, raise it by the same amount.
- Firing. Place controlled bursts on a stationary target at medium range. Record the first-shot hit rate over twenty attempts. If you miss the first shot but land the rest, your flick speed is too high for your current control. This is the test that tells you something the other two cannot.
Change one thing at a time, and change it by 5 percent at most. Write the date, the DPI, the in-game value, and the result in a notes file. Without that log you are just remembering impressions, and impressions fade within a day.
Lock In the Best Setting for Each Game
Once a setting survives three sessions without frustration, freeze it. Changing sensitivity resets the timing in your hands, so the goal is to settle and stay settled.
For multiple games, the conversion is simple. Divide your target eDPI by your mouse DPI and you get the in-game multiplier for any title that uses a clean multiplier scale.
| Mouse DPI | At eDPI 400 | At eDPI 800 | At eDPI 1200 |
|---|---|---|---|
| 400 | 1.00 | 2.00 | 3.00 |
| 800 | 0.50 | 1.00 | 1.50 |
| 1600 | 0.25 | 0.50 | 0.75 |
| 3200 | 0.125 | 0.25 | 0.375 |
That table holds true inside one game family, not across genres. Moving from a CS2 value to a Valorant value at the same eDPI will not feel identical, because the two engines use different yaw values. Treat cross-genre conversion as a starting guess and re-run the three tests.
A few practical habits keep the setup stable. If your mouse has a DPI button or on-board profiles, store your tuned values there so you are not opening software before every session. Compare settings only at the same resolution and field of view, since a wider view changes how far the crosshair travels across the screen for the same movement. Match the movement style to the space: arm aiming suits long cm/360 values and a large mat, wrist aiming suits short values and a small desk. And if you buy a new mouse, compute the in-game value that reproduces your old eDPI instead of starting fresh.
Common Mistakes to Avoid While You Test
While you run those three tests, avoid the errors below. Each one has a fix, and they are all detailed in the next section.
- Changing DPI and in-game sensitivity at the same time
- Leaving mouse acceleration enabled
- Judging a setting from one bad session
Common Mistakes
Almost every sensitivity problem comes down to one of these six. They are fixable once you can name them.
Changing DPI and in-game sensitivity together. You learn nothing, because you cannot tell which change your hands reacted to. Set DPI once per mouse, then move only the in-game value during testing.
Leaving mouse acceleration on. In Windows, that is the unticked Enhance Pointer Precision box. In Apex Legends there is a matching in-game toggle. With acceleration active, the same physical distance produces different results depending on speed, and no amount of tuning feels repeatable.
Copying a pro’s settings literally. A streamer at 800 DPI and 0.4 may be using a different game, a different sensor, a much faster hand and a bigger mat. Copy the eDPI as a starting band, not as a destination, and test from there.
Comparing across different fields of view. Sensitivity behaves differently at 90 and 110 field of view because the same movement covers a different share of the screen. Compare only at matching settings.
Judging without a consistent test. A bad death in a crowded round proves nothing. Run the same five turns and twenty bursts at the same map, and write the numbers down before you change anything.
Treating a high DPI number as a feature. Marketing figures such as 26,000 or 42,000 DPI describe what a sensor can do at maximum, not what you should play at. Anything far above roughly 1600 puts almost all competitive players outside their game’s eDPI band.
One rule covers the rest: change one variable at a time, in small steps, and only after a test you could repeat. If you follow that, tuning stops being guesswork.
Frequently Asked Questions
Should I use 800 or 1600 DPI for gaming?
Both work well, and the difference matters less than people think. At 800 DPI, CS2 sensitivity 1.0 gives an eDPI of 800; at 1600 DPI, sensitivity 0.5 gives the identical 800. The only real difference is desk space, since the lower DPI needs roughly twice the travel for the same turn. Pick 1600 if your mat is small, 800 if you have room to move, and do not change it for weeks.
Is 400 DPI too low for gaming?
No. Plenty of competitive players run 400 DPI, because it produces large centimetres per 360 values that suit arm aiming and wide desk space. What matters is whether the crosshair speed feels controllable for you. The catch is practical rather than competitive: 400 DPI needs about 41 cm of travel for a 180-degree turn in CS2, so you need a mat that can support it.
What is the best mouse sensitivity for gaming?
There is no single best value, and any guide claiming otherwise is selling something. The only number that determines your aim speed is eDPI, calculated as mouse DPI multiplied by in-game sensitivity, and different games use different scales. The practical answer is to pick an eDPI inside your game’s pro band, confirm acceleration is off, then tune in small steps until turning, tracking, and firing all feel controlled.
Is 2400 DPI too high for gaming?
It is not broken, but it is outside what most competitive shooters reward. At 2400 DPI, CS2 sensitivity 0.25 gives an eDPI of 600, which is usable, yet almost every pro in that title sits between 800 and 1150 eDPI. A very high DPI is easier for MOBA, strategy, and desktop use, where you mostly point and click rather than make precise flicks.
Which is the best DPI for Valorant?
Most Valorant players land between 200 and 400 eDPI, and 800 DPI is a common hardware pairing. At 800 DPI, that means an in-game sensitivity between 0.25 and 0.5. The game’s default is 0.4, which sits comfortably inside the band. Set your mouse to 800 DPI, leave Windows acceleration off, and start there before adjusting by 5 percent at a time.
My mouse software will not change the DPI. What do I try?
Check three things in order. First, the DPI button on top of the mouse cycles through presets on most models, so test that before anything else. Second, install the manufacturer’s software and set the value there, since the button and the panel sometimes disagree. Third, confirm the mouse is not on a locked profile, and check the game support forum for your exact model if the value keeps reverting.
Conclusion
Start with the first action and ignore everything else for a week: set your mouse DPI, pick a clean in-game value that lands inside your game’s pro eDPI band, make sure mouse acceleration is off in both Windows and the game, then run the three tests and adjust in 5 percent steps.
The setup that works best in 2026 is the one you stop thinking about. Consistency is what makes aiming improve, and no single number wins over that.