Controller drift is when an analog stick reports movement to the console while your thumb has not moved, so your character walks into a wall, the camera creeps sideways, or a menu keeps scrolling on its own. To fix controller drift you work up an ordered ladder instead of guessing: reset and recalibrate, run a deadzone test, blow the stick out with compressed air, clean around the base with 91% isopropyl alcohol, then decide whether the joystick module or the whole controller has to go. Most cases are dust or a worn potentiometer, and both are fixable at home in under an hour.
The steps below cover a PS5 DualSense, PS4 DualShock 4, an Xbox Series X|S or Xbox One pad, a Nintendo Switch Pro Controller, a Steam Deck, and most Bluetooth or USB controllers on PC and mobile. Menu paths were checked against current firmware in 2026, but the names move around between versions, so I note where they differ.
If your stick drifts and you have never cleaned it, jump to step 3 first. Cleaning solves more cases than any menu setting, and readers often lose an evening to settings menus before touching a cotton swab.
Table of Contents
- 1What You Need
- 2Step-by-Step: How to Fix Controller Drift
- 31. Confirm That the Controller Is Drifting
- 42. Recalibrate the Controller
- 53. Clean the Thumbsticks and Triggers
- 64. Update Firmware, Reset Settings, and Try Another Port
- 75. Replace the Controller If Drift Persists
- 8Common Mistakes
- 9Frequently Asked Questions
- 10Does WD-40 get rid of controller drift?
- 11Will resetting my controller fix stick drift?
- 12Can I use 91% isopropyl alcohol to clean a controller, and is rubbing alcohol safe?
- 13Is stick drift permanent?
- 14Can I fix stick drift on a Steam Deck or on a wireless controller?
- 15My drifting controller is still under warranty. Repair it or claim a replacement?
- 16Conclusion
What You Need
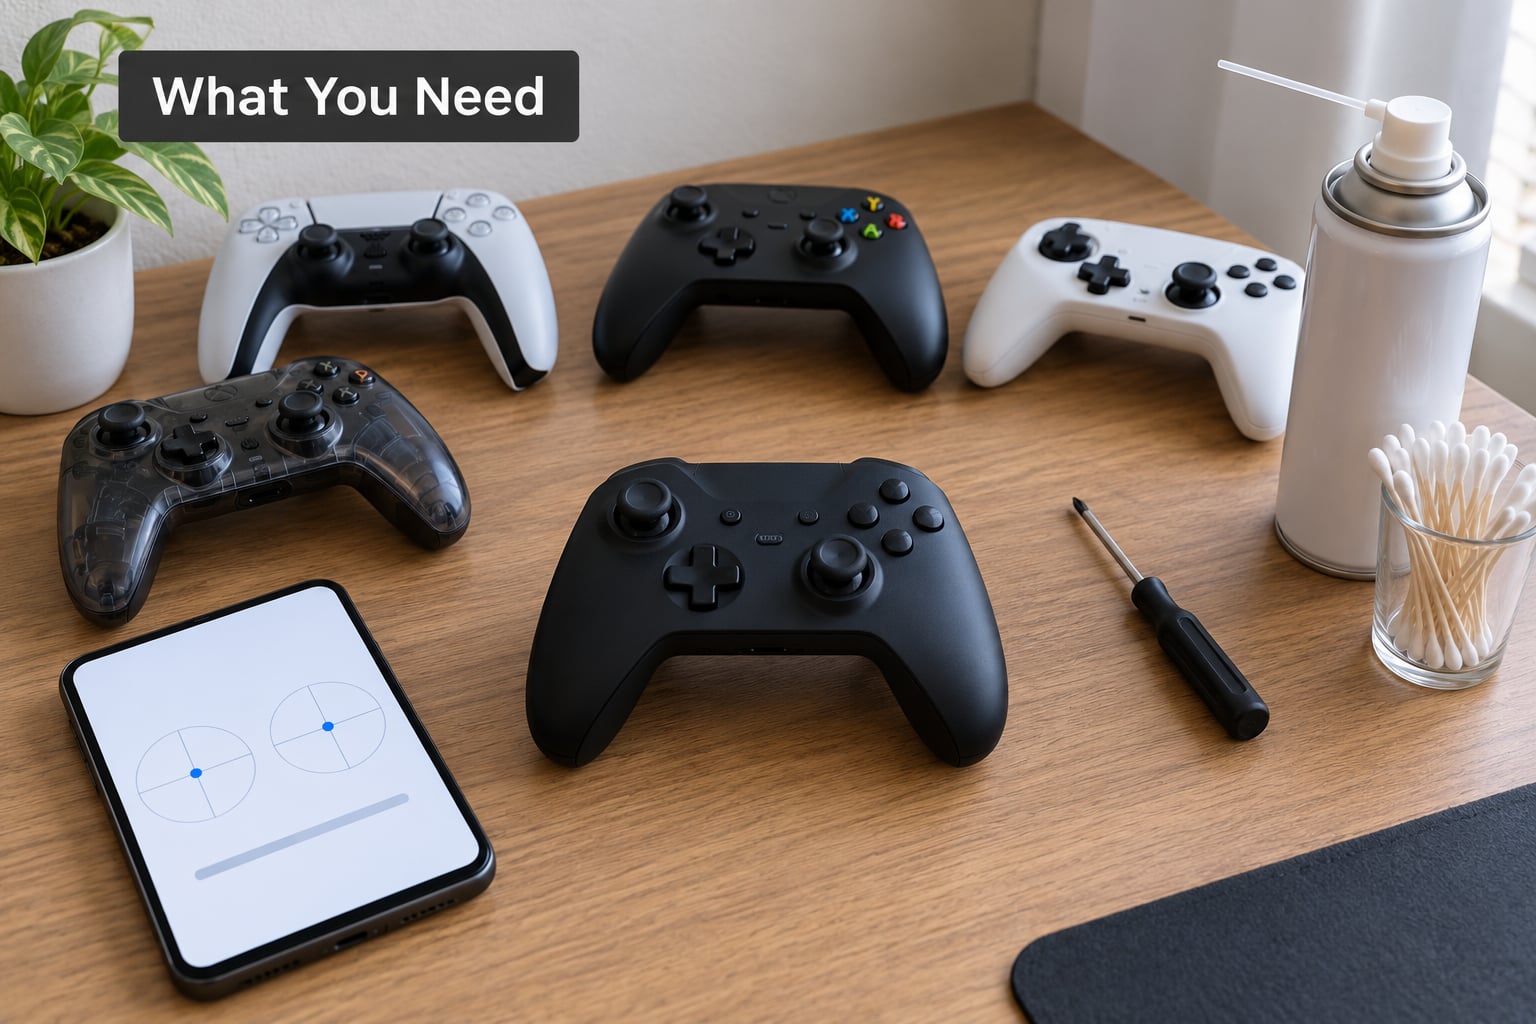
Most drift repairs need the same short list, and everything on it is cheap. You do not need a soldering iron unless step 5 sends you there.
- Isopropyl alcohol at 91% or higher. Household rubbing alcohol at 70% is mostly water and leaves residue, which is the opposite of what you want on a potentiometer.
- Cotton swabs, plus a few pipe cleaners or a soft toothbrush. The swab cleans the rim; the pipe cleaner gets into the gap under the stick cap.
- A can of compressed air. Short bursts, never a continuous blast, which can force lubricant where you do not want it.
- Contact cleaner labelled for electronics. WD-40 Specialist Contact Cleaner qualifies. Plain multi-use WD-40 does not, and it makes drift worse.
- A Phillips #00 screwdriver and a plastic pry tool or guitar pick. Only needed if you open the shell, which step 5 covers.
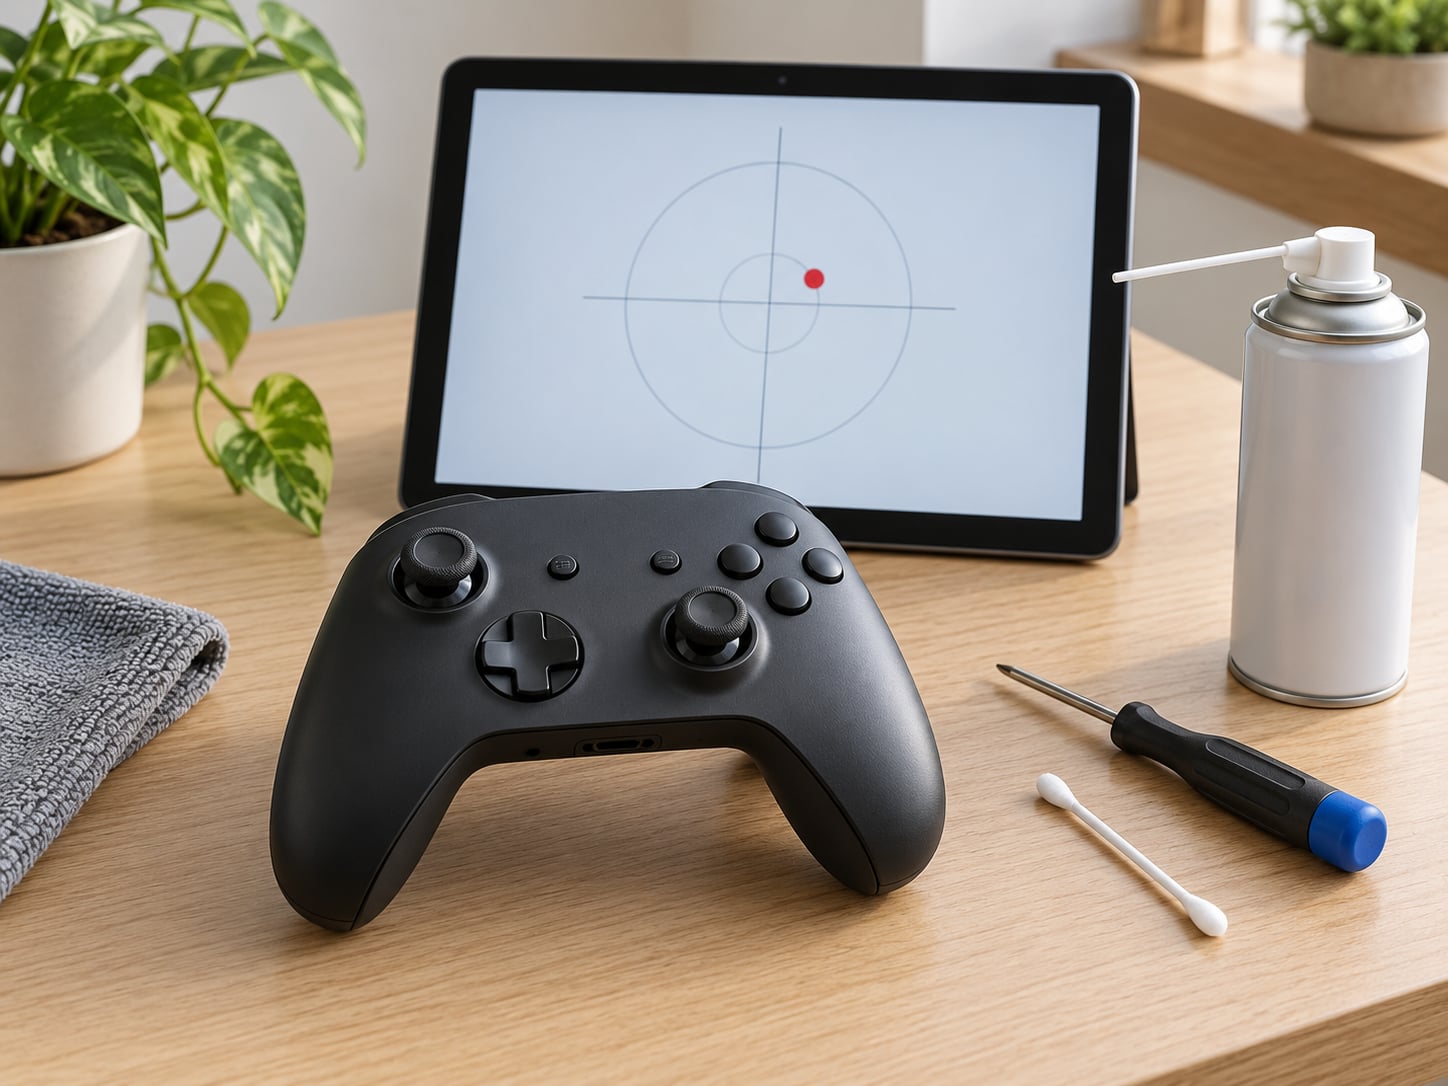
- A phone or PC with a deadzone tester. A browser-based stick tester shows the raw axis value so you can see the offset rather than guess at it.
- White lithium grease, optional. A rice-grain amount on the stick base seal can slow moisture from getting in. Skip it if you have never opened the controller.
Two safety rules before you start. Controllers hold a rechargeable cell inside, so power the device off completely and either remove the batteries or unplug the charge pack before opening anything. And never spray liquid directly into a controller; you swab it, you do not flood it.
Step-by-Step: How to Fix Controller Drift
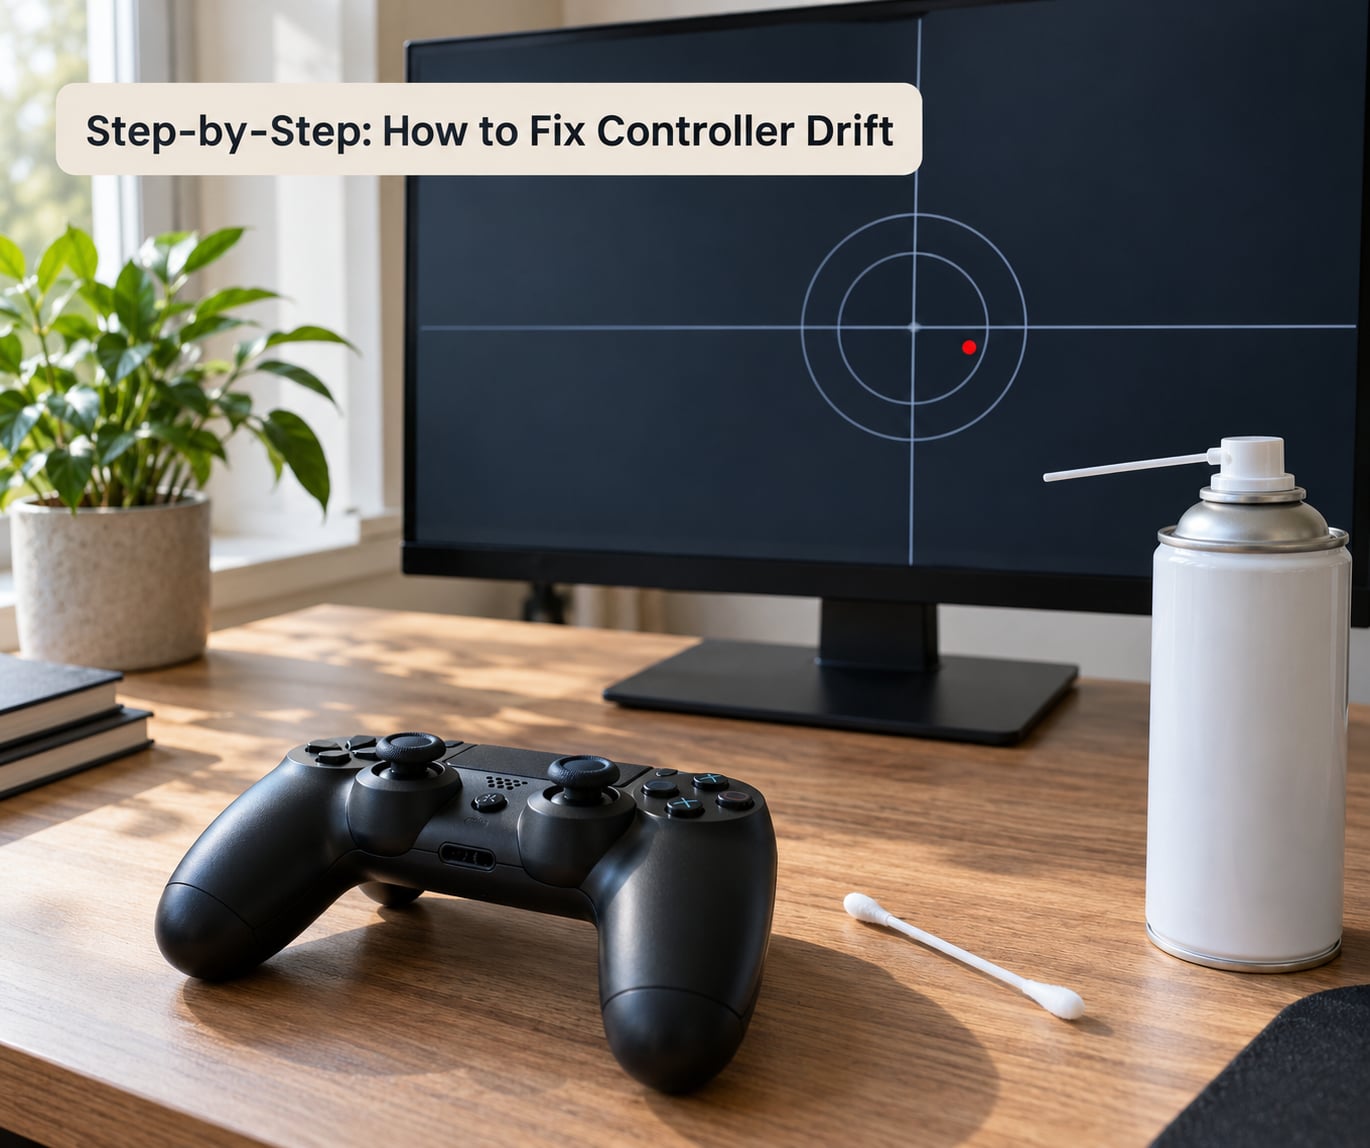
The ladder below runs cheapest and least risky first. Stop as soon as your stick holds centre, because every later step involves opening hardware or spending money.
1. Confirm That the Controller Is Drifting
Rest the controller flat on a table, let go of it completely, and leave it there for a minute. Then look at the stick position in a stick tester, or in any game with a free-look camera you can sit still in. A drifting stick reports a value away from zero even though nothing is touching it, so the crosshair sits off centre or creeps while you watch.
Check both sticks and the triggers separately. Drift often appears on only one thumbstick, and the trigger version shows up as a trigger that reads partly pulled in menus that show the trigger pull as a bar.
Then rule out the two impostors. In-game sensitivity curves and deadzone settings can feel exactly like drift, especially with aim assist on, so temporarily set deadzone to its minimum and look again. And check whether the same stick drifts on a different screen: if it only misbehaves in one game, that game is setting the problem, not the pad.
One more check that costs nothing: disconnect any third-party adapter, throttle, charging dock or remapping tool. Cheap adapters add their own drift, and a dock with a worn connector can make a controller pair badly.
2. Recalibrate the Controller
Calibration teaches the console what your stick’s resting position is. It helps when the offset is small, and it does nothing when the hardware is physically worn, which is why this step sits at number two rather than number one.
Windows PC. Press Win+R and run joy.cpl for the classic Game Controllers panel, or open Settings, Bluetooth and devices, then Gamepad on Windows 11. Select the drifting controller, choose Properties, and read the resting X and Y values for each stick. If a stick rests at 3 or -4 instead of 0, click Raw Input to toggle the test mode, re-zero the stick by leaving it untouched, then Apply. If the value snaps back to zero, your software settings were the problem.
Steam Input. Open Steam, go to Settings, Controller, then Test Input. The on-screen sticks show the live axis value. Set the per-stick deadzone slider until the stick no longer registers any movement at rest, and repeat for the trackpad or gyro if you use them. Steam saves the deadzone per game, so set it in each title where the drift actually bothers you.
PS5 DualSense. Go to Settings, then Accessories, then Controller, and open Test Device. The stick graphic should sit still when you are not touching it. For a DualSense paired to a PC over wireless, hold the Create (Share) button and the PS button together for five seconds until the light bar flashes rapidly, then reconnect it. There is no separate calibration routine on the PS5 that a reset button triggers.
PS4 DualShock 4. Options, then Device, then Test Device shows the same live stick readout. The pinhole reset button on the back of the controller clears pairing and controller ID data, which fixes a controller that connects badly, not one that drifts.
Xbox Series X|S and Xbox One. Open the Xbox Accessories app on Windows or your console. Through the menu next to your controller, go to Device Settings, then Triggers, and set the trigger type to Standard if adaptive triggers are reading as partly pulled. Hold the Xbox button and press the sync button on top until the light flashes rapidly to re-pair, which clears a stale connection.
Nintendo Switch Pro Controller. Press and hold the HOME button and the minus button for three seconds to shut it down fully, then wake it near the Switch to re-sync. On the console, Home, then System Settings, then Controllers and Accessories, then Change Grip/Order shows a live stick test.
Mobile. On Android, forget the controller in Bluetooth settings and pair it again from scratch, then check the on-screen game controller mapping app for any offset applied. On iOS and iPadOS, a drifting controller is usually the AssistiveTouch pointer moving on screen, which you fix in Accessibility settings, Pointer Control. If the whole screen drifts with no controller involved at all, that is a digitiser fault and no amount of controller cleaning will touch it.
3. Clean the Thumbsticks and Triggers
This is where most fixes actually happen. Dust and pocket grit get under the rubber ring around the stick base and hold it fractionally off centre, and the potentiometer underneath reads that offset as real input.
First, blow it out. Hold the controller upside down over a desk, give the stick a few short bursts of compressed air, and while air is moving, rotate the stick slowly through its full range, up, down, sideways and diagonals. Repeat about ten times. Community reports on this fix cluster around it lasting roughly a month before it returns, which tells you something useful about what is going on inside.
Then wet the swab. Put 91% isopropyl alcohol on a cotton swab until it is damp, not dripping. Work around the rim of the stick base in small circles, pushing gently inward so the alcohol gets under the rubber ring, then rotate the stick repeatedly to spread it across the potentiometer. Use a pipe cleaner dipped in the same alcohol to get into the gap under the stick cap. Two or three swabs usually turn grey, which is a good sign rather than a bad one.
Let it dry completely before you power up. Ten minutes is the minimum and an hour is safer, especially if you got alcohol near the shell seam. Liquid under the battery or the charge port is the one mistake that turns a cheap fix into a dead controller.
Clean the triggers while you are in there. Pull the trigger back and swab the pivot area the same way. If your triggers read as partly pulled even with the finger off them, this is the fix, and a deadzone adjustment would only hide part of the problem.
4. Update Firmware, Reset Settings, and Try Another Port
Firmware has fixed stick behaviour more than once, so update before you take anything apart. On the PS5, Settings, Accessories, Controller, then Software Update does it. On Xbox, the controller updates through the Xbox Accessories app or automatically when it is docked on the console. On Switch, connect the Pro Controller and any dock cable, then open the Switch and let it check for controller firmware updates. On PC, Steam Input can update DualSense and DualShock 4 firmware from its Controller settings.
Then do the boring checks that get skipped. Hold the power button for ten seconds to drain and reboot. Try a different USB port, and if you are on wireless, try the cable instead to rule out radio interference. Charge the controller fully, because a weak cell can produce phantom inputs on several pads before the battery warning shows.
Finally, test on a second screen or another console. Drift on one device only points at that device’s settings or wireless link. Drift everywhere points at the stick itself.
5. Replace the Controller If Drift Persists
Two signals mean cleaning has run out of road. The first is drift returning within days of a proper clean, which points at a worn potentiometer rather than dirt. The second is a stick that feels loose, gritty or springy when you move it, which points at the gimbal or the return spring.
Check warranty first. A controller that drifts inside its warranty period is a replacement case, not a repair case, and this covers brand-new controllers too, which is the part most guides leave out. Contact the manufacturer first, keep the receipt, and expect to be asked for a video of the drift in a stick tester. If you bought it through a retailer, the retailer route is often faster. Warranty length and terms differ by region, so check the support page for your country rather than trusting a forum answer.
Out of warranty, the module is usually the only part worth replacing. The joystick module sits on the board and is held by soldered flex connections, so a module swap means a soldering iron, flux and leaded solder. That is the point most DIY guides quietly skip. If you have never soldered, a repair shop is the realistic option, and many shops will quote more than a new controller costs, which is where the repair-versus-replace decision usually lands.
The alternative is a contact-free stick. Hall effect sticks read a magnet with a magnetic sensor and have no rubbing wipers to wear out. TMR sticks use tunnel magnetoresistance for the same job and are typically sold as drop-in modules for existing controllers. Neither drifts for the same reason potentiometers do, and both are worth considering if your current pad is out of warranty and you would rather fit something that lasts than buy the same controller again next year.
Keep the old controller. Working shells and button caps from a dead pad make a fine parts donor for the one you are trying to save.
Common Mistakes
Most failed attempts fail on one of these. None are complicated, and each one costs more time than it saves.
Using general-purpose WD-40. It leaves an oily film that attracts dust, so the stick drifts again sooner than before. If you want a WD-40 product, it has to be the Specialist Contact Cleaner, which is a solvent and displaces oil instead of adding it.
Blowing with your mouth. It works and the moisture stays inside. Every careful person who does this trades a stick fault for a corrosion fault.
Hydrogen peroxide. People reach for it because it foams and looks like it is cleaning. It is not a lubricant and it carries water into the housing. Isopropyl alcohol is the right tool.
Spraying liquid straight into the controller. A soaked shell is how you end up with a controller that works for ten minutes and then stops. Swab it, never flood it.
Opening a controller that is powered on or still paired. Power it off completely, and disconnect or remove the charge pack before the first screw goes in. The screws on a DualSense and an Xbox pad sit under the faceplate and a charging port, and losing one is easy.
Believing the pinhole reset button fixes drift. It clears pairing data so the console recognises the controller again. It does nothing to the potentiometer, and it is the single most misunderstood control on a PS4 or PS5 pad.
Testing only one input. If you only play with the stick near the d-pad, you may never notice the other stick drifting until a game forces you to use it.
Replacing the controller before checking the battery and cable. A marginal cable or a tired cell can read as phantom input, and both cost almost nothing to rule out.
Two habits keep the fix longer. Store the controller away from heat and humidity, not in a hot car or a damp shelf, because both get past the stick seal. And wipe the thumbstick rim with a dry cloth every few months, because most drift starts as the dust you can already see building up around that ring.
Frequently Asked Questions
Does WD-40 get rid of controller drift?
Only the specialist version, and only for a while. WD-40 Specialist Contact Cleaner is a solvent that flushes dust and old lubricant out of the stick housing, and it can bring a drifting stick back to centre for weeks or a few months. General multi-use WD-40 does the opposite: its oil film collects dust faster than a bare potentiometer, so the drift returns sooner. If you use either, apply it on a swab and never spray it into the controller.
Will resetting my controller fix stick drift?
No. The small pinhole reset button on the back of a PS4 or PS5 controller clears pairing data so the console recognises the pad again. It fixes controllers that will not connect or that connect to the wrong player, and it does nothing about unwanted stick movement. A software reset also cannot undo a worn potentiometer. Test and recalibrate the controller first, then clean it, and treat a reset as a connection fix rather than a drift fix.
Can I use 91% isopropyl alcohol to clean a controller, and is rubbing alcohol safe?
91% or higher isopropyl alcohol is the right cleaner for the potentiometer and the stick housing, applied on a cotton swab rather than sprayed. Household rubbing alcohol is usually 70% alcohol and 30% water, and the water leaves a film that attracts dust, so drift comes back sooner. Let the controller dry fully before powering it on, and keep the alcohol away from the battery contacts and the charging port.
Is stick drift permanent?
Not always, but cleaning is a temporary fix rather than a cure. Blowing out dust with compressed air tends to hold for around a month, and isopropyl alcohol around the stick base often holds for several weeks to a few months depending on how dusty the pad is. Once the potentiometer wipers themselves are worn, the offset returns and only a joystick module or controller replacement removes it. Recalibration can mask a small permanent offset, but it cannot repair worn hardware.
Can I fix stick drift on a Steam Deck or on a wireless controller?
Yes, the cleaning steps are identical because the fault is mechanical. On a Steam Deck, open Steam, go to Settings, Controller and use Test Input to read the raw axis values, then raise the deadzone there per game. On a wireless pad, also rule out the link: reconnect or forget and re-pair the device, try it over USB, and keep the controller charged, since radio interference and a weak battery both read as unwanted input.
My drifting controller is still under warranty. Repair it or claim a replacement?
Claim the replacement. A controller that drifts inside its warranty period is treated as defective, and the usual route is the manufacturer support page with proof of purchase, or the retailer if they sold it to you. A video of the drift in a stick tester speeds things up. Warranty length and terms differ by region, so check your country’s support page. Out of warranty, a module replacement needs soldering and often costs more than a new pad.
Conclusion
Confirm it first with a stick tester, then check a second screen so you are not chasing a game’s settings. Recalibrate on the platform you actually play on, blow out the stick, and clean around the base with 91% isopropyl alcohol. If the offset survives that, the potentiometer is worn, and the decision is a warranty claim or a module swap. That is the whole ladder, cheapest step first, and it takes about an hour.